<<< Post: Lição 4 | Post: Lição 5 >>>
Revisão
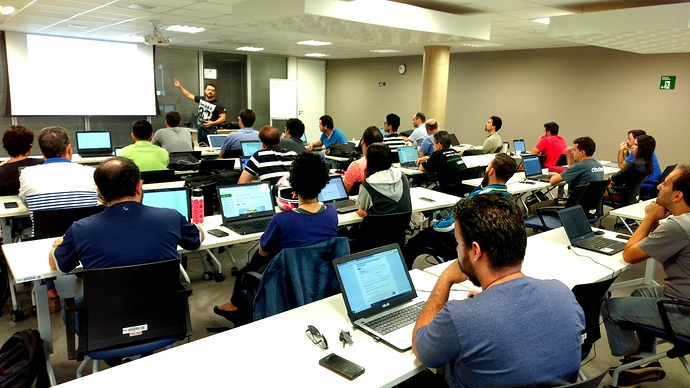
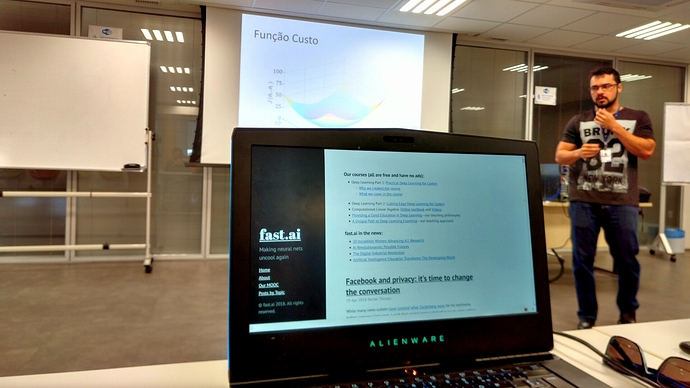
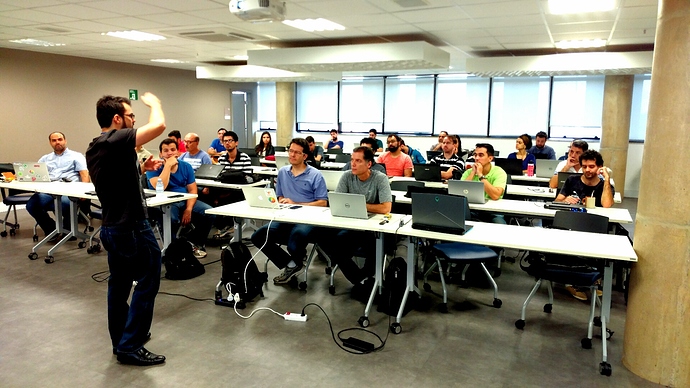
Revisão do conteúdo ministrado até aqui, tanto teórico quanto prático, com apresentações do @pierreguillou, @saulberardo e @thgomes.
Caixa de ferramentas do Deep Learning
Exercício 1
- [UPDATE 02/06/18] Use este Juptypter notebook : https://github.com/piegu/fastai-projects/blob/master/lesson1-quick.ipynb
- Goal : write the code without copy/paste
- How to get it ? In a terminal on your GPU machine (local or online) :
wget --no-check-certificate https://raw.githubusercontent.com/piegu/fastai-projects/master/lesson1-quick.ipynb
ou
git clone https://github.com/piegu/fastai-projects.git
Exercício 2
- [UPDATE 21/04/18] Use este Juptypter notebook : https://github.com/piegu/fastai-projects/blob/master/lesson1-DogBreed.ipynb
- Goal : understand the code
- How to get it ? In a terminal on your GPU machine (local or online) :
wget --no-check-certificate https://raw.githubusercontent.com/piegu/fastai-projects/master/lesson1-DogBreed.ipynb
ou
git clone https://github.com/piegu/fastai-projects.git
Pontos chaves
Fonte : Wiki thread: Intro workshop
- Terminal (it is an interface in which you can type and execute text based commands)
- GPU
- Git
- Python
- Python environment
- Jupyter notebook (1h45m54s : video do @jeremy sobre como usar um Jupyter Notebook + Jupyter Notebook Commands & Shortcuts)
- O nosso grupo
- Deep Learning (What you need to do deep learning)
- Pytorch (A practitioner’s guide to PyTorch)
- Kaggle (script kaggle-cli to download:upload images)
1) Terminal
- Test um terminal online
- Ubuntu (terminal Linux no Windows 10)
- Cygwin (terminal (quase) Linux no Windows exceto 10)
- iTem2 (Mac) : melhor terminal quanto ao terminal incluido num Mac
- HomeBrew (brew num terminal Mac = apt num terminal Windows)
- Tmux (multiple terminal windows : A Quick and Easy Guide to tmux)
- Editor num terminal linux
– Vim (https://benmccormick.org/2014/07/14/learning-vim-in-2014-configuring-vim/)
– Nano (https://www.hostinger.com.br/tutoriais/como-instalar-editor-de-texto-nano/)
– Cat (https://www.computerhope.com/unix/ucat.htm) -
50 Most Frequently Used UNIX / Linux Commands (With Examples)
–%%bash (followed by a list of commands)(run all the listed bash commands like in a Terminal but do nt move the path after running all theses commands)
–ls(what is inside a folder)
–ls -l(what is inside a folder with details about files size, rights and symlinks)
–ls -alt(what is inside a folder with details about files size, rights and symlinks, even cached files and organized by date)
–cd(go to)
–pwd(where I am)
–history(list of all my commands)
– alt enter (full screen)
– up/down arrows to get commands already typed
–wget(download a file)
–mkdir(create a folder)
–mv(move to another folder)
–find path -name 'file_name'(find a file with its name in all subfolders of a path)
–grep -r 'text' path(find a text in all files of all subfolders of a path)
–bash(run a bash script *.sh)
–source .bashrc
–cd ~(go to your home in Linux)
–cd /mnt/(go to your home in Windows)
–which python(get the path to python in use)
–source activate xxx(activate a virtual environment)
–jupyter notebook(launch a jupyter notebook)
2) GPU (Graphic Processing Units)
GPU local
GPU online
- GPU NVIDIA usa CUDA que é uma linguagem de programação dos GPUs usada pela maioria das bibliotecas de DL (tensorflow, pytorch…).
- pytorch installs automatically CUDA.
- Crestle
- Paperspace (credit of 15$)
- Clouderizer + Google Colab (FREE !!!)
- Google Cloud Platform (credit of 300$)
- Amazon Web Services (AWS)
Paperspace (credit of 15$)
- Paperspace setup
- Use fastai template, choose P4000 + Public IP + Promo code
FASTAI15ouFASTAI3BDG(15$ credit) + Auto-shutdown (1h) - Launch + use default password in paperspace email
- Change password in terminal by using the command : passwd
- update conda by using the command :
conda update --all - update fastai files by using the 2 commands :
cd fastai + git pull - update fastai library by using the command (in the fastai folder) :
conda env update - don’t forget to switch off your paperspace machine !!! by using the command :
sudo shutdown -h now
Clouderizer + Google Colab (FREE !!!)
- Fastest way to setup Fast.ai course notebooks , for free — using Google Colab and Clouderizer
- Fórum Clouderizer
Google Cloud Platform (credit of 300$)
Amazon Web Services (AWS)
- AWS fastami GPU Image Setup
- Setup and Run fast.ai in Amazon AWS
- docker_fastai
- AWS p3 instances
** Using AWS P3 instances
** AWS has released New ML instance types today!
** AWS’s new EC2 P3 instances blaze new path in speed and power
** YCombinator on AWS p3
** AWS Recommended GPU Instances
** Announcing New AWS Deep Learning AMI for Amazon EC2 P3 Instances
** Switching between free(t2.micro) and paid(p2.xlarge) on AWS
** Volume Amazon EBS
** AWS Pricing : How does AWS pricing work?
** How do I estimate how much my planned AWS resource configurations will cost?
3) Git
- Git is a version control system that allows to work on a project with checkpoints backup.
- GitHub is a Git repository hosting service that allows to share your project (Github guide).
- Main commands :
–git clone(ex:git clone https://github.com/fastai/fastai.git)
–git pull
4) Python
- You must know
list comprehensionanddictionary comprehension(MAP + FILTER),numpyandpandas - Python/ Numpy/ Scipy/ Matplotlib Combined Demo with code from excellent Stanford cs231 course
- A Byte of Python
- Learn Python The Hard Way (Frankly the easier and consistent way)
- Solo Learn Python
- The HitchHacker’s Guide to Python (Best Practice Handbook)
- DataCamp (an interactive crash-course on Python for ML: 20 x 4-hour_modules for $29.95/month)
- LearnPython.org
- Ultimate Resource Repo
- Python Graph Gallery
5) Setup a python environment
- Anaconda (https://anaconda.org/) : global environnment to run python scripts within jupyter notebooks
– Update the conda environment in a terminal :conda update --all - Why ? To practice python 3.6, pandas, numpy, jupyter notebooks… in your computer.
- How to create a virtual environment ? In a terminal :
–conda create -n envname python=3.6
–source activate envname(to start the virtual environment)
–source desactivate(to stop the virtual environment) - Update a virtual environment :
– Go to folder (cd ...)
– type in a terminal :conda env update
6) Jupyter Notebook
- Jupyter notebook : http://jupyter.org/
- Try a Jupyter Notebook online
- 1:30:52 : Introduction to Jupyter notebooks
- Jupyter Notebook Commands & Shortcuts :
–Edit mode&Command mode
– TypeHin a Jupyter Notebook to get all shortcuts
– Jupyter Notebook Commands & Shortcuts
– 28 Jupyter Notebook tips, tricks, and shortcuts - Usar “Collapsable / expandable jupyter cells” em seus jupyter notebooks
- A gallery of interesting Jupyter Notebooks : https://github.com/jupyter/jupyter/wiki/A-gallery-of-interesting-Jupyter-Notebooks
7) Fastai
8) O nosso grupo
-
Lições :
– Deep Learning Brasília - Lição 1 | Wiki | Notes | Verifique a sua compreensão da lição 1
– Deep Learning Brasília - Lição 2 | Wiki | Notes | Verifique a sua compreensão da lição 2
– Deep Learning Brasília - Lição 3 | Wiki | Notes | Verifique a sua compreensão da lição 3
– Deep Learning Brasília - Lição 4 | Wiki | Notes | Verifique a sua compreensão da lição 4
– Deep Learning Brasília - Revisão (lições 1, 2, 3 e 4) -
Documentos online do grupo :
– Brasília part 1 group
– Grupo Whatsapp
– Slack
– Medium
– Perfis
– Agenda
– LeaderBoard
– Projetos
– Recursos -
CNN
– Video do Otavio Good : A visual and intuitive understanding of deep learning
– 00:49:45 ConvNet demo with Excel from @jeremy
– A Beginner’s Guide To Understanding Convolutional Neural Networks
– A friendly introduction to Convolutional Neural Networks and Image Recognition
– Video do Yann Lecun sobre Convolutional Neural Networks
– Changing Image Size during training! -
Outros recursos :
– Early access to Intro To Machine Learning videos (from @jeremy)
– Intro to Machine Learning videos
– Fun with small image data-sets (Part 2)
– Script Google Images Download
– Kaggle + Script kaggle-cli
– New AdamW optimizer now available na biblioteca Fastai
– Fastai parte 1 : 30+ Best Practices
9) Deep Learning
What is Deep Learning ? A kind of Machine Learning.
- Link : https://www.youtube.com/embed/IPBSB1HLNLo?hl=en_US&cc_lang_pref=en_US&cc_load_policy=1&autoplay=1&start=2665&end=2923
- Duration : 4 mn 18s (00:44:25 to 00:48:43)
-
Topics :
– What is Deep Learning ? A kind of Machine Learning.
– Arthur Samuel invented Machine Learning.
– Machine Learning needs features engineering and specific function, created with domain experts.
– Deep Learning is more efficient : a DL algorithm will learn the features by training instead of creating them by hand with domain experts.
The Universal Approximation Theorem & Examples using Deep Learning
- Link : https://www.youtube.com/embed/IPBSB1HLNLo?hl=en_US&cc_lang_pref=en_US&cc_load_policy=1&autoplay=1&start=2924&end=3525
- Duration : 10 mn 01s (00:48:44 to 00:58:45)
-
Topics :
– The Universal Approximation Theorem, and examples used by Google corporation (Google stars using DL in 2012 and today, all Google projects use DL).
– To set up a DL algorithm, we need 3 things :
- Infinitely flexible function that can solve any problem. This is the Neural Network : a set of linear layers and non linear layers that can approximate any given problem if we have sufficient data for training it (Universal Approximation Theorem). This is a multiple hidden layers network (multiple hidden layers are necessary to get a better accuracy).
- Need to setup the parameters of this general function (all-purpose parameters filtering) for each use. This is the Gradient descent : this is the learning method of the parameters of our DL algorithm (after each epoch, we use it on the loss function to improve the value of our parameters by searching the global minimum of the loss function, even if it is often a local minimum).
-
Need fast and scalable computation. This is the GPU : GPUs are globally 10 times faster than CPUs and cheaper. GPUs are necessary to train our DL models in a reasonably time.
– DL uses : generate automatic answers to an email, Skype Translator, Semantic Style Transfer, cancer detection in medical images.
– A lot of opportunities to solve problems with DL.
More examples using Deep Learning & CNN
- Link : https://www.youtube.com/embed/IPBSB1HLNLo?hl=en_US&cc_lang_pref=en_US&cc_load_policy=1&autoplay=1&start=3526&end=3732
- Duration : 3 mn 26s (00:58:46 to 01:02:12)
-
Topics :
– More examples using Deep Learning, as shown in the PowerPoint from Jeremy Howard.
– What is actually going on in a Deep Learning model with convolutional network (CNN).
Non linearity, Gradient Descent & Learning rate
- Link : https://www.youtube.com/embed/IPBSB1HLNLo?hl=en_US&cc_lang_pref=en_US&cc_load_policy=1&autoplay=1&start=3733&end=4102
- Duration : 3 mn 26s (01:02:13 to 01:08:22)
-
Topics :
– Adding a Non-Linear Layer to our model, sigmoid or ReLu (rectified linear unit) : the key point is that allows us to create any kind of functions and so to solve any kind of problems.
– SGD (Stochastic Gradient Descent) : in order to find the minimum of an loss function, we can move from a point on the curve to the opposite direction of the gradient (derivative).
– But we need to take a small step (but not too small…) : this is the learning rate.
What “sees” a CNN & Learning rate finder
- Link : https://www.youtube.com/embed/IPBSB1HLNLo?hl=en_US&cc_lang_pref=en_US&cc_load_policy=1&autoplay=1&start=4103&end=4899
- Duration : 13 mn 16s (01:08:23 to 01:21:39)
-
Topics :
– A paper on “Visualizing and Understanding Convolutional Networks” : on the left, there are 9 kernel (filters) applied to the input layer that result in 9 feature maps in the first hidden layer (layer 1). Each filter searches a specific basic shape (edge), and on the right, there are the 9 top activations for each filter (within the images set used).
— Key point : the filters are learned (the 9 numbers of its matrix), not programmed.
— Layer 2 is the results of applying a new series of filters (16) on the 9 features maps of layer 1. Again, we show the 9 top activations for each filter. For example, we can see that now there are activations by photos of sunset, horizontal lines or corners : the layer 2 detects things more complicated than layer 1.
— Layer 3 : its filters recognize text or human faces (only 3 layers to perform that detection !).
— Layer 5 : its filters recognize animals…
– Implementation on ‘lesson1.ipynb’
– ‘Cyclical Learning Rates for Training Neural Networks’ with Fastai library as “lr_find” or learning rate finder : it allows to get semi-automatically the right learning rate to train our neural network
– Why it starts training a model but stops before 100%: use Learner Schedule Finder.
– How many epochs to run ? (epochs : go through the entire dataset by batch). As many you want until the accuracy gets worst.


 Você tem a biblioteca Fastai (e seus notebooks) instalada no seu computador e pode rodar todos os notebooks da pasta ml1.