[ Português ] Esta thread permite que os participantes do “Grupo de Estudo do Deep Learning de Brasília (DLB)” estudem coletivamente (em reunião presencial e online) a lição 1 (parte 1) do curso fast.ai, mas com certeza, está aberto para todos. Todos os vídeos desse curso estão online em http://course.fast.ai/.
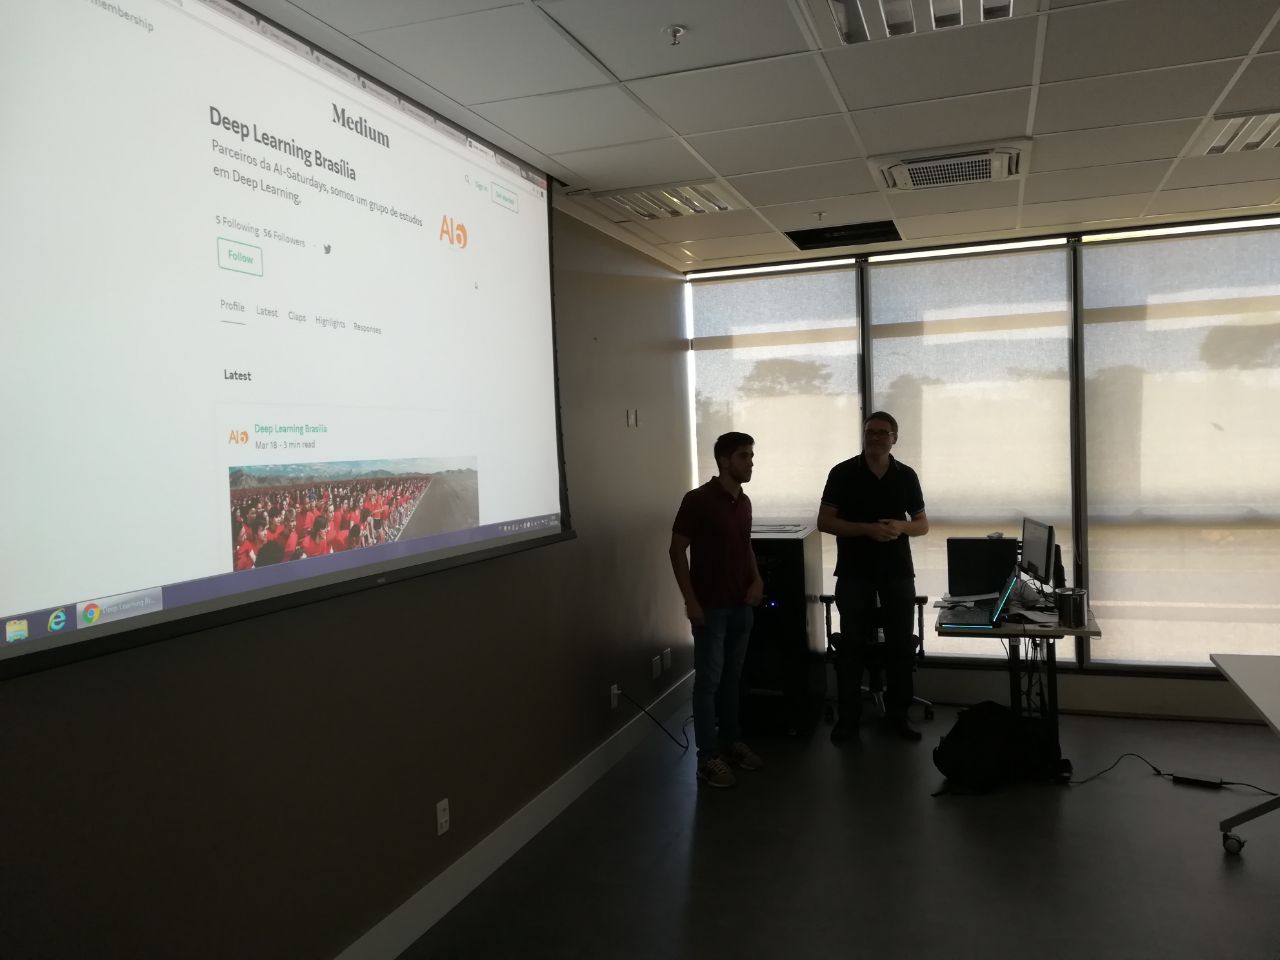
Nota: o “Grupo de Estudo do Deep Learning de Brasília (DLB)” foi lançado em 19 de março de 2018 em Brasília (Brasil).
O idioma dessa thread é principalmente o português (e o inglês quando evitar traduções inúteis).
Por favor, use essa thread para perguntar e responder às perguntas da lição 1 (parte 1), mas antes de postar, leia as threads seguintes : Part 1 FAQ | Wiki Lesson 1 | How to ask for help | DeepLearning-Lec1Notes e Cats and Dogs code notes.
[ English ] This thread allows the participants of the “Brasília Deep Learning (DLB) Study Group” to study collectively (face-to-face and online) the lesson 1 (part 1) of the course fast ai but of course, it is opened to all. All the course videos are online at http://course.fast.ai/.
Note : the “Brasília Deep Learning (DLB) Study Group” was launched on March 19, 2018 in Brasilia (Brazil).
The language of this thread is mainly Portuguese (and English when it avoids useless translations).
Please, use this thread to ask / answer questions on lesson 1 (part 1) but before to post in this thread, please read : Part 1 FAQ | Wiki Lesson 1 | How to ask for help | DeepLearning-Lec1Notes e Cats and Dogs code notes.
Antes de postar, leiam as threads seguintes
- How to ask for help
- Part 1 FAQ
- Wiki thread: Intro workshop
- Wiki Lesson 1
- DeepLearning-Lec1Notes
- Cats and Dogs code notes
- … e todas as threads da Parte 1 ! Bom, somente se tiverem tempo

- Usar “Collapsable / expandable jupyter cells” em seus jupyter notebooks
Como usar este fórum
Além do post da @rachel (Welcome MOOC students!), leiam por favor a guia online “What is Discourse?”.
We use Discourse (a free, open source discussion platform) for these forums, and discourse relies on a system of trust levels. New users can only create a topic after they first spend 10 minutes (total) reading at least 3 different posts on the forum. We have these limits in place to encourage you to get acquainted a bit with the discussions and some of the existing content before you start posting, and to discourage spammers. After spending 10 minutes reading at least 3 different posts, your “trust level” will automatically increase. Discourse also has some rate limits about how quickly you can post. (At this point you’ll also be able to view a previously hidden post about how to join our slack channel.)
Objetivos do lição 1
- Entender os objetivos do grupo, do curso e a metodologia fast.ai.
- Entender a importância de usar um GPU no Deep Learning.
- Criar-se um perfil no forum Fast.ai (http://forums.fast.ai) e colocar seu login numa Google Sheet criada pelos organizadores.
- Abrir uma conta no Crestle (Paperspace também se possível), saber configurá-la e saber rodar o jupyter notebook da lição 1.
- Entender a diferença entre Machine Learning e Deep Learning.
- Entender o que é um Neural Network, non linearity e Gradient Descent.
- Entender o que é um Image Classifier e a sua importância no DL (exemplos).
- Entender o que é um CNN (Convolutional Neural Network), seu processo básico e o que “vê” um CNN.
- Entender o que é o Transfer Learning, numpy e as primeiras noções de parâmetros de uma rede neural profunda (training/validation/testing set, learning rate, epochs).
- Saber usar as funções learn.lr_find() e learn.sched.plot() para encontrar o Learning rate o mais adequado para o treinamento de um modelo de DL.
Video timelines for Lesson 1
Note : timeline created on the basis of the one of @EricPB with modification of urls in order to include the end parameter.
1) Course objective & Fastai community
- Link : YouTube
- Duration : 2 mn 18s (00:00:01 to 00:02:19)
- Topics :
– Welcome to Part 1 Version 2 of “Practical Deep Learning for Coders” (7 lessons).
– Course objective : Deep Learning in practice, getting world-class results and really coding focus approach.
– Read all videos from the fast.ai site, not from YouTube in order to get last informations.
– Check the strong Fastai community for help on setting up your system on [forums.fast.ai].(http://forums.fast.ai) - Todo :
– Create your account at forums.fast.ai.
– Write your profile’s name in the Google Sheet provided by the DLB organizers in the Whatsapp group.
2) GPU needed for Deep Learning
- Link : YouTube
- Duration : 1 mn 43s (00:02:20 to 00:04:03)
- Topics :
– The “Top-Down” approach to study, vs the “Bottom-Up” : learning by doing.
– Why you want a Nvidia GPU (Graphic Processing Unit = a video card) for Deep Learning (it runs on CUDA that all DL libraries understand). - Todo :
– Check if your laptop has a Nvidia GPU (if not, the next section gives you names of online GPU services).
3) Crestle (online GPU service)
- Link : YouTube
- Duration : 2 mn 16s (00:04:04 to 00:06:19)
- Topics :
– Jupyter Notebook is the 3rd most important tools used by all data scientist.
– Use Crestle com if you don’t have a PC with a GPU (but you can choose in Crestle to run your Jupyter Notebooks with or without a GPU). - Todo :
– Create an account on Crestle : at the account creation, you get a credit of 1 free GPU and CPU hour.
– Run the Jupyter Notebook of Crestle (with or without the GPU option selected),
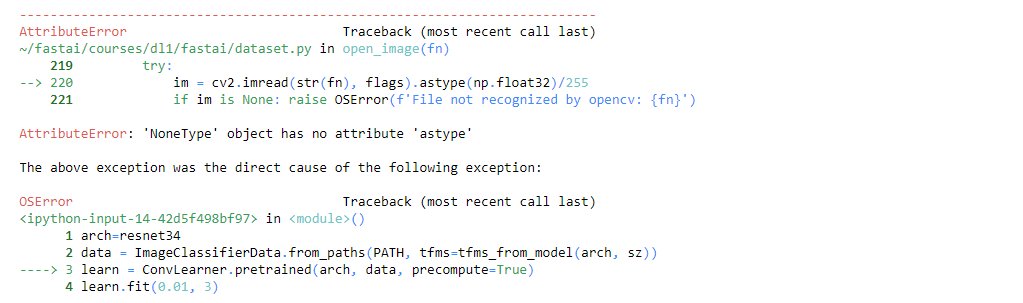
– Go to courses >> fastai >> courses >> dl1 and open the Jupyter Notebook “lesson1.ipynb” in a new tab.
– Then, you can go to your Jupyter Notebook in the new tab, go to the menu “File” and click onetime on “Make a Copy…” : it will create a new Jupyter Notebook “lesson1-Copy1.ipynb” which is your original file. Therefore, you can do what you want with the current “lesson1.ipynb” (even errors or delete everything you want
– Don’t forget to stop your Jupyter Notebook by clicking on the red button “Stop Jupyter” to save your credit !
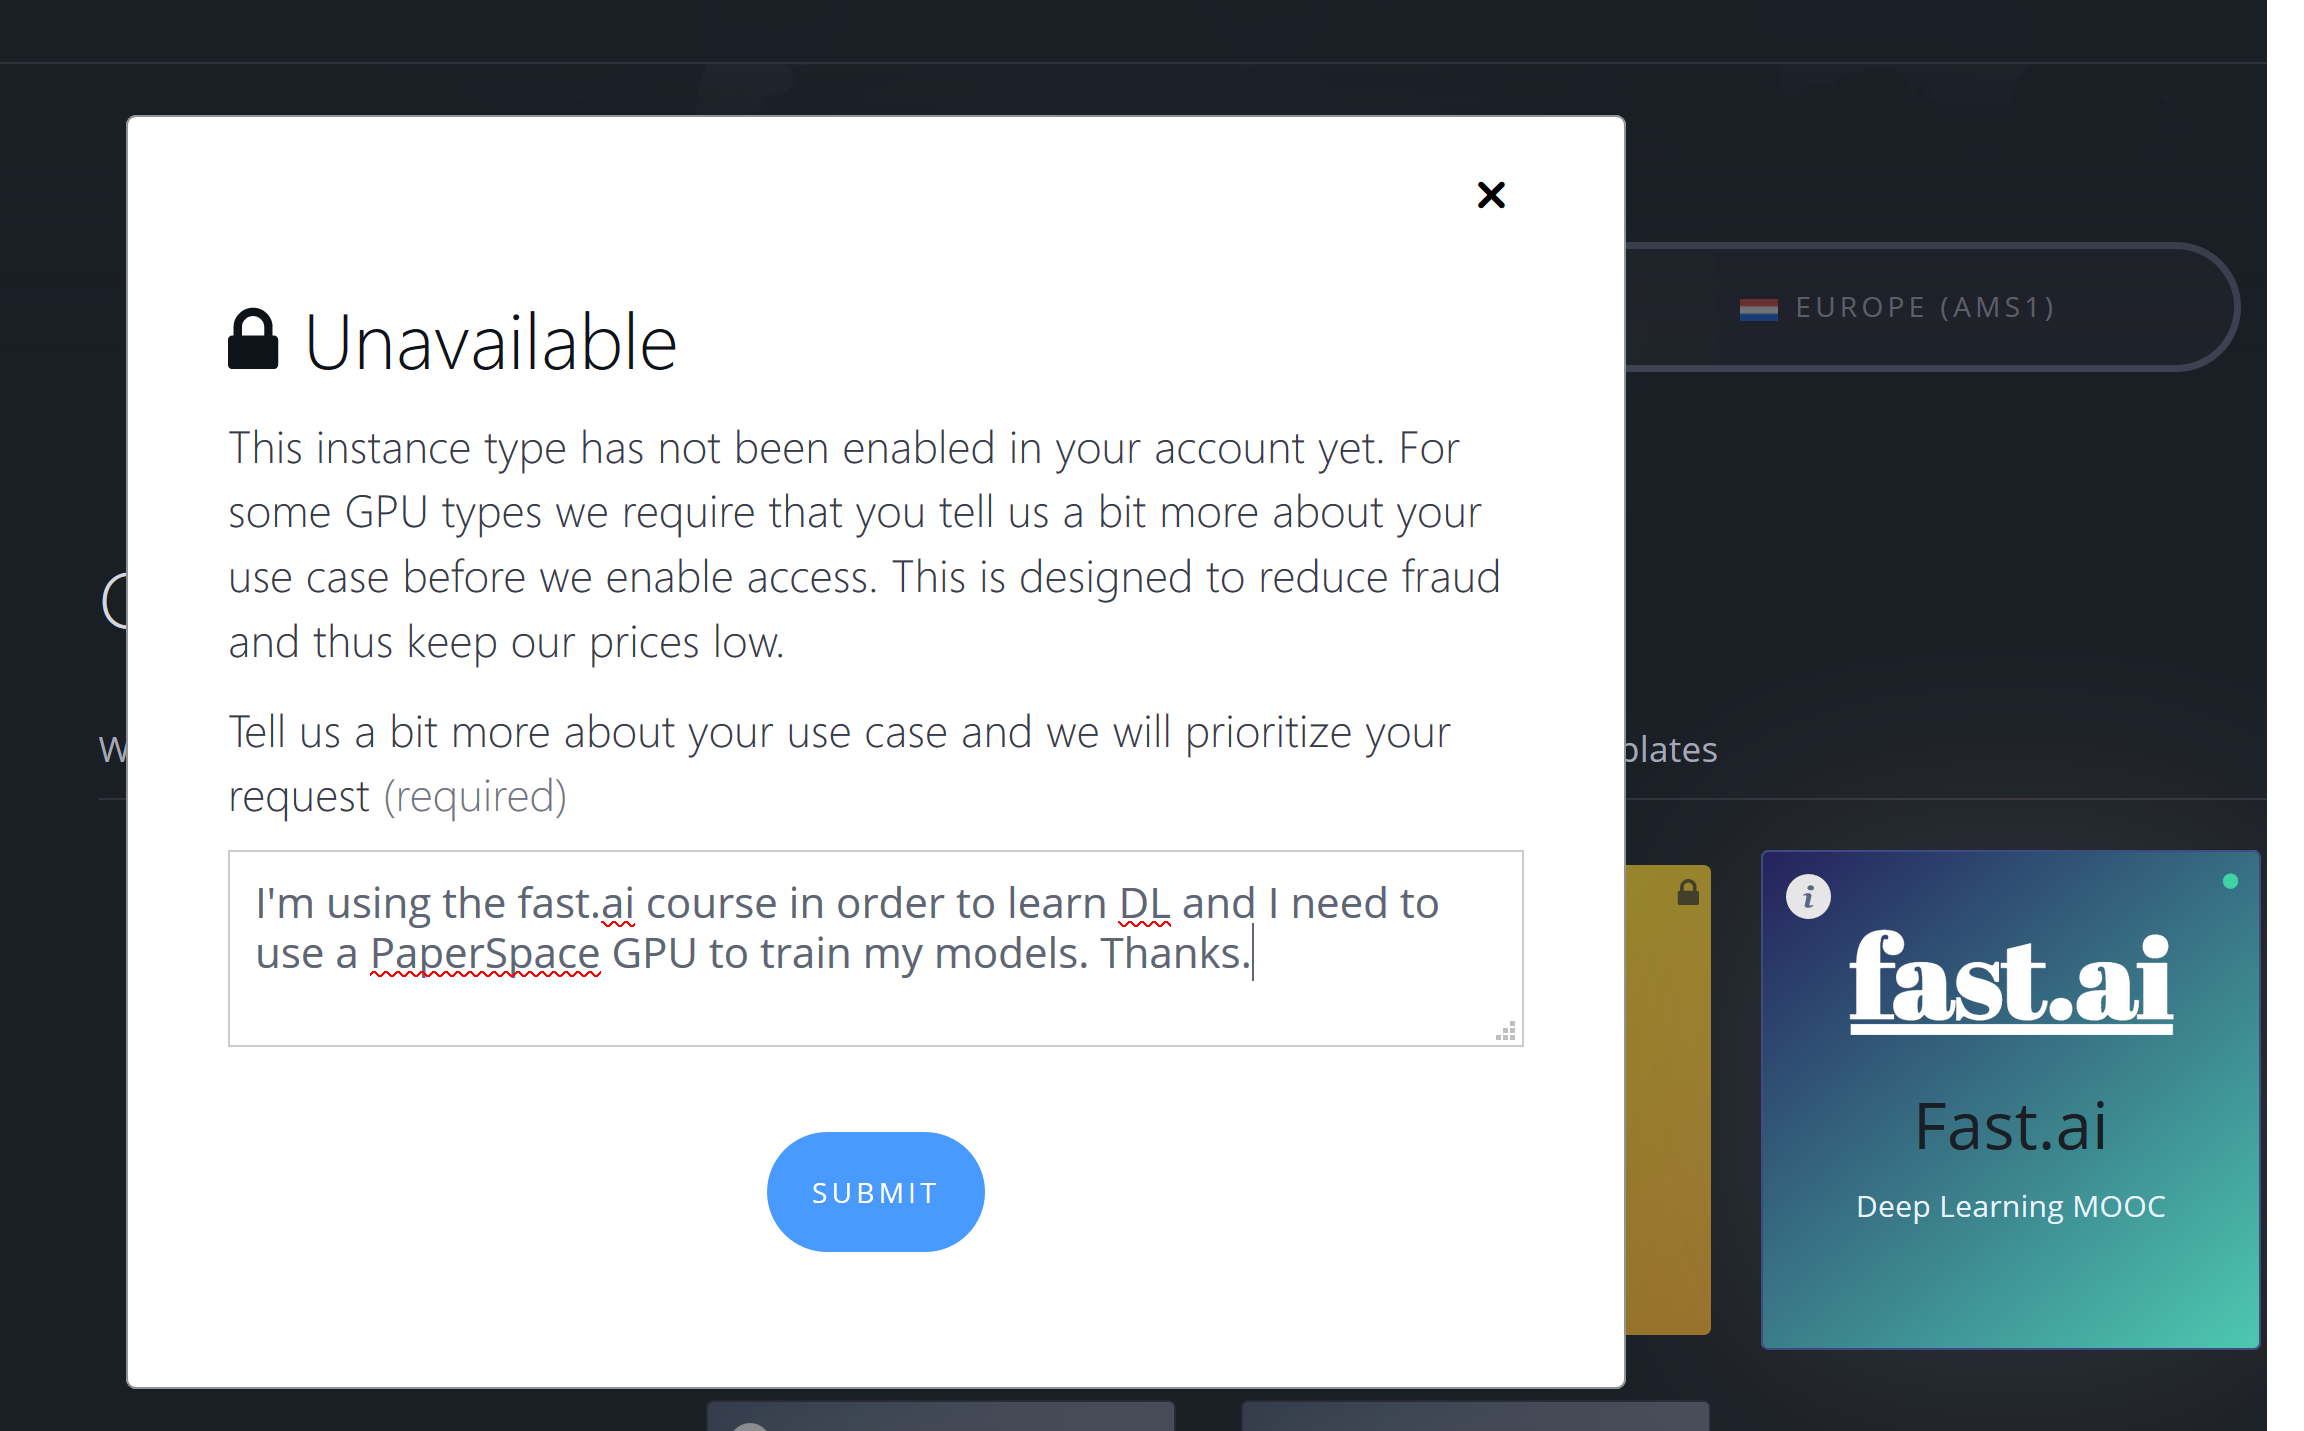
4) Paperspace (online GPU service)
(video section not shown in the classroom since Paperspace changed its activation process)
- Link : YouTube
- Duration : 6 mn 13s (00:06:20 to 00:12:33)
- Topics :
– Use Paperspace instead of Crestle, for faster and cheaper GPU computing.
– Technical hints to make it work with a Jupyter Notebook. - Todo :
– Create an account on Paperspace.
– Follow new instructions at Paperspace for fast.ai in order to setup your Jupyter Notebook to Fast.ai course and win a 15$ credit. Forum discussion at “Paperspace setup help”.
5) Start using the Jupyter Notebook of lesson 1
- Link : YouTube
- Duration : 7 mn 51s (00:12:34 to 00:20:25)
- Topics :
– Start with Jupyter Notebook lesson1.ipynb ‘Dogs vs Cats’.
– Use Python 3.6
– Main shortcuts in order to use a Jupyter Notebook.
– Paperspace is faster than Crestle (use its owns GPU, Crestle uses the ones of AWS).
– Notions of Training/Validation/Testing dataset : watch Machine Learning Course (not necessary for the Deep Learning course) : Another treat! Early access to Intro To Machine Learning videos
– DL convention (keras, fastai…) : each folder name of a dataset is the label of the images (class label) in the folder.
– An image (of a cat or a dog) is a 3 dimensional array. - Todo :
– Run the Jupyter Notebook of Crestle (with or without the GPU option selected),
– Go to courses >> fastai >> courses >> dl1 and open the Jupyter Notebook “lesson1.ipynb” in a new tab.
– Delete # in lines of the paragraph “Extra steps if using Crestle”.
– Run the Jupyter Notebook with SHIFT + ENTER until the START of the paragraph “Our first model: quick start”.
– If you need, study the Machine Learning videos from Jeremy Howard.
– Don’t forget to stop your Jupyter Notebook by clicking on the red button “Stop Jupyter” to save your credit !
6) Our first model: quick start
- Link : YouTube
- Duration : 3 mn 44s (00:20:26 to 00:24:10)
- Topics :
– Our first model: quick start.
– Transfert Learning : we use the pre-trained model resnet34 that won the Imagenet competition in 2015.
– Running our first Deep Learning model with epoch, error on test and validation set, accuracy on validation set.
– We get in 17s and 3 lines of codes (if using Paperspace, not Crestle) an accuracy on validation set above 98% ! (really above the 80% accuracy of the model that won the ImageNet competition in 2012).
– Deep learning in 2018 does not always need big GPU resources or a lot of data.
– The code we run is using the fastai library that implements all the best DL practices and which runs above pytorch (DL GPU library wrote by Facebook). The fastai library is very flexible. - Todo :
– Run the Jupyter Notebook of Crestle (with or without the GPU option selected),
– Go to courses >> fastai >> courses >> dl1 and open the Jupyter Notebook “lesson1.ipynb” in a new tab.
– Run the Jupyter Notebook with SHIFT + ENTER until the END of the paragraph “Our first model: quick start”.
– In Crestle, it will take more time than 17s but in a few minutes and 3 lines of code, you will get a model better than the model that won the ImageNet competition in 2012
– Don’t forget to stop your Jupyter Notebook by clicking on the red button “Stop Jupyter” to save your credit !
7) Analyzing results: looking at pictures
- Link : YouTube
- Duration : 6 mn 38s (00:24:11 to 00:30:49)
- Topics :
– “Analyzing results: looking at pictures” in lesson1.ipynb
– We can uselearn.predict()to get the logs of the probabilities cat or dog. To get the true probabilities, use np.exp() of the logs.
– np is the alias of the numpy library.
– Best practice : after running a model, check the results and improve your training+validation dataset and model. - Todo :
– Run the Jupyter Notebook of Crestle (with or without the GPU option selected),
– Go to courses >> fastai >> courses >> dl1 and open the Jupyter Notebook “lesson1.ipynb” in a new tab.
– Run the Jupyter Notebook with SHIFT + ENTER until the START of the paragraph “Choosing a learning rate”.
– Try now the model with your own dataset, even a small one (read : Fun with small image data-sets (Part 2)).
– If not familiar with numpy, check a manual.
– Don’t forget to stop your Jupyter Notebook by clicking on the red button “Stop Jupyter” to save your credit !
8) Revisiting Jeremy & Rachel’s approach of “Top-Down vs Bottom-Up”
(video section not shown in the classroom but important to understand the fastai philosophy in details)
- Link : YouTube
- Duration : 3 mn 03s (00:30:50 to 00:33:53)
- Topics :
– Revisiting Jeremy & Rachel’s approach of “Top-Down vs Bottom-Up” teaching philosophy, in details.
9) Explaining the “Course Structure” of Fastai in 8 steps
(video section rapidely shown in the classroom but important to understand the fastai philosophy in details)
- Link : YouTube
- Duration : 10 mn 31s (00:33:54 to 00:44:24)
- Topics :
– Explaining the “Course Structure” of Fastai, with a slide showing its 8 steps.
– Looking at Computer Vision, then Structured Data (or Time Series) with the Kaggle Rossmann Grocery Sales competition, then NLP (Natural Language Processing), then Collaborative Filtering for Recommendation Systems, then Computer Vision again with ResNet.
– Image classifier is key (AlphaGo used an image classifier in its DL model in 2016).
10) What is Deep Learning ? A kind of Machine Learning.
- Link : YouTube
- Duration : 4 mn 18s (00:44:25 to 00:48:43)
- Topics :
– What is Deep Learning ? A kind of Machine Learning.
– Arthur Samuel invented Machine Learning.
– Machine Learning needs features engineering and specific function, created with domain experts.
– Deep Learning is more efficient : a DL algorithm will learn the features by training instead of creating them by hand with domain experts.
11) The Universal Approximation Theorem & Examples using Deep Learning
- Link : YouTube
- Duration : 10 mn 01s (00:48:44 to 00:58:45)
- Topics :
– The Universal Approximation Theorem, and examples used by Google corporation (Google stars using DL in 2012 and today, all Google projects use DL).
– To set up a DL algorithm, we need 3 things :
- Infinitely flexible function that can solve any problem. This is the Neural Network : a set of linear layers and non linear layers that can approximate any given problem if we have sufficient data for training it (Universal Approximation Theorem). This is a multiple hidden layers network (multiple hidden layers are necessary to get a better accuracy).
- Need to setup the parameters of this general function (all-purpose parameters filtering) for each use. This is the Gradient descent : this is the learning method of the parameters of our DL algorithm (after each epoch, we use it on the loss function to improve the value of our parameters by searching the global minimum of the loss function, even if it is often a local minimum).
- Need fast and scalable computation. This is the GPU : GPUs are globally 10 times faster than CPUs and cheaper. GPUs are necessary to train our DL models in a reasonably time.
– DL uses : generate automatic answers to an email, Skype Translator, Semantic Style Transfer, cancer detection in medical images.
– A lot of opportunities to solve problems with DL.
12) More examples using Deep Learning & CNN
- Link : YouTube
- Duration : 3 mn 26s (00:58:46 to 01:02:12)
- Topics :
– More examples using Deep Learning, as shown in the PowerPoint from Jeremy Howard.
– What is actually going on in a Deep Learning model with convolutional network (CNN). - Todo :
– Test the CNN tool on Image Kernels Explained Visually to understand how the CNN detects edges for example.
13) Non linearity, Gradient Descent & Learning rate
- Link : YouTube
- Duration : 3 mn 26s (01:02:13 to 01:08:22)
- Topics :
– Adding a Non-Linear Layer to our model, sigmoid or ReLu (rectified linear unit) : the key point is that allows us to create any kind of functions and so to solve any kind of problems.
– SGD (Stochastic Gradient Descent) : in order to find the minimum of an loss function, we can move from a point on the curve to the opposite direction of the gradient (derivative).
– But we need to take a small step (but not too small…) : this is the learning rate.
14) What “sees” a CNN & Learning rate finder
- Link : YouTube
- Duration : 13 mn 16s (01:08:23 to 01:21:39)
- Topics :
– A paper on “Visualizing and Understanding Convolutional Networks” : on the left, there are 9 kernel (filters) applied to the input layer that result in 9 feature maps in the first hidden layer (layer 1). Each filter searches a specific basic shape (edge), and on the right, there are the 9 top activations for each filter (within the images set used).
— Key point : the filters are learned (the 9 numbers of its matrix), not programmed.
— Layer 2 is the results of applying a new series of filters (16) on the 9 features maps of layer 1. Again, we show the 9 top activations for each filter. For example, we can see that now there are activations by photos of sunset, horizontal lines or corners : the layer 2 detects things more complicated than layer 1.
— Layer 3 : its filters recognize text or human faces (only 3 layers to perform that detection !).
— Layer 5 : its filters recognize animals…
– Implementation on ‘lesson1.ipynb’
– ‘Cyclical Learning Rates for Training Neural Networks’ with Fastai library as “lr_find” or learning rate finder : it allows to get semi-automatically the right learning rate to train our neural network
– Why it starts training a model but stops before 100%: use Learner Schedule Finder.
– How many epochs to run ? (epochs : go through the entire dataset by batch). As many you want until the accuracy gets worst. - Todo :
– Run the Jupyter Notebook of Crestle (with or without the GPU option selected),
– Go to courses >> fastai >> courses >> dl1 and open the Jupyter Notebook “lesson1.ipynb” in a new tab.
– Run the Jupyter Notebook with SHIFT + ENTER until the END of the paragraph “Choosing a learning rate”.
– Look for the highest learning rate you can find usinglearn.lr_find()and afterlearn.sched.plot()with the best loss improve.
– Try to raise the number of epochs and train again the model. What happens to the accuracy ?
– Don’t forget to stop your Jupyter Notebook by clicking on the red button “Stop Jupyter” to save your credit !
15) Get information on functions used in your Jupyter Notebook
- Link : YouTube
- Duration : 3 mn 01s (01:21:40 to 01:24:41)
- Topics :
– Why you need to use Numpy and Pandas libraries with Jupyter Notebook
– Hit ‘TAB’ for more info, or “Shift-TAB” once or twice or thrice (three times) to bring up the documentation for the code.
– Enter ‘?’ before the function, or ‘??’ to look at the code in details. - Todo :
– Run the Jupyter Notebook of Crestle (with or without the GPU option selected),
– Go to courses >> fastai >> courses >> dl1 and open the Jupyter Notebook “lesson1.ipynb” in a new tab.
– Try what you saw in this video section.
– Don’t forget to stop your Jupyter Notebook by clicking on the red button “Stop Jupyter” to save your credit !
16) Keyboard Shortcuts of Jupyter Notebook
- Link : YouTube
- Duration : 0 mn 57s (01:24:42 to 01:25:39)
- Topics :
– Using the ‘H’ shortcut in Jupyter Notebook, to see the Keyboard Shortcuts. - Todo :
– Run the Jupyter Notebook of Crestle (with or without the GPU option selected),
– Go to courses >> fastai >> courses >> dl1 and open the Jupyter Notebook “lesson1.ipynb” in a new tab.
– Try what you saw in this video section.
– Don’t forget to stop your Jupyter Notebook by clicking on the red button “Stop Jupyter” to save your credit !