Here is step by step process with shell script for people who have free Google Cloud credits and want to use the Google Cloud VM. The shell script installs Keras, Pytorch with GPU support. The minimum GPU card that Google has is Tesla K80. It also supports Tesla P100. I managed to do run lesson 1 using 1 K80 with 4 CPU and 100GB of storage.
Step - 0: https://cloud.google.com/free/ .Check whether you are eligible for free $300 Google Cloud option.
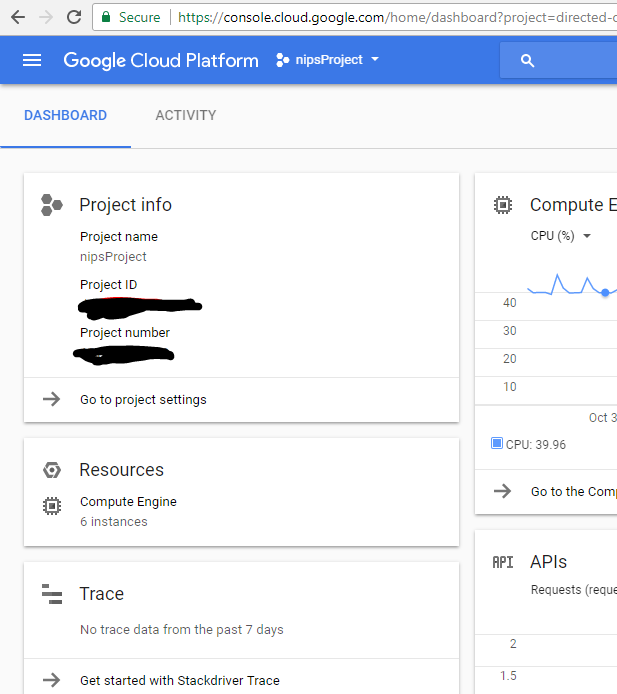
Step - 1: Go to www.console.cloud.google.com. You will be greeted with this screen
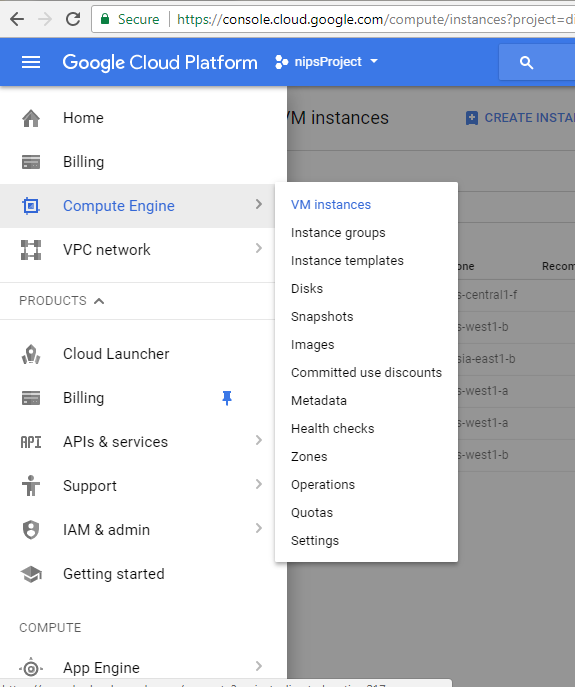
Step -2: Move cursor to the left corner and select VM instances from Compute Engine.
Step -3: Click Create Instance for creating new VM.

Step -4: Customize the VM as you wish . I have selected Ubuntu 16.04 with 100 GM storage - 4 CPU with 15 GB CPU RAM . There is also 1 K80 GPU selected at the bottom.
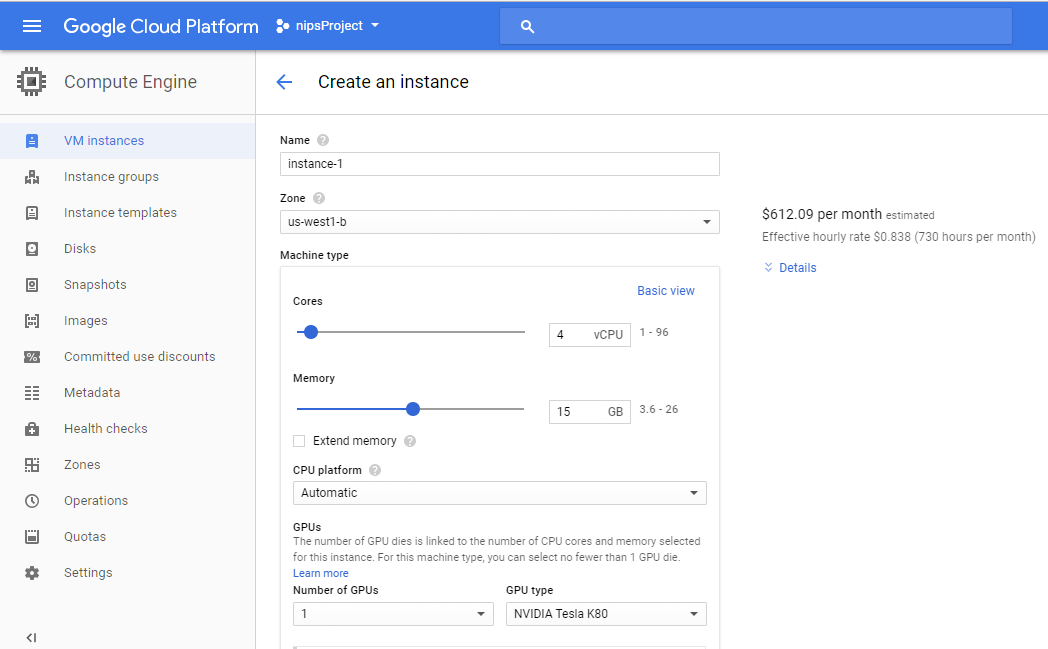
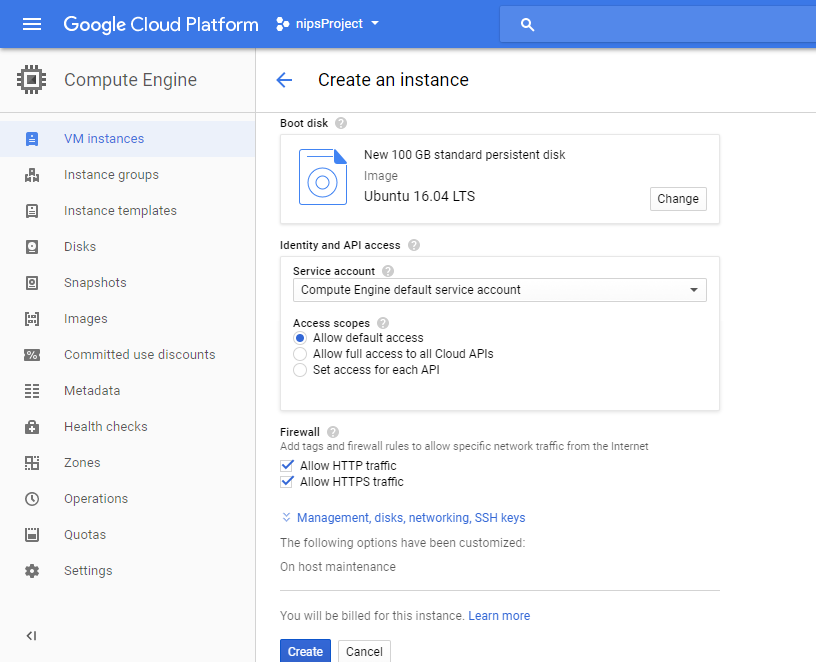
Click Create at the bottom.
Step -5: Click SSH underneath Connect to the desirable instance.
. A shell will pop up in a separate window.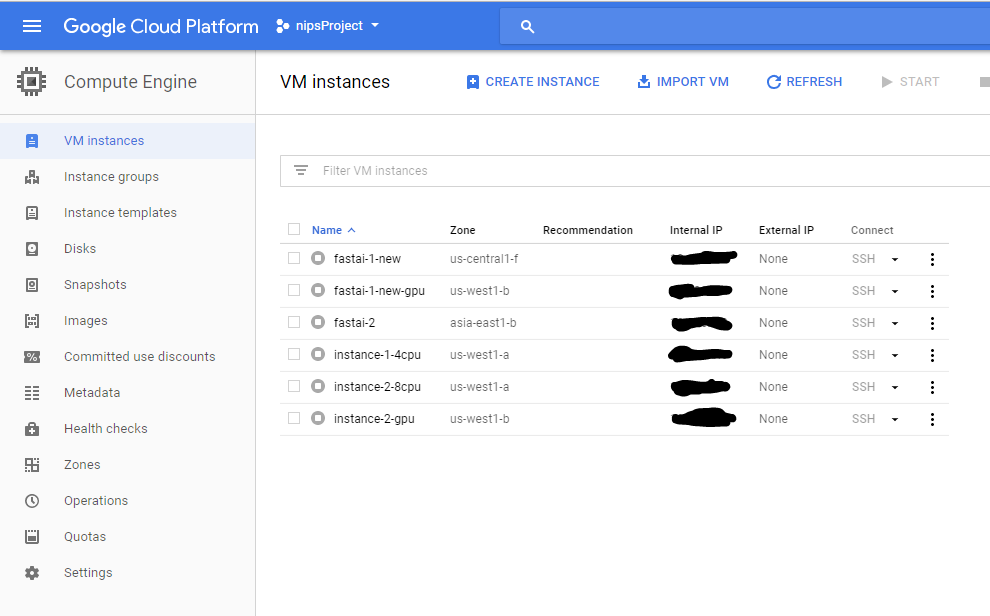
Step - 6: Copy paste / Cut paste from the script below - or you can make myscript.sh file and run it from terminal with the code below using sh myscript.sh
# This script is designed to work with ubuntu 16.04 LTS
# with keras 1.2.2 and the latest Pytorch with CUDA 8 support
##########################################################################
#This is used to install CUDA 8 driver for Tesla K80
##########################################################################

#!/bin/bash
echo "Checking for CUDA and installing."
# Check for CUDA and try to install.
if ! dpkg-query -W cuda-8-0; then
  # The 16.04 installer works with 16.10.
  curl -O http://developer.download.nvidia.com/compute/cuda/repos/ubuntu1604/x86_64/cuda-repo-ubuntu1604_8.0.61-1_amd64.deb
  dpkg -i ./cuda-repo-ubuntu1604_8.0.61-1_amd64.deb
  apt-get update
  apt-get install cuda-8-0 -y
fi

#########################################################################

#############################################################################
#Updating the system
#############################################################################

sudo apt-get update
sudo apt-get --assume-yes upgrade
sudo apt-get --assume-yes install tmux build-essential gcc g++ make binutils
sudo apt-get --assume-yes install software-properties-common

#########################################################################################################################
#Installing anaconda with the required packages
#########################################################################################################################

wget "https://repo.continuum.io/archive/Anaconda3-4.3.0-Linux-x86_64.sh" -O "Anaconda3-4.3.0-Linux-x86_64.sh"
bash Anaconda3-4.3.0-Linux-x86_64.sh -b
echo "export PATH=\"$HOME/anaconda3/bin:\$PATH\"" >> ~/.bashrc
export PATH="$HOME/anaconda3/bin:$PATH"
conda install -y bcolz
conda upgrade -y --all

#########################################################################################################################
#Installing keras with tensorflow , as well kaggle client
#########################################################################################################################

pip install keras==1.2.2
pip install tensorflow
pip install kaggle-cli

#You can confgure your kaggle account details here
#kg config -u 'username' -p 'password' -c 'dogs-vs-cats-redux-kernels-edition'
#kg download


#########################################################################################################################
#Installing Jupyter notebook
#########################################################################################################################

# configure jupyter and prompt for password
jupyter notebook --generate-config
jupass=`python -c "from notebook.auth import passwd; print(passwd())"`
echo "c.NotebookApp.password = u'"$jupass"'" >> $HOME/.jupyter/jupyter_notebook_config.py
echo "c.NotebookApp.ip = '*'
c.NotebookApp.open_browser = False" >> $HOME/.jupyter/jupyter_notebook_config.py
echo "\"jupyter notebook\" will start Jupyter on port 8888"
echo "If you get an error instead, try restarting your session so your $PATH is updated"

#########################################################################################################################
#Downloading the old courses Fast AI 1 and 2 - and as well as new Fast AI 1
#########################################################################################################################

cd ~
git clone https://github.com/fastai/courses.git
git clone https://github.com/fastai/fastai.git

#########################################################################################################################
#Installing google compute engine package, unzip package, and gensim package( it is useful for Fast AI Part 2 - 2017)
#########################################################################################################################

sudo apt-get install unzip
pip install --upgrade gensim
pip install google-compute-engine

#########################################################################################################################
#Installing all the relevant packages for doing lesson 1 of Fast AI Part 1 - 2017
#########################################################################################################################

conda install pytorch torchvision cuda80 -c soumith
pip install torchtext
conda install opencv
pip install isoweek
pip install pandas_summary
Step -7: Finally most important code. In your terminal write source .bashrc. Press enter and you are good to go.
Step 8: To run Jupyter notebook - type jupyter notebook &. Then using the ip address from Step 5- open a browser and type:http:// ip-adress: 8888 .
If somebody has already finished the free trial and is interested to invest more.
(2 CPU with 100 GB storage) $563.54 /month estimated Hourly rate $0.772 (730 hours/ month)*
(2 CPU with 300 GB storage) $571.54 /month estimated Hourly rate $0.783 (730 hours/month)*
(4 CPU with 100 GB storage) $612.09 /month estimated Hourly rate $0.838 (730 hours / month)*
(4 CPU with 300 GB storage) $620.09 /month estimated Hourly rate $0.849 (730 hours/ month)*
*with GPU - Tesla K80

