Use this thread for asking/answering questions about lesson 1.
Note that this is a forum wiki thread, so you all can edit this post to add/change/organize info to help make it better! To edit, click on the little pencil icon at the bottom of this post. Here’s a pic of what to look for:
Run week1 code and understand it…Play with code to understand it
Try different learning rates, epochs while running code
Feel free to explore week2 notebook
Video timelines for Lesson 1
00:00:01 Welcome to Part 1, Version 2 of “Practical Deep Learning for Coders”,
Check the Fastai community for help on setting up your system on “forums.fast.ai”
00:02:11 The “Top-Down” approach to study, vs the “Bottom-Up”,
Why you want a nVidia GPU (Graphic Processing Unit = a video card) for Deep Learning
00:06:11 Use paperspace.com instead of crestle.com, for faster and cheaper GPU computing. Technical hints to make it work with a Jupyter Notebook.
00:12:30 Start with Jupyter Notebook lesson1.ipynb ‘Dogs vs Cats’
00:20:20 Our first model: quick start.
Running our first Deep Learning model with the ‘resnet34’ architecture, epoch, accuracy on validation set.
00:24:11 “Analyzing results: looking at pictures” in lesson1.ipynb
00:30:45 Revisiting Jeremy & Rachel’s approach of “Top-Down vs Bottom-Up” teaching philosophy, in details.
00:33:45 Explaining the “Course Structure” of Fastai, with a slide showing its 8 steps.
Looking at Computer Vision, then Structured Data (or Time Series) with the Kaggle Rossmann Grocery Sales competition, then NLP (Natural Language Processing), then Collaborative Filtering for Recommendation Systems, then Computer Vision again with ResNet.
00:44:11 What is Deep Learning ? A kind of Machine Learning.
00:49:11 The Universal Approximation Theorem, and examples used by Google corporation.
00:58:11 More examples using Deep Learning, as shown in the PowerPoint from Jeremy course in ML1 (Machine Learning 1)
What is actually going on in a Deep Learning model, with convolutional network.
01:02:11 Adding a Non-Linear Layer to our model, sigmoid or ReLu (rectified linear unit), SGD (Stochastic Gradient Descent)
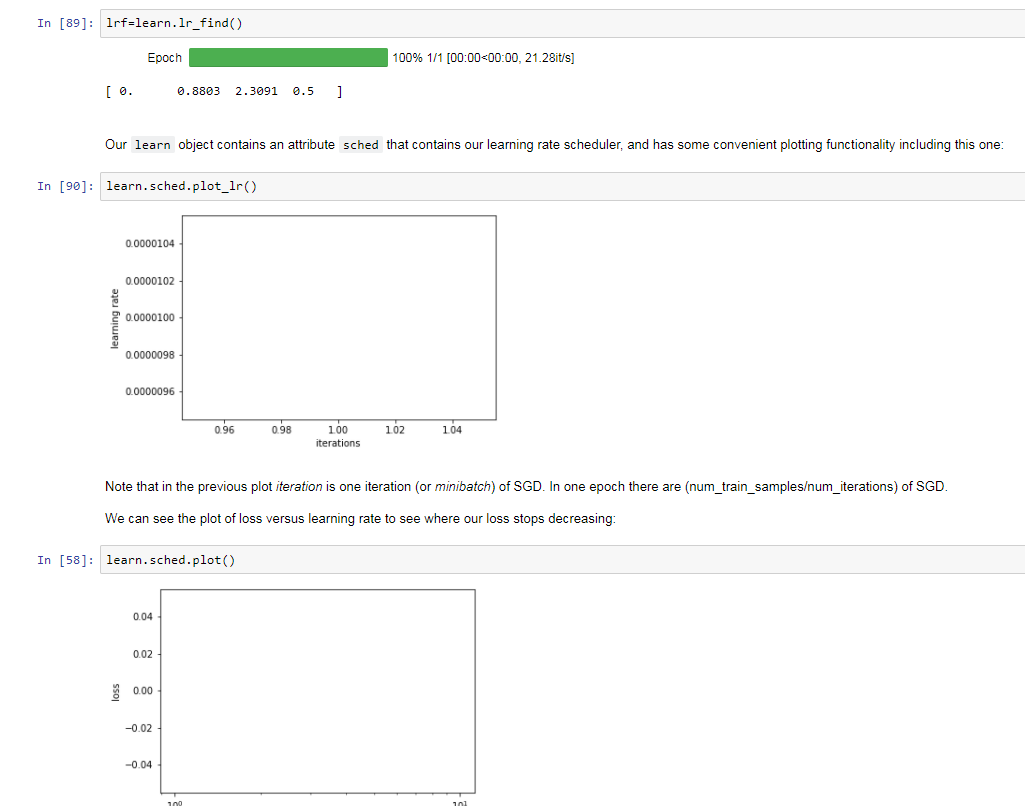
01:08:20 A paper on “Visualizing and Understanding Convolutional Networks”, implementation on ‘lesson1.ipynb’, ‘cyclical learning rates’ with Fastai library as “lr_find” or learning rate finder.
Why it starts training a model but stops before 100%: use Learner Schedule Finder.
01:21:30 Why you need to use Numpy and Pandas libraries with Jupyter Notebook: hit ‘TAB’ for more info, or “Shift-TAB” once or twice or thrice (three times) to bring up the documentation for the code.
Enter ‘?’ before the function, or ‘??’ to look at the code in details.
01:24:40 Using the ‘H’ shortcut in Jupyter Notebook, to see the Keyboard Shortcuts.
01:25:40 Don’t forget to turn off your session in Crestle or Paperspace, or you end up being charged.
What is the “Practical machine learning Course” referred to at 16mins into the first video, is this part 1 version 1? There is a brief discussion about how you should also do this mysterious other course at the same time as part 1 version 2, I thought v2 replaces v1.
Thanks Rachel. I went through the code and ran notebook 1 yesterday.
Even though I have GTX 1080 in my home system, I had issues running the notebook at that batch size of 224. I played around by increasing size from 32,64,128,160,192. I could never get the same accuracy numbers, they were always less than the original notebook. I tried playing around with learning rate by decreasing it and increasing the numbers, but the result was still the same.
I assume, the code is using batch SGD. Do you have any reading material on how does the size of batch impacts the optimization?
I think, I will play around by changing the optimization algorithms next. But as far as I read, ‘Adam’ and new algorithms maybe faster but SGD is still more accurate.
Finally, thanks to you and Jeremy for the effort you guys put in this course.
I tried two different cases wherein I downloaded 10 pictures each of yachts and cruise ships in train and 5 each in valid folder. The learning rate calculation graph doesn’t work
Learning Rate Finder runs for a maximum of ONE Epoch by trying various learning rates for different mini-batches in that one Epoch. If your batch size is larger than 5 and you have only 5 images, then One Epoch means run One Batch i.e, one learning rate. So, it results in a one datapoint for the Loss. Since it doesn’t have multiple Batch runs, its not able to Plot the curve on how Loss changes for various Learning Rates.
You can try reducing the batch size (bs parameter) to learner / data object to 1 and see if that gives you a plot (since it will try a max of 5 batches with different learning rates) But for this to be useful, you might need to collect more data. Having a dataset of 32 and Batch Size of 8 might be a good place to start?
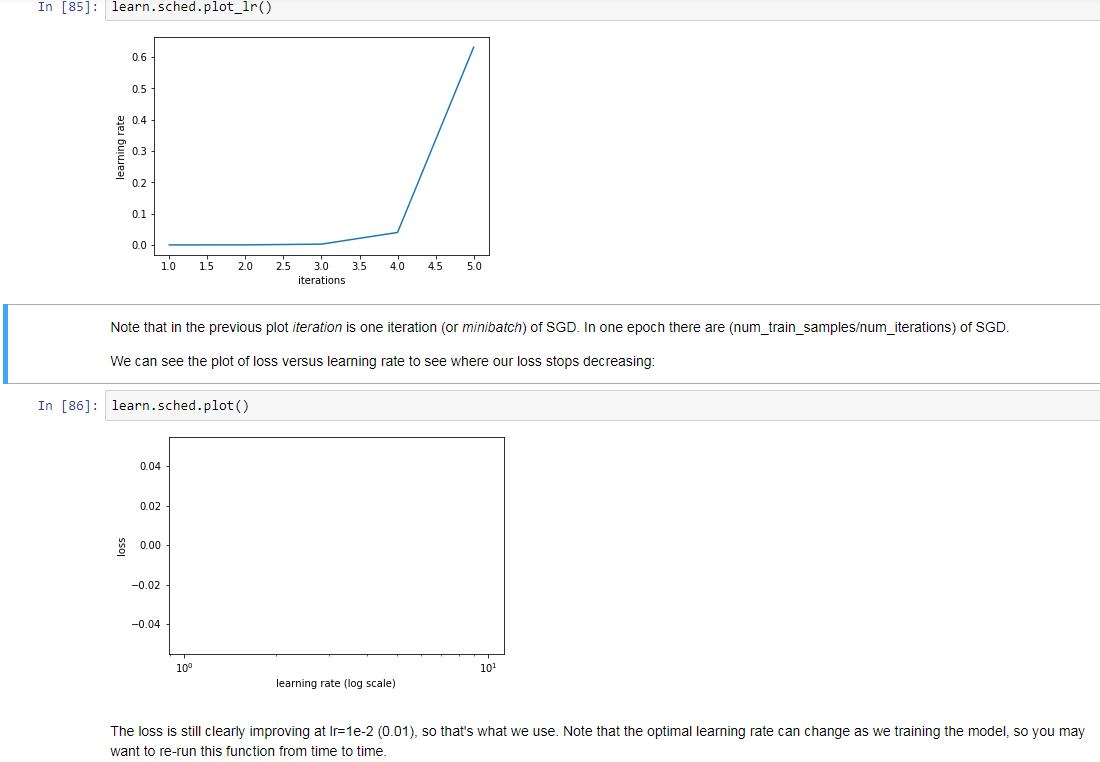
When I have problem with finding a good learning rate, I usually start with a rule of thumb of 1e-2 (0.01). But lr_find is the optimal way to find a good starting learning rate.
Here is an interesting use of image recognition to fight corruption in the extractive industries. This webinar is being shared by DataKind who helps non-profit make use of their data for good.
I just finished building a deep learning PC earlier last month. I followed the general instructions from the last class version to install cuda 8 and cudann 6. I see in the startup script for class version 2 that it’s using cuda 9 and cudann 7. Will this course run with the old 8/6, or will I need to upgrade to 9/7?
I found this useful tool to download images from Google Images
I am doing simple human race image classifier, I have created a folder called ~/data/people_original and have three folders in there called caucasian, african and asian and populated each folder using the command
So now I have three folders of ~/data/people_original/asian, ~/data/people_original/african, ~/data/people_original/cucasian, each with 200 images in them.
I was wondering if anyone has any munging code that could be repurposed for moving these splitting these images into the required folder structure that is present in the dogscats folder i.e. models sample test1 train valid.
I am guessing that this will be the way that most people will attempt to do the homework from lesson 1 and so figured this might be a useful snippet/recommended way of doing something that someone might have already done.
Or perhaps is in (or could be in) the FastAI library.
Thanks for this amazing deep learning course.
I just shifted from v1 to v2.
Where can I access the v2 .ipynb notebooks?
Are there any setup instructions for Mac and PC for v2 of the course (conda yaml file)?
The main fast.ai site only seems to contain v1 content.
I use a Mac for reviewing the notebooks with sample data,
and a PC with a GPU for more compute intensive tasks.
Hey Luke,
Try modifying this for your purposes – @rodjun created this script for the dogs vs. cats competition, but the idea is the same for what you’re doing:
Hi.
I watched some of the www.datakind.org webinars and are pretty interesting. Thanks for posting it here.
I signed up as volunteer some time ago but have not been able to contribute so far.
What is your oppinion on DataKind and their projects?
Do you know of other similar initiatives?
Best!
Ok… tried it with around 175 images each of white tiger and zebras downloaded from Google images with 150 train set and validation set.
First a few questions:
What does different epoch means? Does the system build the layers from scratch in each epoch or is it that the next epoch is building upon layers of previous epoch?
I am used to scikit train_test_split with random. Here we do the batch sizing. Is data within batches randomized every time as each time I run an epoch, the loss rates and accuracy is slightly different?
I used a batch size of 15. Still my learning rate schedule doesn’t work