Quite the opposite - that’s great to share your work on twitter! ![]()
2 Likes
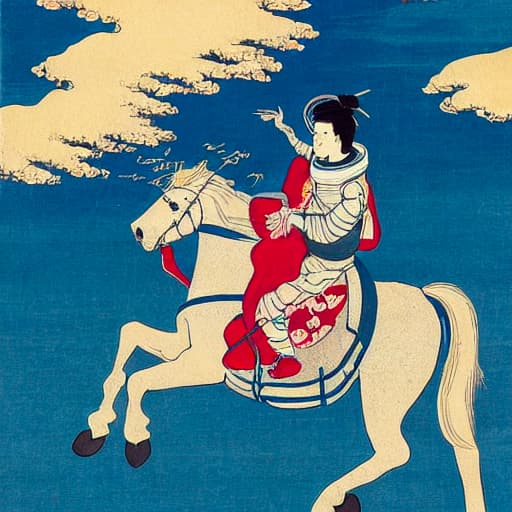
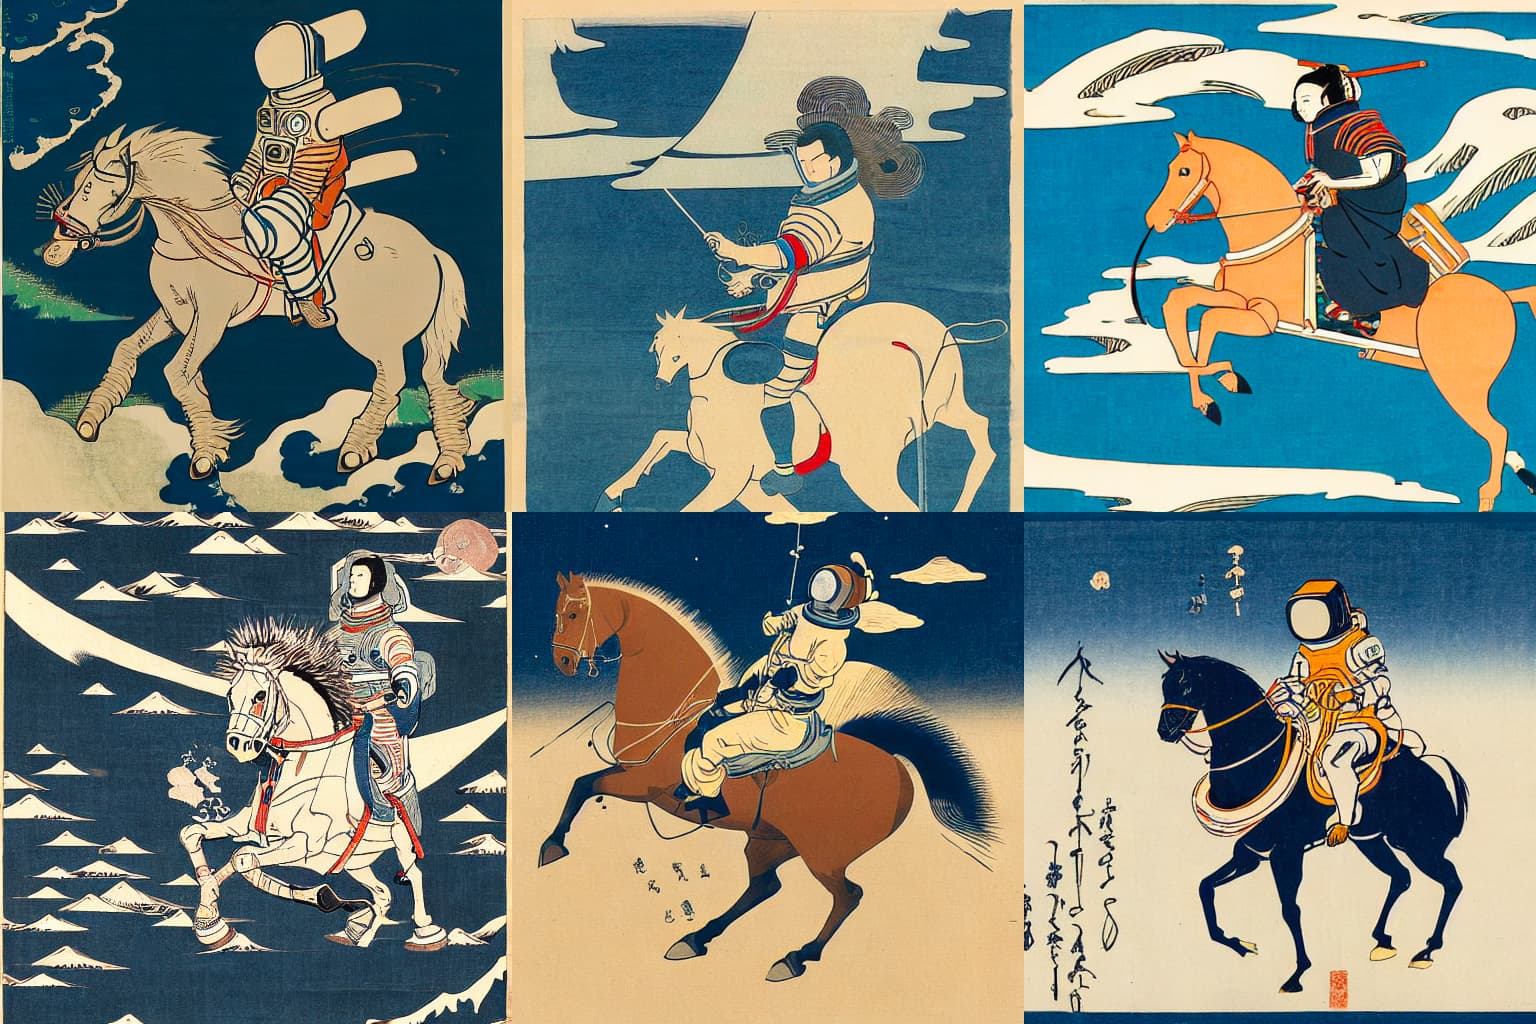
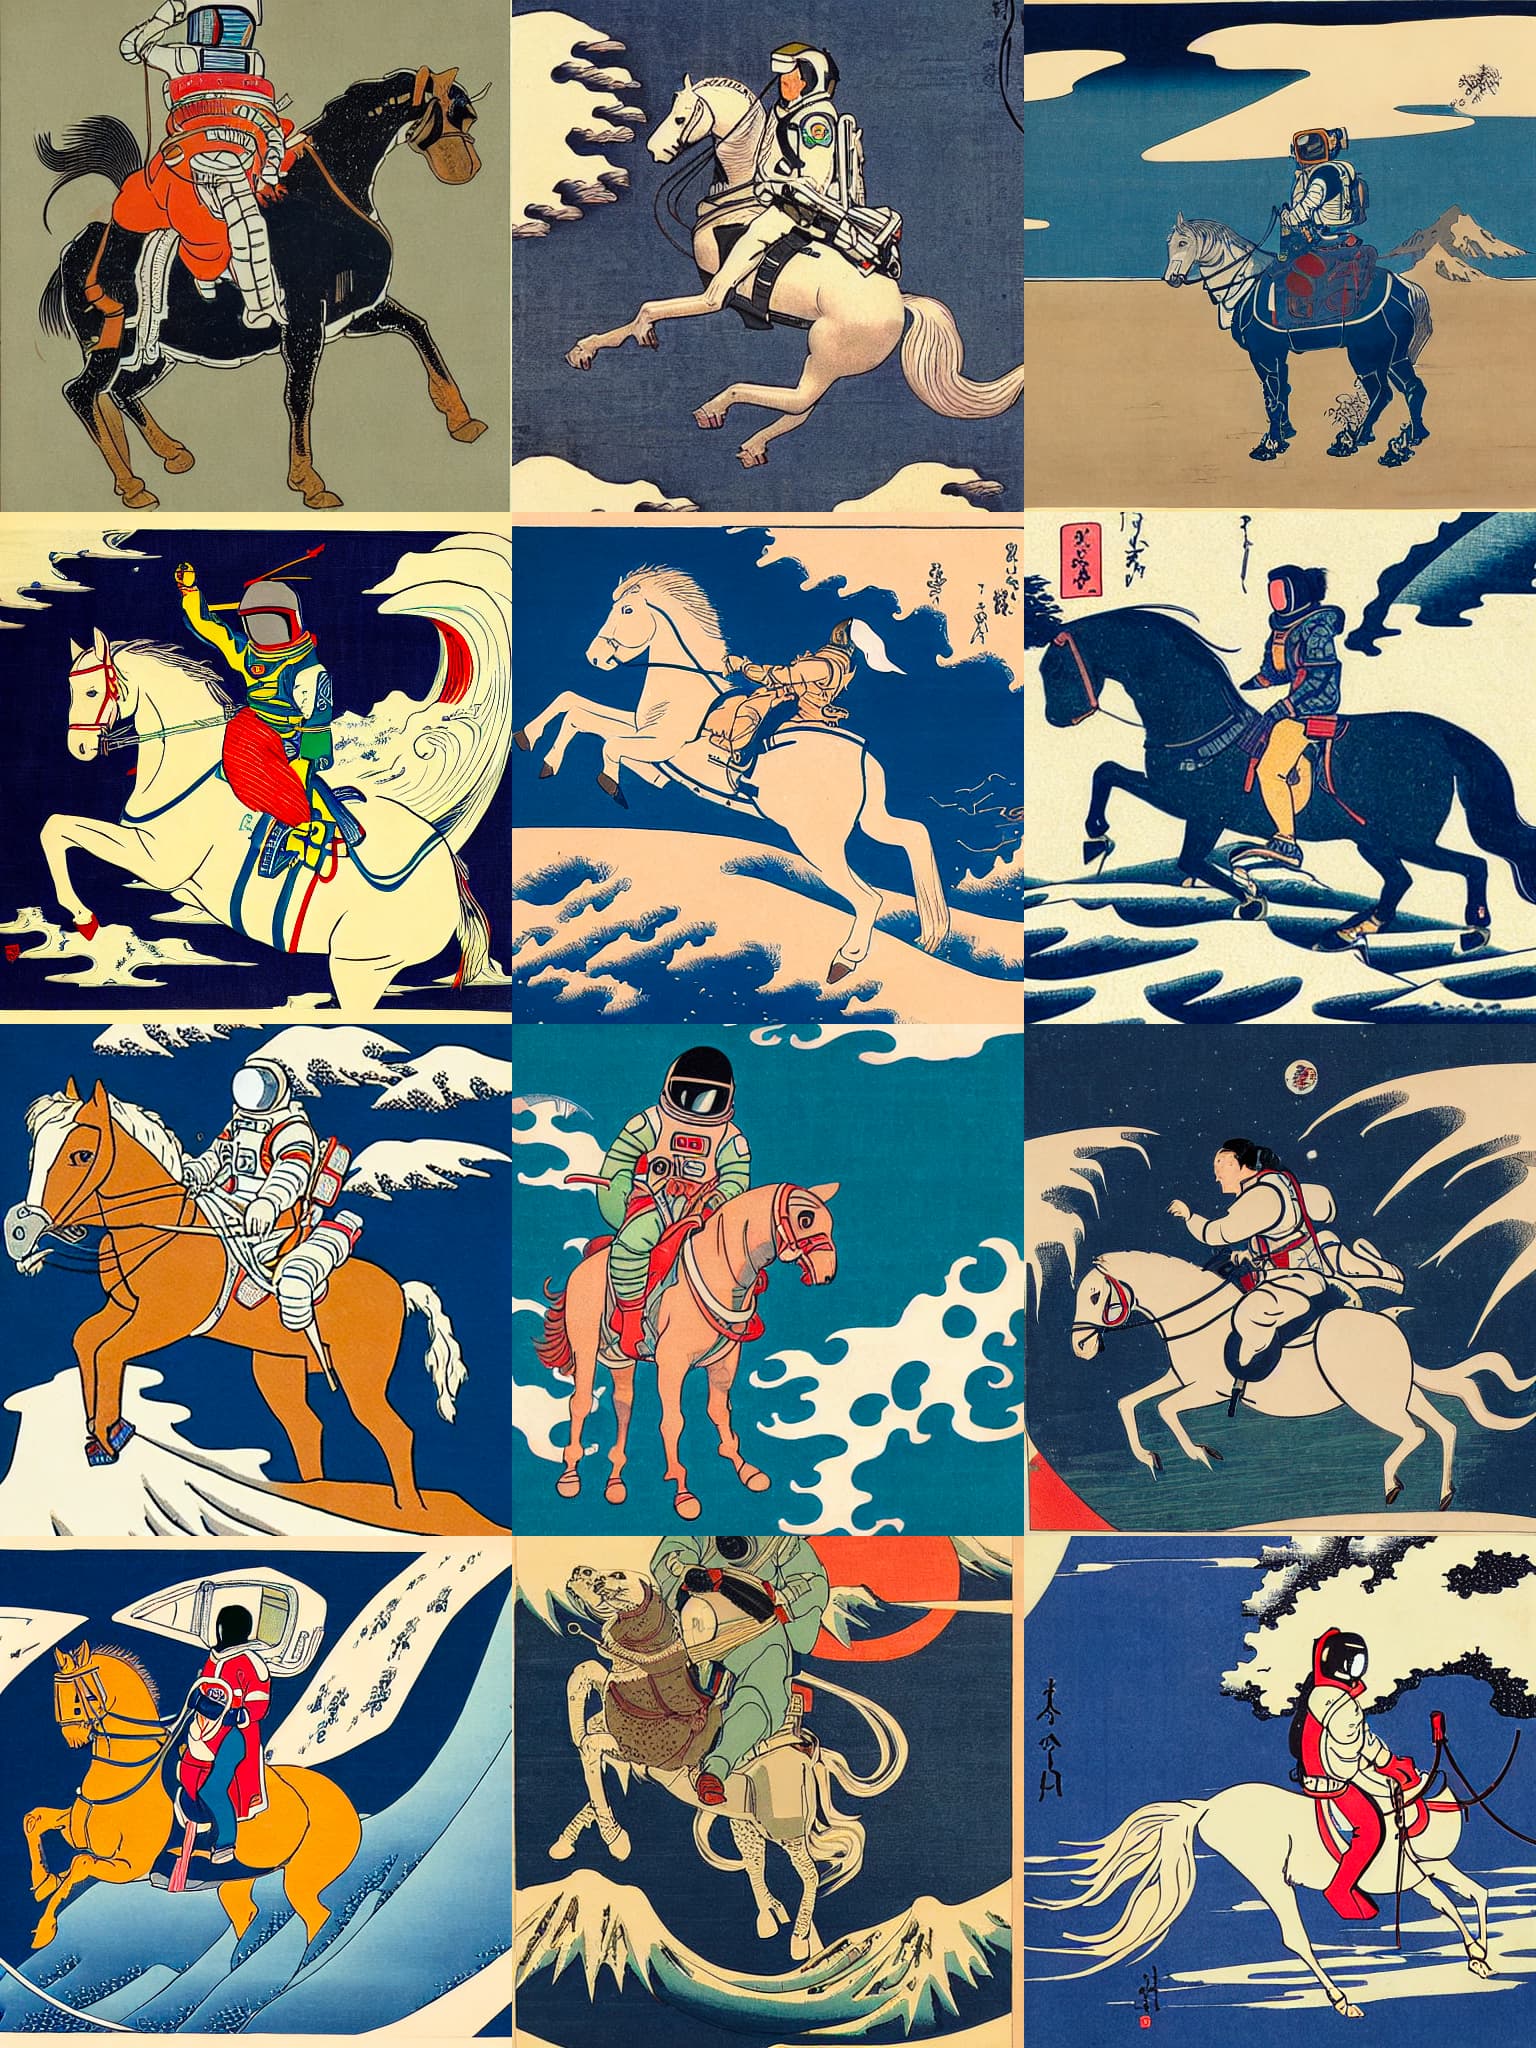
I think theese were quite beautiful.
“a photograph of an astronaut riding a horse in the style of hokusai”
22 Likes
Thanks for the kind words Jeremy. I have tweeted about the blog post here:
8 Likes
I just implemented img2img pipeline using Jeremy’s function and reading Hugging face img2img implementation , here are some results -
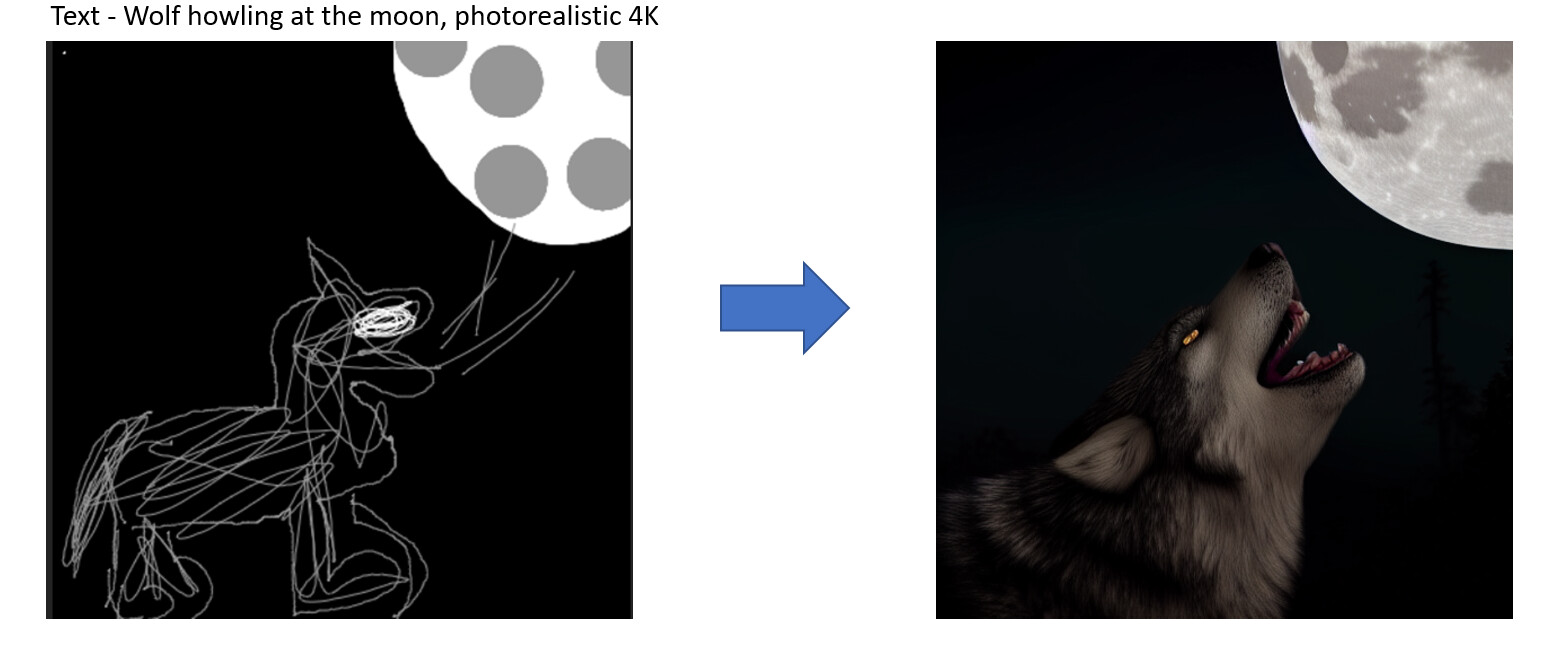
Uploaded the notebook here - diffusion_playground/2_img2img.ipynb at main · aayushmnit/diffusion_playground (github.com)
6 Likes
I implemented the Stable Diffusion engine logic as a script (rather than the usual notebooks) so that you can call the script with various command-line parameters. Then for good measure, added a callback that can be passed to the engine which would (at least currently) save image frames at given intervals.
I’m not quite happy with the callback implementation since it’s not generic enough and simply saves frames at the moment, but the plan was to expand upon it and maybe even add an option to save videos using generated frames from within the script.
But then I went off on a tangent since I wanted to see if I could implement the same logic using Keras/Tensorflow since I work/develop on a Mac and Keras/Tensorflow has been generally more stable and more responsive.
So I added another Stable Diffusion engine (this time using Keras/Tensorflow) and added the ability to switch between engines using a command-line switch ![]()
That’s where it is at the moment though I did want to add some more features (negative prompts, img2img etc.) to both engines, but not sure if I’ll manage that this week or not …
Here’s the Git repo with the code:
6 Likes
These look like good images blown out by scaling. Specifically, I’d guess the values of these shown are between 0.5 and 1 (if the full image range is (0, 1)) - here are the example images from that dataset after I messed with them and they look pretty similar.
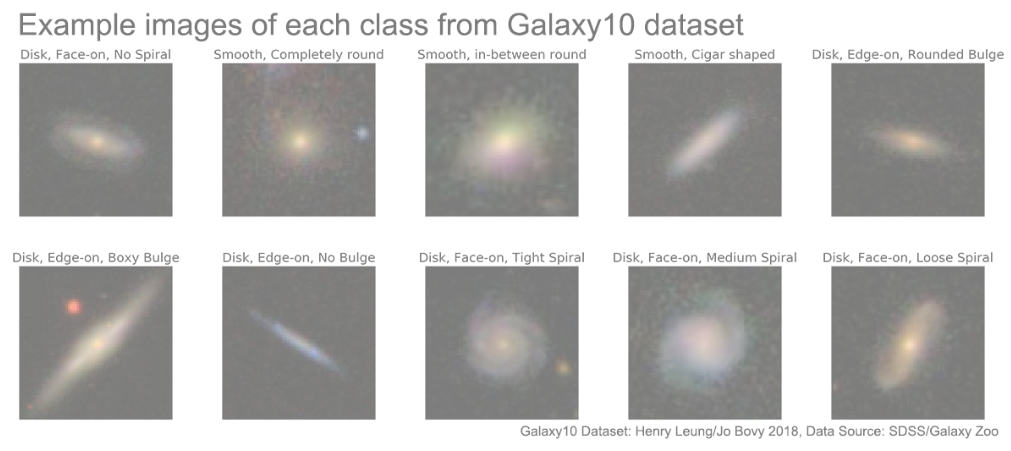
Suggested debugging: print min and max of the images, check if you’re targeting (-1, 1) or (0, 1) and look for any normalization/denormalization happening
3 Likes
I was messing around with the SD notebooks from lesson 9 and I made this.
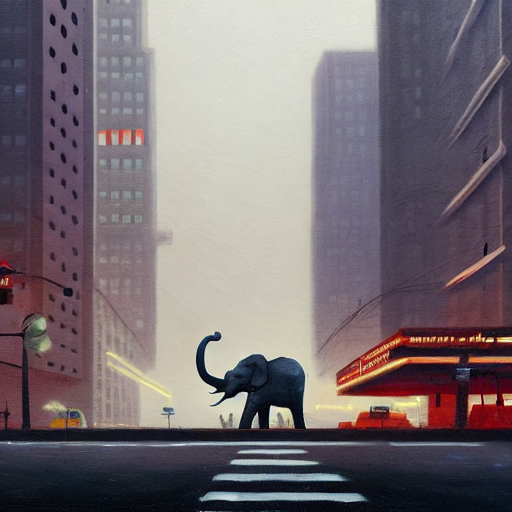
I was going for something along the lines of an elephant in a busy city but I haven’t (yet ![]() ) been able to make the road look busy with traffic.
) been able to make the road look busy with traffic.
Enjoying part two so much and definitely learning a lot.
11 Likes
I am learning how prompt-crafting is indeed an art.
My teenager likes a Minecraft Youtuber called “Parrot”, whose skin in the game looks like a green parrot:
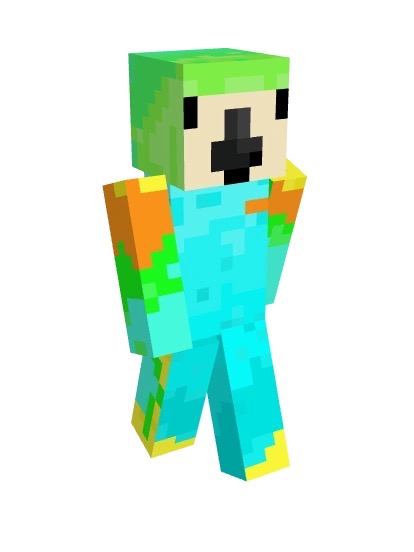
I thought it would be interesting to see whether Stable Diffusion would come up with anything that looked remotely like what Parrot looks like.
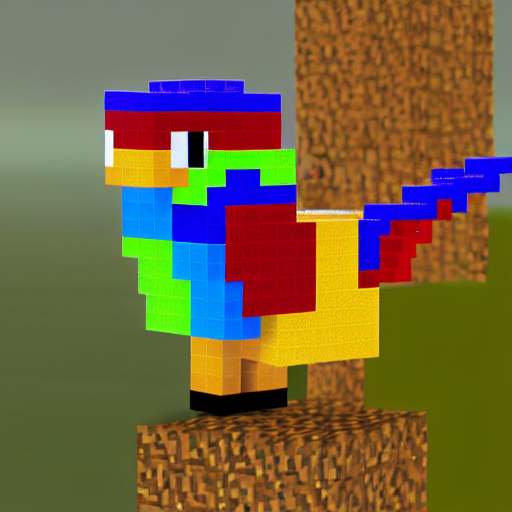
So I tried the prompt “a Minecraft parrot”, and the result was this:
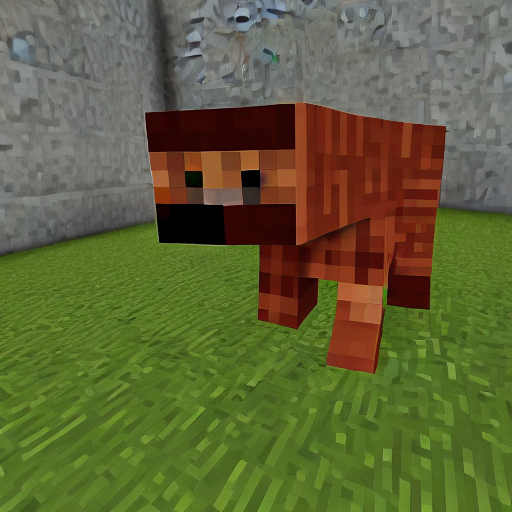
What is that?!? That is not a parrot. It’s nothing like the Youtuber, and nothing like a Minecraft parrot either (which looks like this):

Let’s try again, “A colorful Minecraft parrot perched on a tree”:
Oops. Looks more like a parrot, but doesn’t look like a player’s skin.
Let’s try again, “A colorful Minecraft skin that looks like a parrot”:
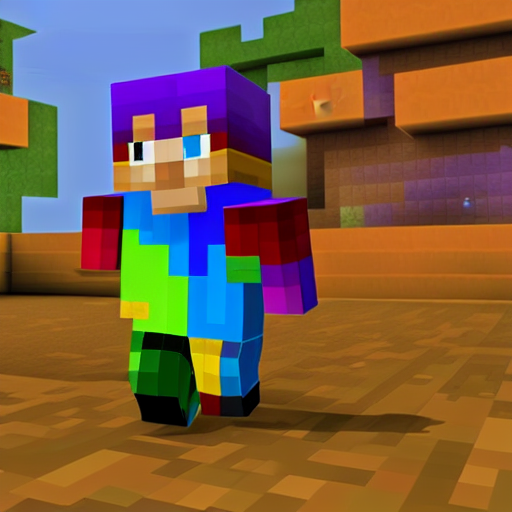
Ok, now we’re getting somewhere. But it’s rough to get any closer.
I gave up at “A light blue-green Minecraft player skin that looks like a green parrot”. It’s good but not fantastic; I like the one above better (though it doesn’t look anything like the player Parrot either). This one isn’t readily recognizable as a parrot, and it doesn’t follow most of the current trends around what popular skins look like.
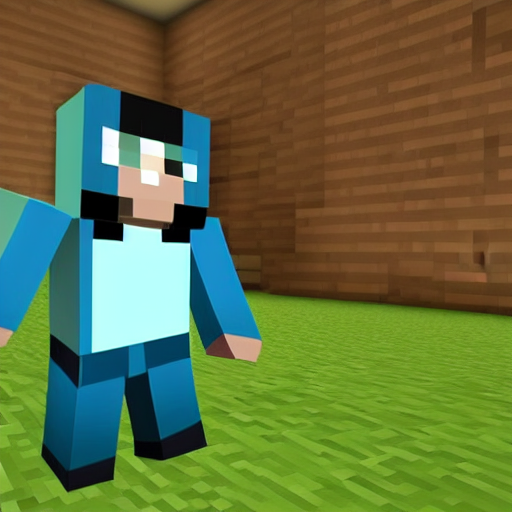
Adding additional detail to the prompt, such as “green hair”, “green helmet”, “green hat” didn’t seem to help. Also, the generated images heavily favored blue - I didn’t think put in a negative prompt for it, but in retrospect should have.
Perhaps a Minecraft-specific training dataset would do better on the finer details of skins? I feel like it gets the broad contours right enough to fool someone with passing familiarity with Minecraft, but your average teenager would spot this fake immediately ![]()
It was fun to play around with this, and it gave me an appreciation for how difficult it is to construct good prompts!
14 Likes
Maybe you could finetune SD on some video frames from your son playing Minecraft (pics of his character…) and use textual inversion?
1 Like
Haha, as we speak I am in the sd_textual_inversion_training notebook on colab checking it out. Great minds think alike ![]()
2 Likes
Mind sharing the link?
Don’t have it handy (I’m away from keyboard right now), but I believe I got the link from John Whittaker’s stable diffusion walk-through notebook, the part where he talks about creating .
1 Like
Hello colleges. I have been learning plenty from the course, and trying out things. I wonder if I missing a homework section, or I need to submit something by a certain time. It’s my first time to take this course live, so would appreciate it if you let me know.
Basically, is there home work that we need to submit at a specific time. Or it like learn the material from lecture, try it out, and share it here?
Sorry if I am missing something!
I recently found out that, having more steps doesn’t always produce the best result. In one of my tests, the smallest no of steps produces the best result.
And also, the best result is not the last step’s latent.
See below:

I think it’d be nice if SD UIs can show us intermediate latents & pick the result we want.
6 Likes
There’s no assessment/credentialing – just experiment and share! ![]()
2 Likes
Thank you!.. Will do…
This is an interesting idea — the trouble generally, at least from the perspective of a GUI developer, is that everybody wants the fastest image generator and generating intermediate frames takes up time ![]() Of course, there are GUIs which allow you to create a video (and/or frames from the generation process) and that should do what you want, right?
Of course, there are GUIs which allow you to create a video (and/or frames from the generation process) and that should do what you want, right?
I added the ability to save frames at specified steps (so that you have control over speed) via a CLI arguments to the SD generator that I created after watching the initial videos of the course. You can play around with it from this repo (Apologies if re-posting the same GitHub link is a no-no … I didn’t know how else to do this …):
But not a lot of installation instructions (yet) I’m afraid. But would be interested to hear what you think ![]()
3 Likes
Not a problem at all. Much more convenient than having to go back and find an old post!
1 Like
I think having keeping latents in memory won’t be that of an issue. I hope using the VAE is the costly option. May be this should be an opt-in feature. If you are doing this locally, maybe we can use the CPU for these tasks.
I come from old-school coding where memory was always a constraint and so tend to not keep anything in memory if I can help it ![]() But I should do some tests to compare what the time vs memory values are for keeping the latents in memory and writing them immediately to disk. Will do that when I have some time and post it here since it might be of interest to others too …
But I should do some tests to compare what the time vs memory values are for keeping the latents in memory and writing them immediately to disk. Will do that when I have some time and post it here since it might be of interest to others too …
2 Likes