I used the things we did in the second half of lesson 10 as a template to implement it all myself again (looking back at the original notebook when I got stuck etc), but this time for the Fashion-MNIST dataset:
It’s mostly the same as in how Jeremy did things during the lecture, but there are some weirdnesses to how the original data needed to be processed. I’ve included a table at the top showing the various things we did in class (with links to the docs) as well as a ‘things Jeremy says to do’ down at the bottom with regards to this part of the class.
I am fascinated by the ability to modify an image generated by Stable Diffusion by passing in the seed and an edited prompt. In fact, one of the reasons I wanted to do the Part 2 course was to learn how I could create code to do this since I couldn’t understand the logic from existing papers such as Imagic, Cross Attention Control, Re-Imagen, and UniTune
So, one of the first things I wanted to attempt based on the knowledge I’ve gained so far was to see if I could do the above in a simpler way since I still don’t understand those papers (Yes, I’m not serious … after two lectures I don’t really expect to understand those papers enough to implement them … but I do have a much better understanding than when I started.)
I appeared to get it working after the very first try and I must confess that I’m a bit surprised. Here’s my first result:
I have a feeling that this isn’t right … that this was because I didn’t do enough testing since the examples were too simplistic. So I do want to continue on this but am posting the link to the repo with the notebook here in case somebody else has insights or would also be interested in playing around with it …
yeah great point, in the first version of the Geniverse we had exactly that when we had the VQGAN model, you could stop the generation after whatever number of iterations and you had a slider to travel back in time and see all the previous steps decoded and you could choose to pick whichever of them you liked; and as you say, many times I would prefer results that were not the last one, but close to the last one, or before the last one in any case; problem is that preserving all those intermediate results spent more resources in general so eventually we removed that feature;
nowadays with stable diffusion, we have to consider that as Jeremy explained in the last lesson, the number of inference steps is now being dramatically reduced, from 50 to now 8 or 16, soon will be 4, etc, so there won’t much alternatives to choose from the latest strategies to reduce the number of steps sacrify a tiny bit of quality to gain a lot of speed; and in the end, speed wins, people want fast results, which means that most people will be happy to get a result that is close to the ideal (in practical terms) in exchange for a faster process (as long as you lose only small bits of quality, speed = productivity = scalability wins)
I did some playful experiments to help stretch my Python muscles and build some intuitions.
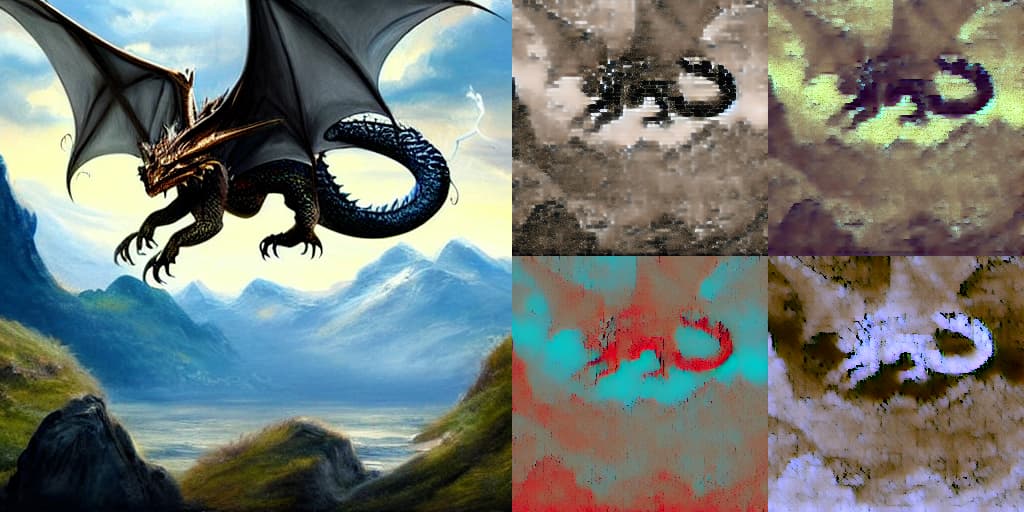
Since we can use the autoencoder to encode images into latents and decode them back into an image, let’s try round-tripping that. We know the autoencoder’s reconstruction is imperfect, so let’s see what kind of artifacts appear (if any). Maybe details it doesn’t know about just get omitted out and we reach a steady state?
(Those are the four latent channels on the right of the image.)
And what’s up with those latents, anyway? How do they inform the image exactly? Here’s an SD result with four decoded versions with each latent channel “soloed”, so that all but one of the channels is zeroed-out.
So they seem to inform color and the local structure (8x8 block) of the image. Hard to be more specific than that.
Over in unet land, I was curious what the noise predictions actually looked like and how they change. I was surprised to see how little they change…I was expecting the unet to fizz like static. (On the right there are three columns – the unconditional latents, the text guided latents, and the difference.)
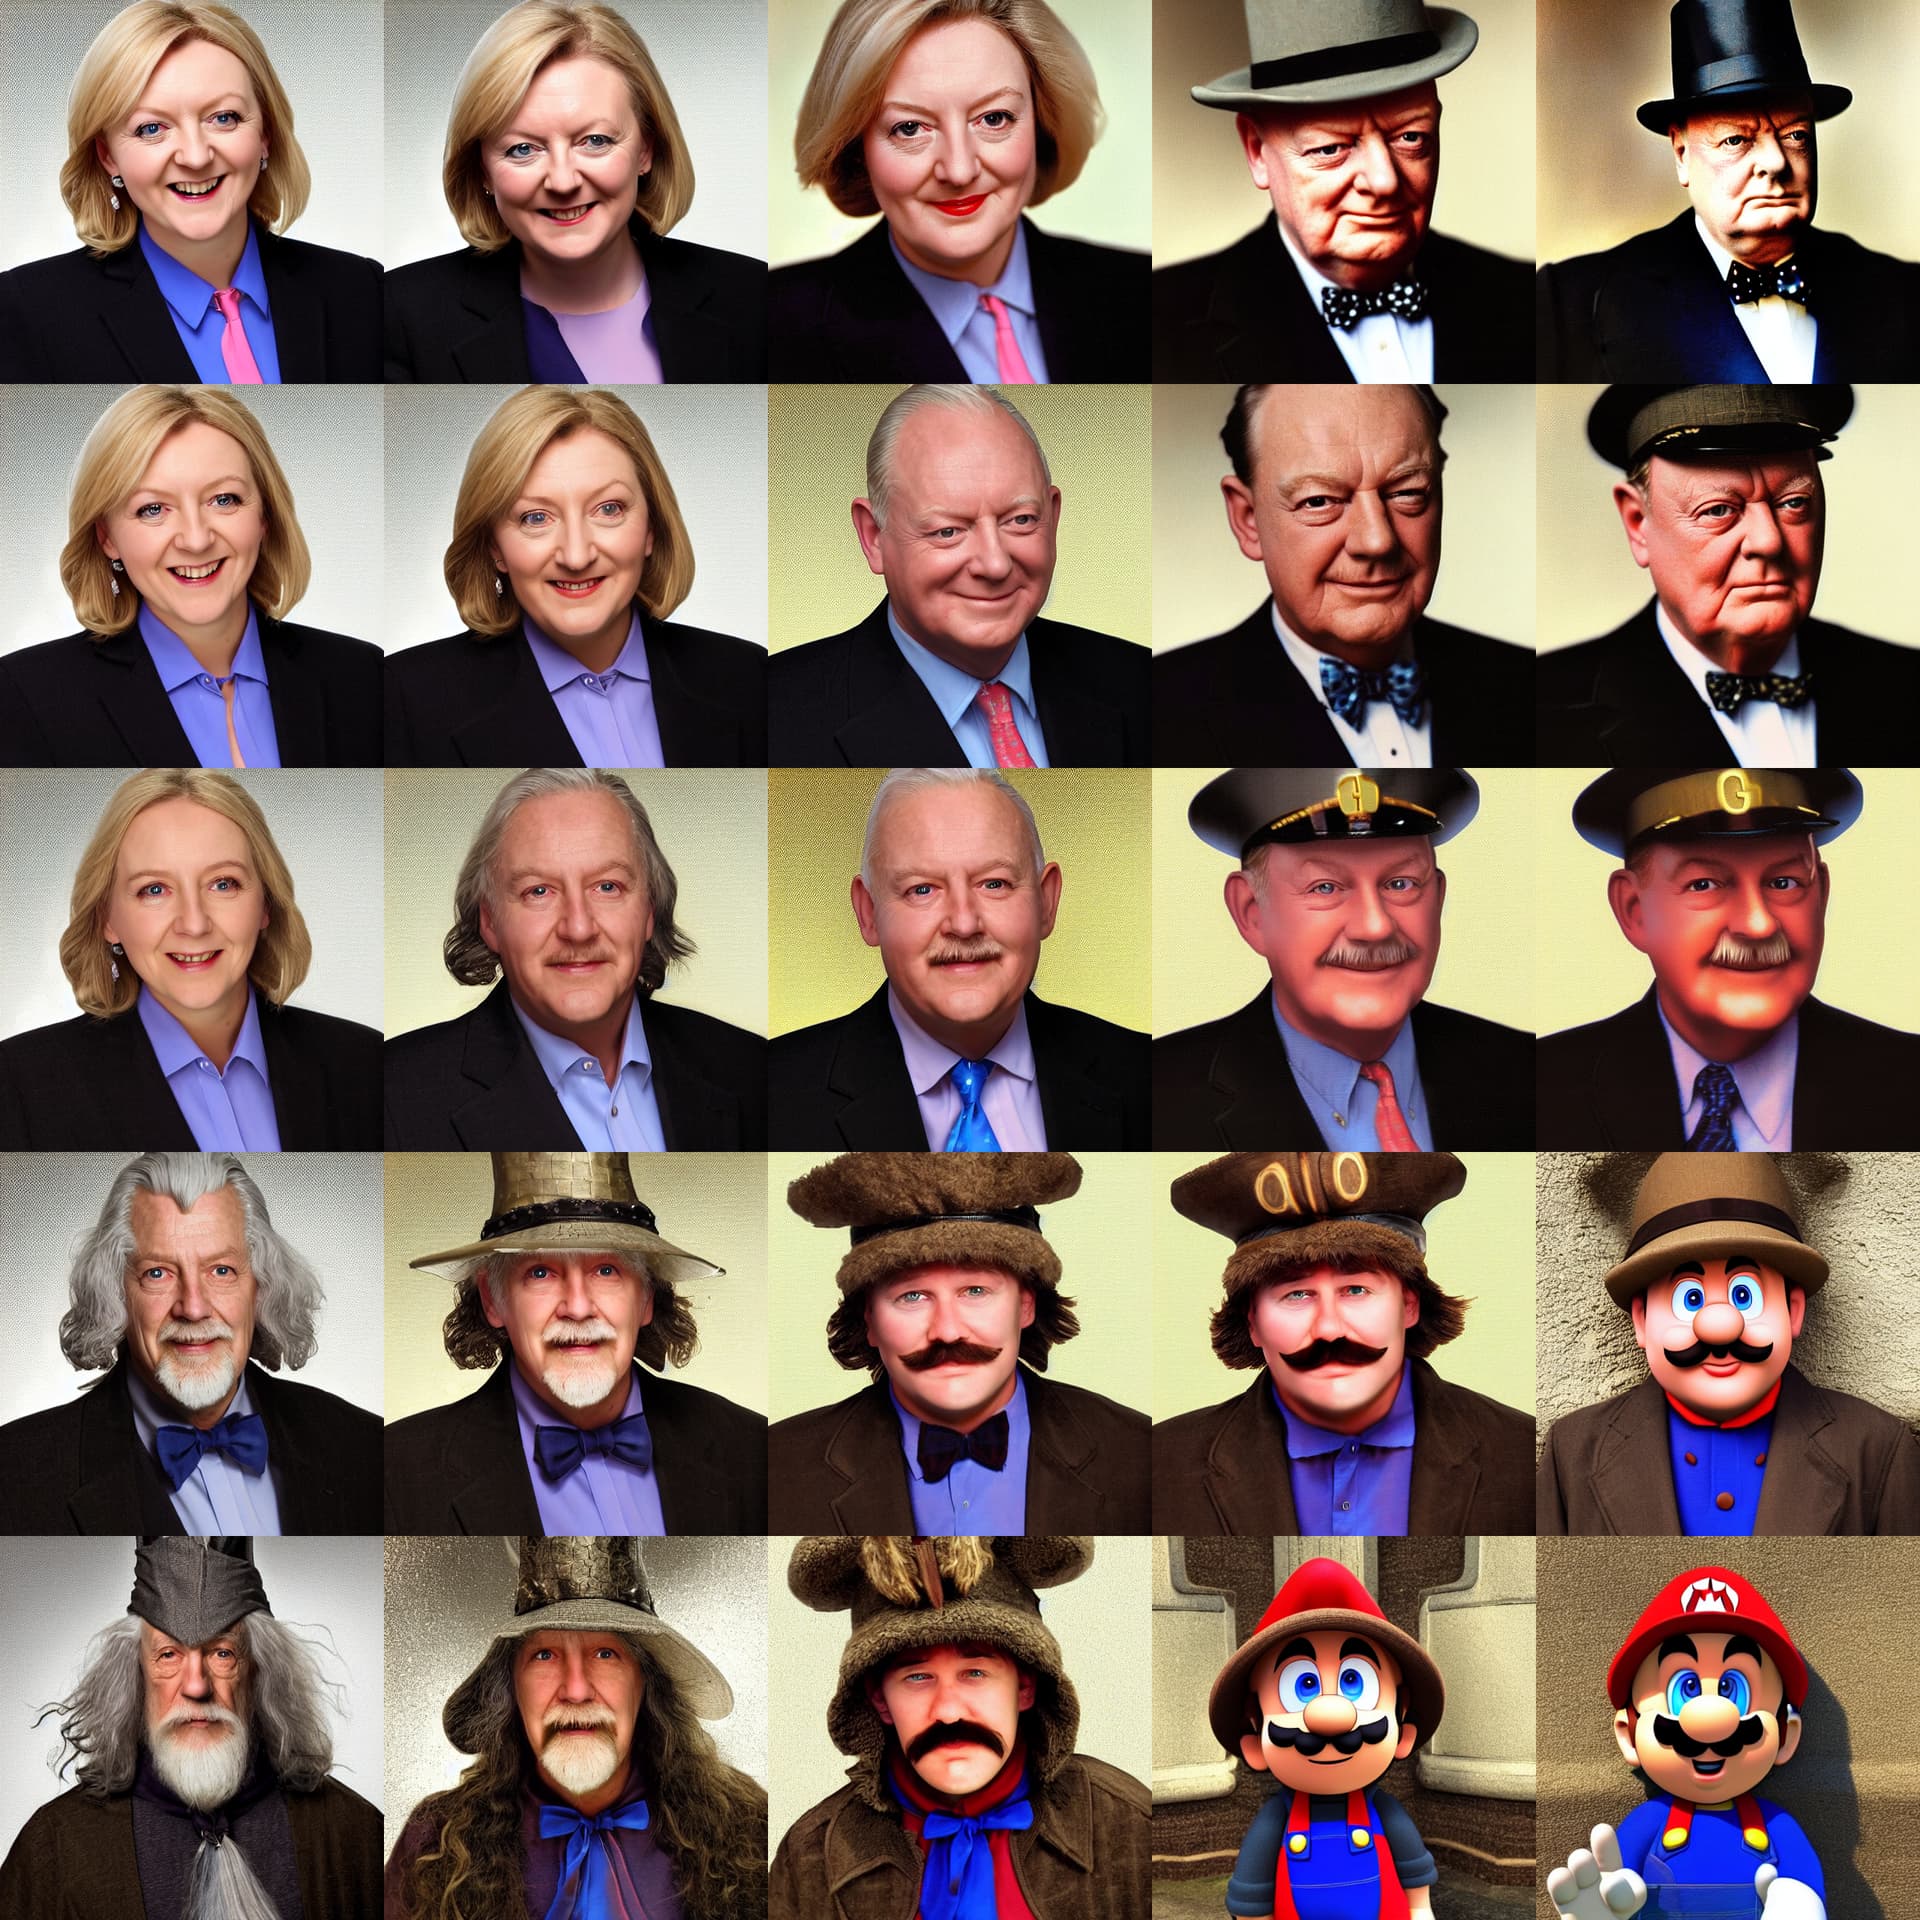
I went through the motions of interpolating embeddings…here’s Albert Einstein going to Gandalf.
Finally, because embedding interpolation is so fun, here’s an interpolation matrix of some notable characters. (Click the image to get more detail)
Something that notably didn’t work: I tried to mix text embedding interpolation with img2img, thinking that might promote image stability. Howver, I found when I fed back the latents with a not-very-interpolated embedding, the image would get excessively “guided”, blowing out colors and details.
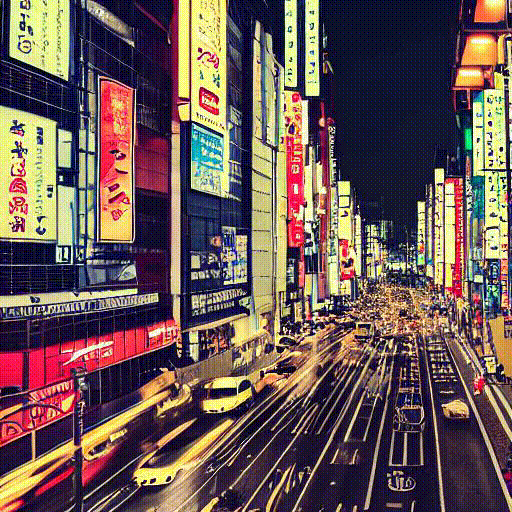
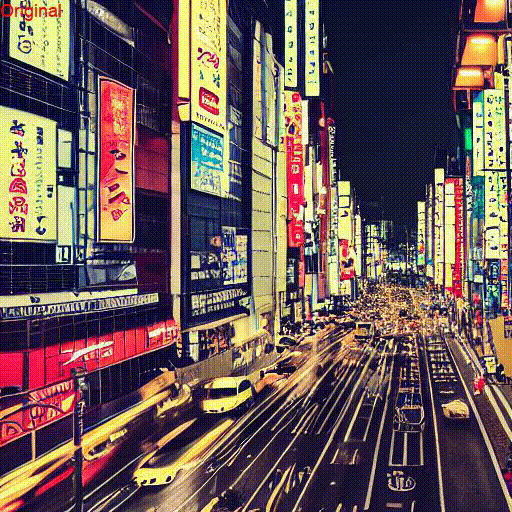
I was playing around with linear interpolations. Here are the prompts I was using -
prompts = [
    "busy streets in night in Tokyo photgraph", # 0
    "busy streets in night in Korea photgraph", # 2
    "busy streets in night in Beijing photgraph", # 4
    "busy streets in night in Delhi photgraph", # 6
    "busy streets in night in Paris photgraph", # 8
    "busy streets in night in New York photgraph", # 10
    "busy streets in night in Seattle photgraph" # 12
]
I tried two things -
Was to use the image generated in the intermediate step to feed the next step of img2img pipeline, which looked like this (the image became more abstract as we progress further) -
To use the initial image and keep generating different images using img2img pipeline, which looked more what I wanted to do -
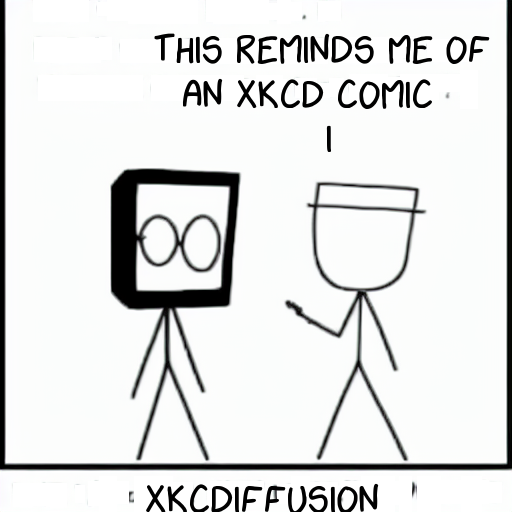
Is it possible to generate new xkcd comics with stable diffusion? Sort of!
I wanted to see how well SD could reproduce the style of the popular xkcd comics. Some factors make it seem easy:
Usually black and white
Simple stick figures
Consistent text font
Many examples to fine-tune on
But there are some factors that make things harder:
Mix of comics that are single panel and multi-panel
Many don’t have the square aspect ratio SD prefers
How will SD try to draw concepts that never appear in the comics? Will the style seem consistent or go off the rails?
Approach
I first gathered a dataset of 74 recent single panel xkcd comics. This simplifies things so there are not multiple panels and the aspect ratio is close to square.
I used these to fine-tune a SD model using Dreambooth for 2,000 train steps.
Results
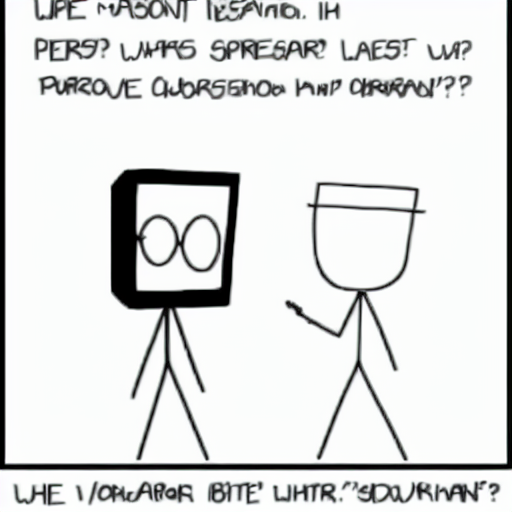
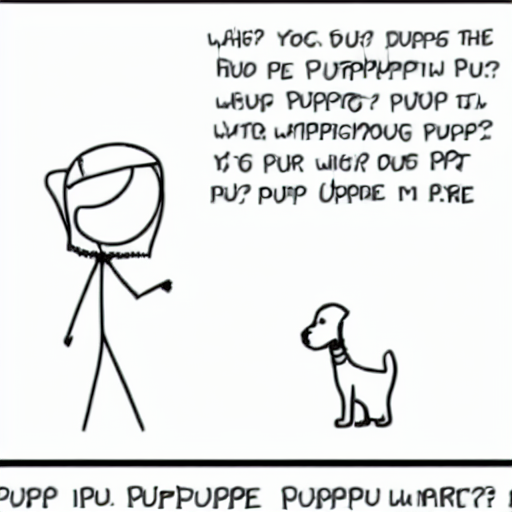
Running on this fine-tuned model I got results like this with the prompt:
“person talking to (robot|puppy|toucan), line drawing of xkcd comic”:
There were no robots, dogs, or birds in the 74 single panel comics I used for Dreambooth finetuning so I was pleased that the results were stylistically similar but still recognizable.
Fixing the text
The text was garbled, but still text-like. This is valuable even though it has no semantic meaning or coherence (it does seem to try saying “puppy”).
I used pytesseract OCR to get bounding boxes on the “text” then filled with white (i.e. erasing). Using an xkcd font and PIL to write xkcd font text back into the image I could get a corrected comic like below.
I came up with the text here, but given the right context and some space constraints this could be generated by a text-generation model like GPT-2 etc. There are some datasets for humor explaination that might assist with consistent results.
Conclusion
So there you have it. With SD and a few hacks you can make your own xkcd comics!
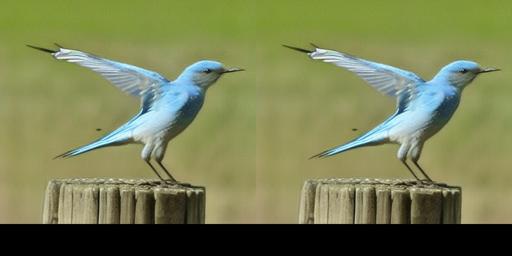
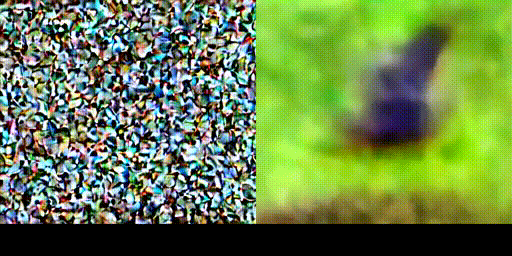
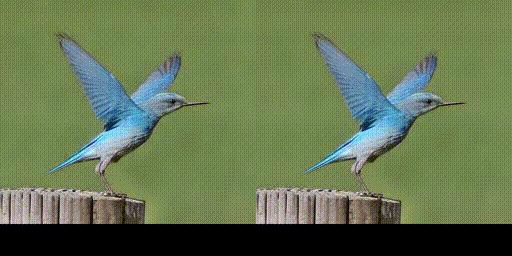
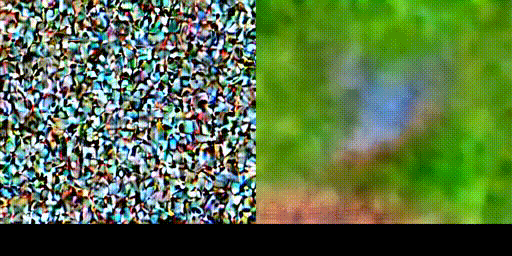
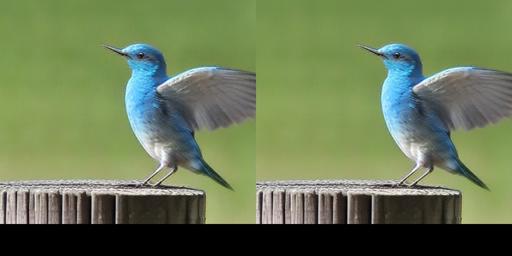
Some really cool stuff in this thread! Over the weekend I tried to implement the Imagic paper. I couldn’t get results that looked as good as the paper but still pretty neat.
These were some of the best results:
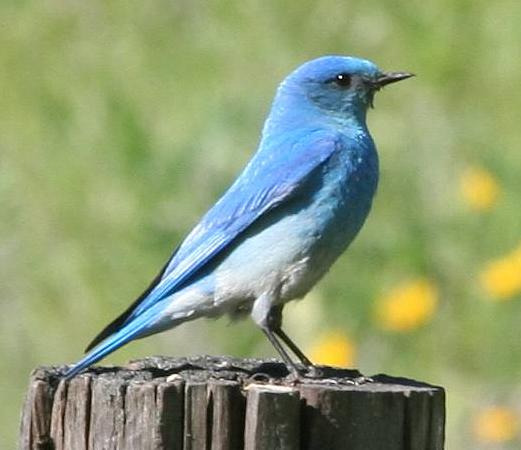
Inputs:
Prompt: "A photo of a bird spreading its wings"
Image:
Results:
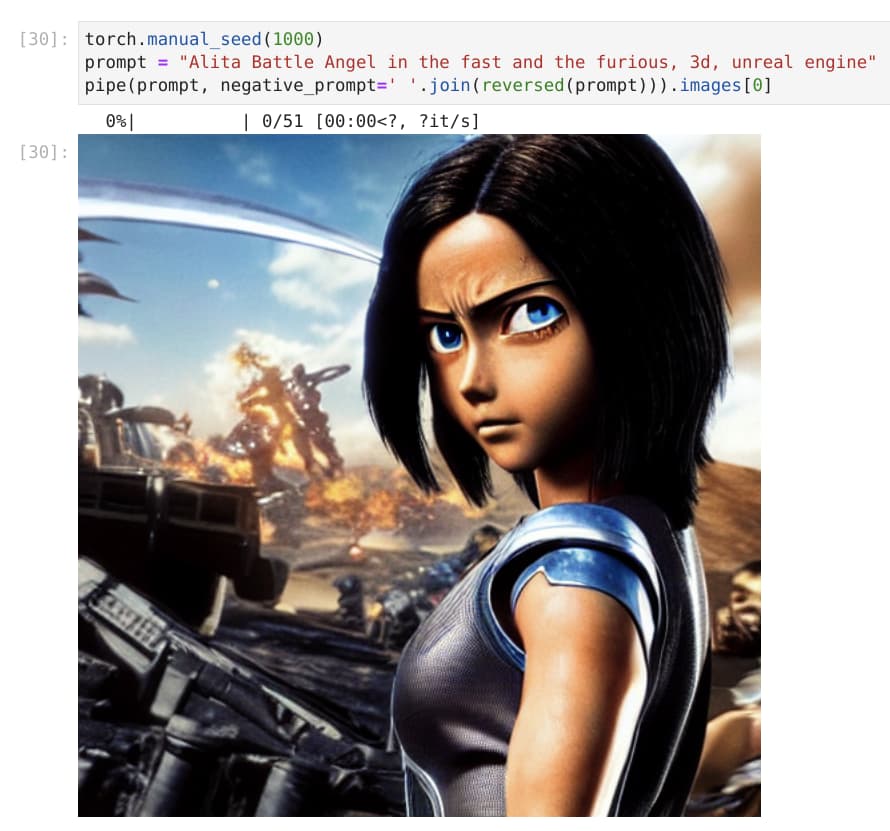
This one is not facing the right direction but I think it still looks pretty good
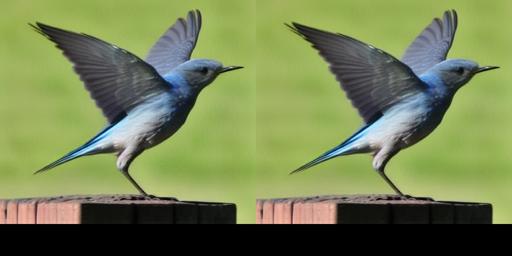
This version of negative prompting seems to dramatically improve the details, where I simply reverse the sentence in the prompt, and use it as a negative prompt.
Interesting. During training, they use the blank prompt some percentage of the time. So the model associates that with unconditional generation, and maybe skews towards smoother/blurrier results for those cases since that’s a hard task? Whereas when given a prompt there may be less penalty for guessing at sharper details, and so in inference passing even a garbled reversed nonsense string avoids the issue? OR it’s just a difference with how the negative prompting is handled compared to normal generation - can you compare with pipe(prompt, negative_prompt='')?
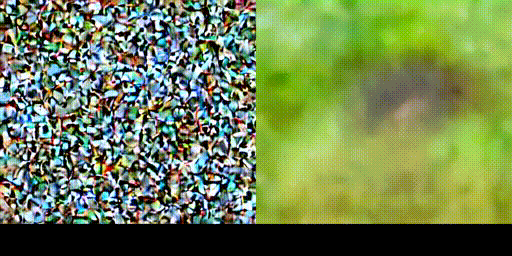
I was looking at the encoded layer [1,4,64,64] and messing with it just to see what happened - taking an average of two different encodings and then decoding gave interesting but I guess somewhat expected results - that might be an interesting approach in moving between different prompts in a flowing way, that isn’t just a video transition. My thought was taking song lyrics and producing an automatic video.
This was Starry, starry night by Van Gogh mixed with a real image (Space Needle and Blue Angels Jets) - but next step might be going through the lines of ‘Vincent’ by Don MacLean.