For those of you wanting to run the v3 course notebooks on your own DL rig, here are the steps I followed to get things working …
I LOVE tmux and tmuxp and highly recommend both as a mean to get you up and running quickly.
UPDATED - 11/2/2019
INSTALLATION STEPS:
- Clone the course repo:
mkdir -p ~/development/_training/ml/fastai-courses
cd ~/development/_training/ml/fastai-courses
git clone https://github.com/fastai/course-v3.git
- Create a conda environment:
conda create --name fastai-course-v3 python=3.7
- Create a tmuxp .yml file to configure your environment (see here for more on tmuxp)
touch ~/.tmuxp/fastai-course-v3.yml
vim ~/.tmuxp/fastai-course-v3.yml
session_name: fastai-course-v3
windows:
- window_name: dev window
  layout: main-vertical
  options:
    main-pane-width: 140
  shell_command_before:
    # run as a first command in all panes
    - cd ~/development/_training/ml/fastai-courses/course-v3
    - source activate fastai-course-v3
  panes:
    - shell_command:
      - clear
    - shell_command:
      - clear
      - jupyter notebook
    - shell_command:
      - watch -n 0.5 nvidia-smi
- Load the tmux environment you just defined:
tmuxp load fastai-course-v3
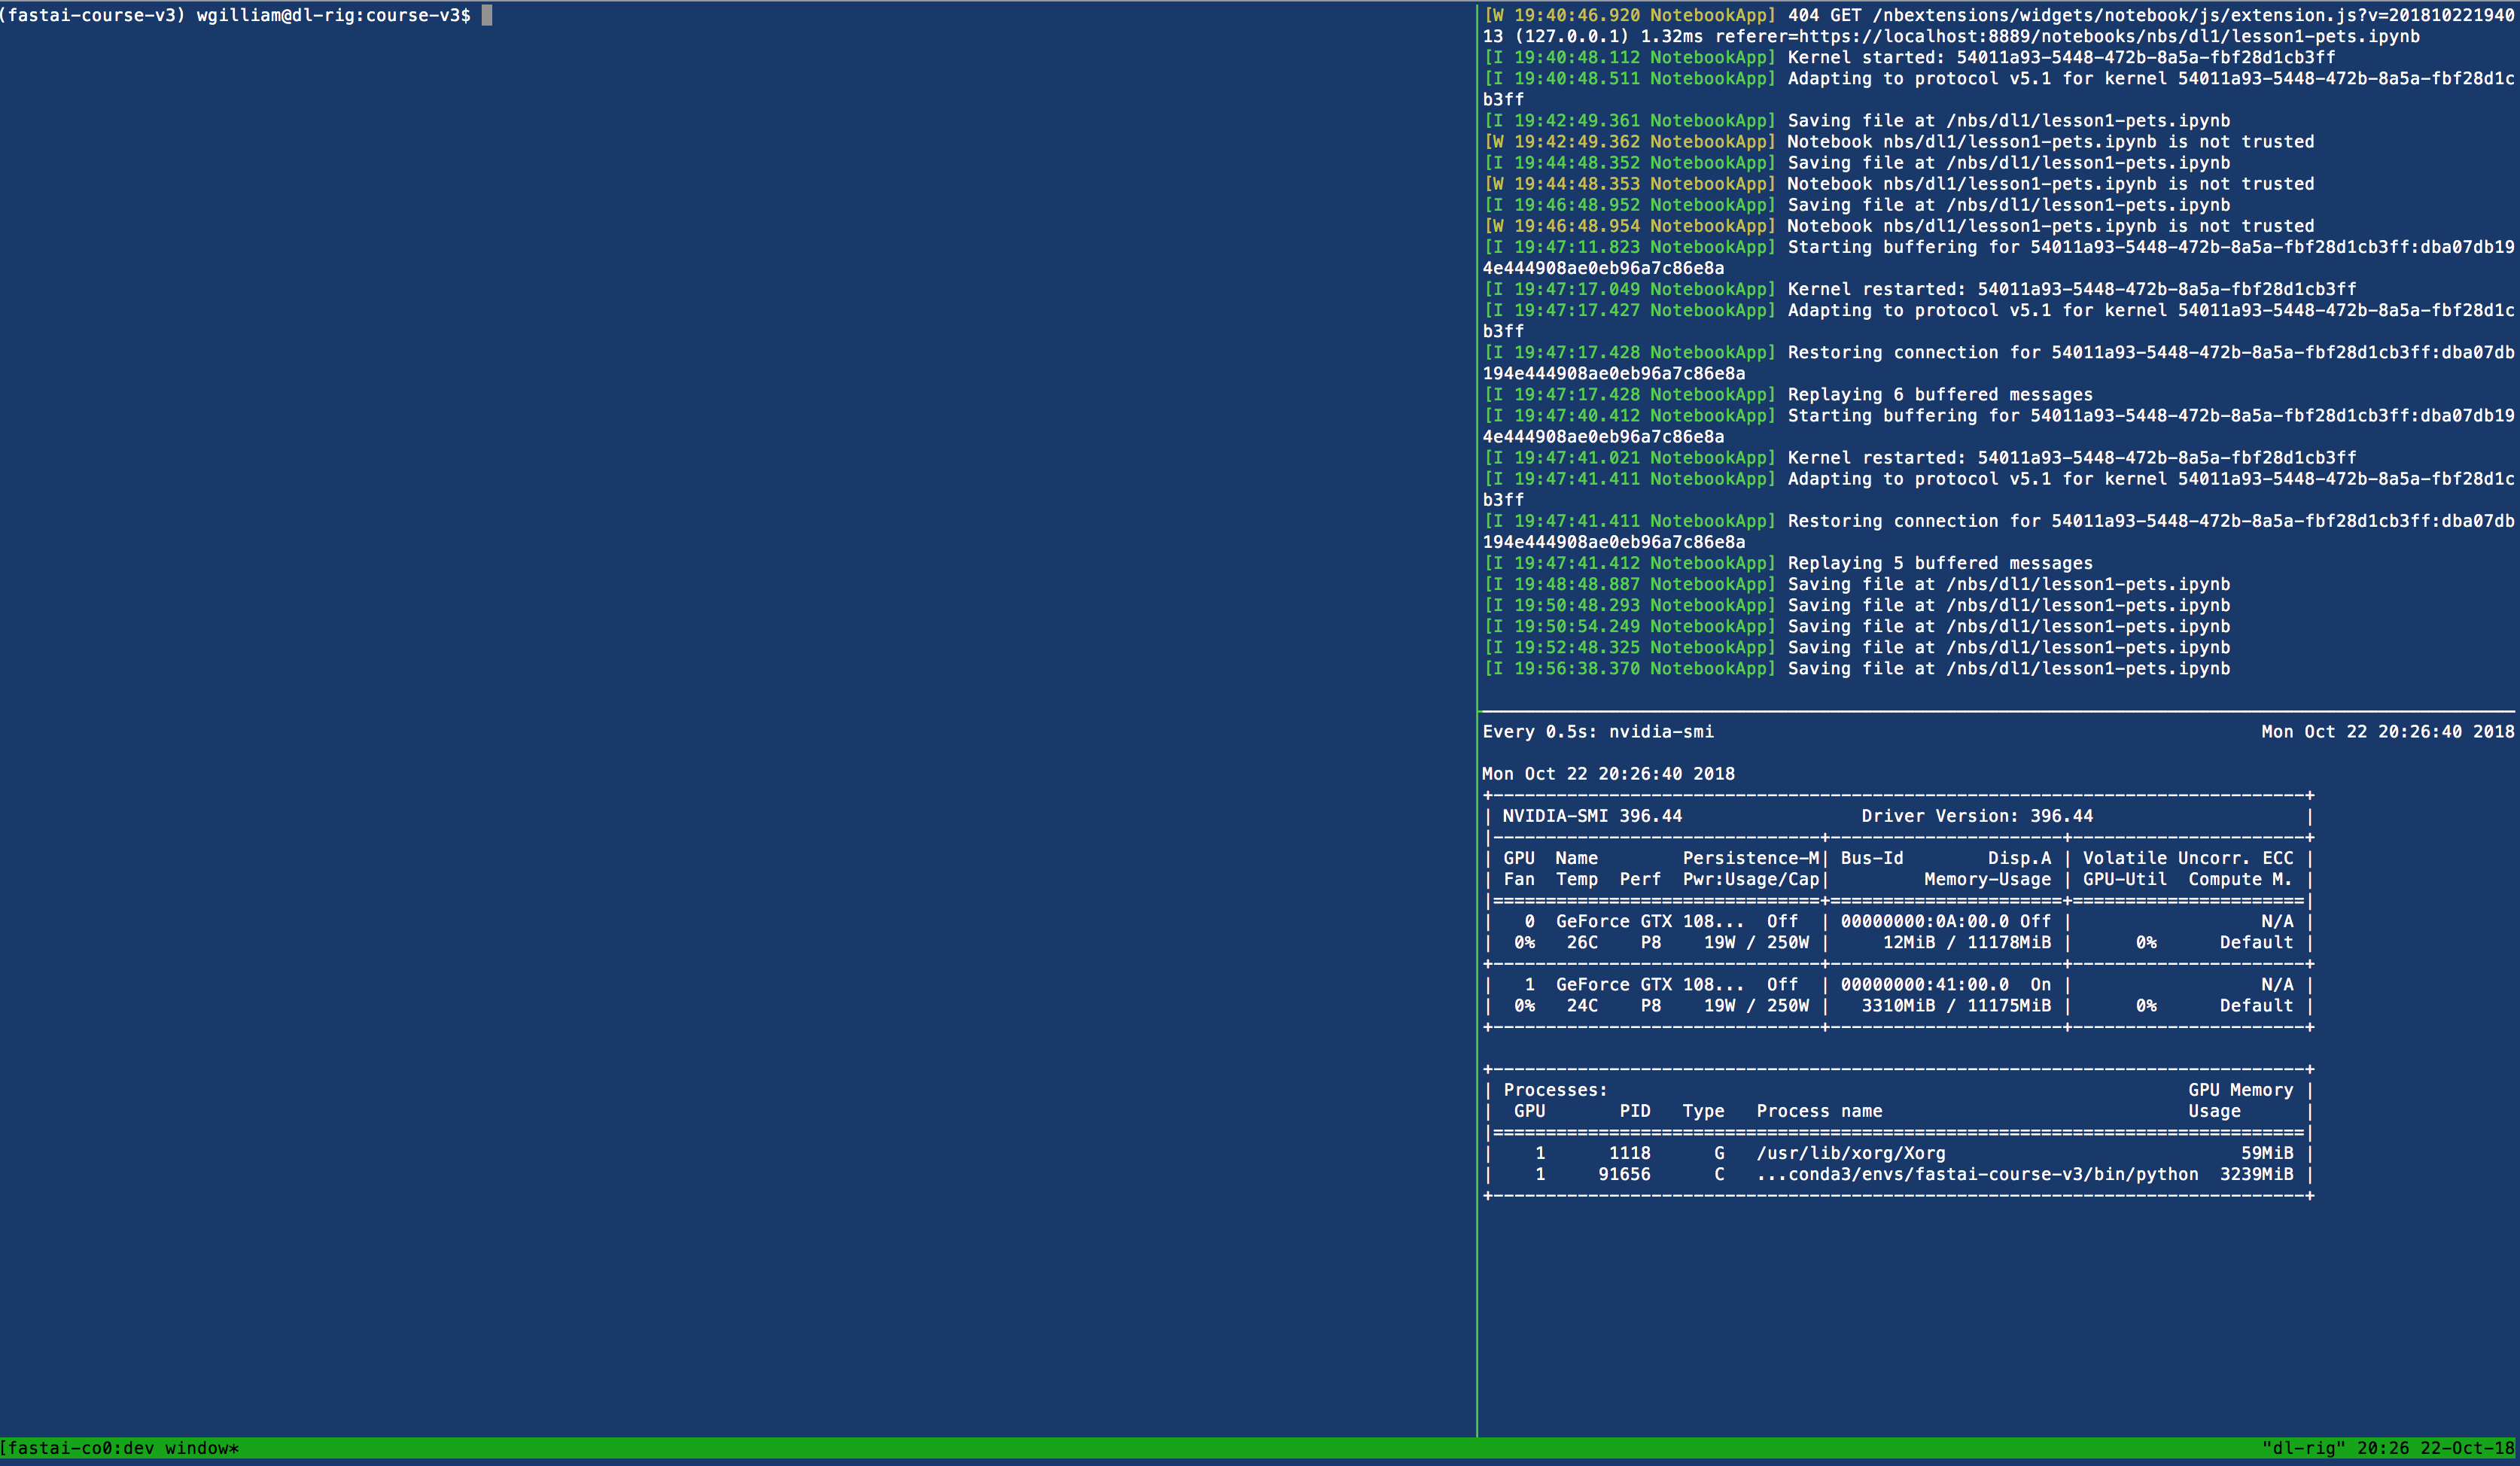
Here is what my screen looks like …
- With your
fastai-course-v3environment activate, install the essential bits you’ll need to get started (see also the fastai readme). Note: The line for installing PyTorch is that provided from the PyTorch homepage for Linux, Python 3.7, and CUDA version 10.1. Should any of those parameters differ for your use case, please consult their instructions based on your configuration.
conda install pytorch torchvision cudatoolkit=10.1 -c pytorch
conda install -c fastai fastai
- Install Jupyter notebook and the extensions into your new conda environment. If you don’t do this and you have other conda environments on your machine, you are likely to encounter all kinds of interesting errors about Python not being able to find this package or that package that you’ve installed into your environment when running the notebooks.
conda install jupyter
conda install -c conda-forge jupyter_contrib_nbextensions
- Exit tmux and kill the current session via
tmux kill-server. This step is basically here to ensure that any of the installed packages that might not otherwise work correctly without a restart, will be configured correctly. From here you can reload your tmux session viatmuxp load fastai-course-v3and be good to go.
Done!
At this point you should be able to run your jupyter notebook by going to localhost:8888 or whatever port you have it running on. You should be able to go from logging into your Linux box to running notebooks in less than 5 seconds.
If you get any errors when running jupyter, you may need to update your ~/.jupyter/jupyter_notebook_config.py, changing …
c.NotebookApp.ip = '*'
to
c.NotebookApp.ip = '0.0.0.0'
KEEPING THINGS UPDATED STEPS:
Run the following every time before you start working with the course material. They ensure you got the latest course code, latest production build of fastai, and that latest pytorch 1.x builds:
cd ~/development/_training/ml/fastai-courses/course-v3
git pull

conda install pytorch torchvision cudatoolkit=10.1 -c pytorch
conda install -c fastai fastai
HELPFUL RESOURCES
This thread has a bunch of helpful information as well.
