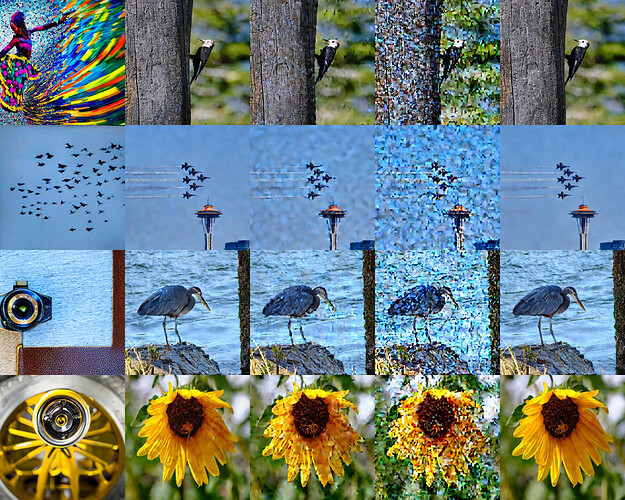
Thanks for making the video, I’m going to watch it again and try this later on on my Win+WSL box. I need to read up on the config json files etc too as I don’t use VSCode as much as I should. But for Windows/WSL based hosts I think this would separate different projects nicely!
Here is a link to my devcontainer if you want to use it as a reference! Also, feel free to reach out if you run into any issues with your setup.
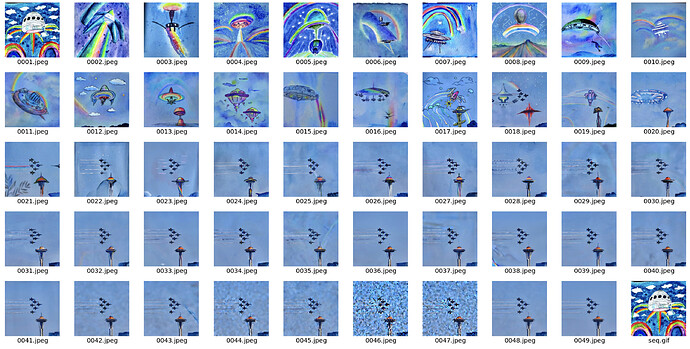
I was creating GIFs based on @johnowhitaker video 9a image to image, and looking at the series of starting at different steps going from the prompted picture to a given real photo. I noticed that for the 50 steps (Guidance 8) there was always an apparent degradation of the final result between starting from step 42 and starting at step 46. The image below shows step 10 (just to give an idea where it was coming from) along with steps 42,44, 46 and 48. Starting at step 46 always shows quite heavy noise - compared to starting at step 42 or 48. I was trying to get my head around this. Is it that it has more noise but not enough steps to clean up compared to the other steps?
This is pretty strange! I’d expect very little change from step 42 to the end, and definitely not that extra noise. Are you sure the images are ordered correctly? If so, I’ll try to re-create this tomorrow and debug ![]()
Yes, I’ve produced around 25 GIFs automatically - and noticed this towards the end of all of them. The images are numbered as they are saved based on the start_step so not much room for error. I’ll double check my notebook against your original to make sure I haven’t introduced something odd.
And to be clear this isn’t saving at the different steps - it is starting from the different start_step and then these are the final images - but shown as a sequence. Here is a full single set:
Yeah that looks great to me. I won’t be able to approve it myself but that’s what I’d advocate to go in there. Thanks!
It was awesome
Wow really interesting
I am still obsessed with making amazing pictures, even while trying to keep up with the lessons.
I thought it would be great to be able to regenerate a particularly wonderful picture, rather than lose it forever to the chaos of randomness. Often I only appreciate the picture later on and it’s lost by then. Here’s a way to recreate them.
I was not able to find a way to extract the current random seed from CUDA, without also resetting the seed to “a non-deterministic random number”. (set_rng_state(x) works only for the CPU.) There ought to be a way to get the current seed or RNG state, IMO.
So, before generating an image,
gSeed = torch.seed()     #Sets and returns the seed
gPrompt = prompt
pipe(prompt).images[0]   #Generate the image
.
.
.
to recreate the image,
torch.manual_seed(gSeed)
prompt = gPrompt
pipe(prompt).images[0]
You could save the history of seeds and prompts if you want to get fancier.
Happy psychedelic astronauts everyone.
![]()
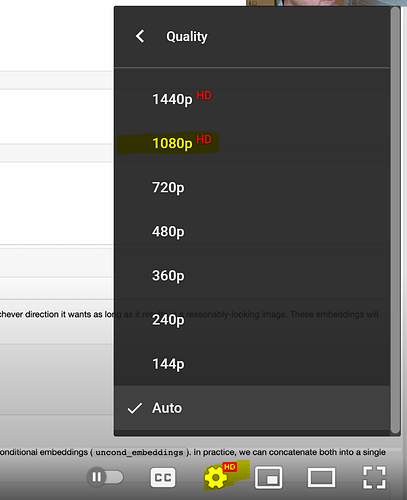
This same issue happened to me and I found it was from Youtube switching to 360p for some reason and I found clicking the settings gear icon and 1080p fixed it.
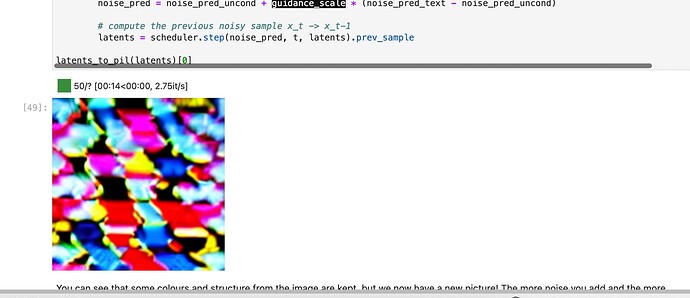
I was trying to reproduce Lesson 9A by @johnowhitaker. I am getting a weird image for the same prompt “A colorful dancer, nat geo photo”. Can someone help. Thanks in advance.
In case it helps anybody, I have forked the “diffusion-nbs” repo and have created a branch with the “Stable Diffusion Deep Dive” and “stable_diffusion” notebooks which (mostly) work under Apple Silicon/MPS ![]()
I do most of my work locally on my M1 MacBook and so I find this easier than setting up a Colab. The only thing that shouldn’t work out of the box (if I recall correctly) is one cell in the Deep Dive notebook. The rest should just work … and it should work even on non-MPS devices too …
Here’s the link to my updated branch:
I just finished rewatching Lesson 9 - here’s a few questions.
-
The CLIP encoder and the VAE are trained simultaneously, right? Not CLIP first, freeze, and then VAE.
-
That means that the CLIP encoder length must match the number of VAE latents so that there can be a dot product between them used for contrastive loss.
-
The patterns found among the image captions must influence the layout (adjacency, relatedness) of the image concept “blobs” found by the VAE?
-
Is there a way to reverse stable diffusion so that it goes from image to the prompt that would create this type of image?
And some thoughts not asking for answers…
a) Clearly the VAE learns certain concepts NOT found in the captions. For example, it knows that objects exist, that objects occlude one another from a point of view, that illumination usually comes from above, etc. These are pretty high level abstractions to derive from looking at 2d projections of 3d things!
b) How can a mere 8 GB of parameters contain so much knowledge about our visual and verbal world?
Clarifications and comments are welcome!
CLIP and VAE are independent - you don’t need CLIP to train VAE, or visa versa. So you can train them in any order you like, or at the same time.
Take a look at the source code - it doesn’t really reverse stable diffusion.
ah i see what they are doing ![]()
Have we learned yet why we are scaling the latents by 1 / 0.18215? I am able to see that it definitely provides better outputs, but the number doesn’t match anything special that I know of.
here is a link from tanishq


