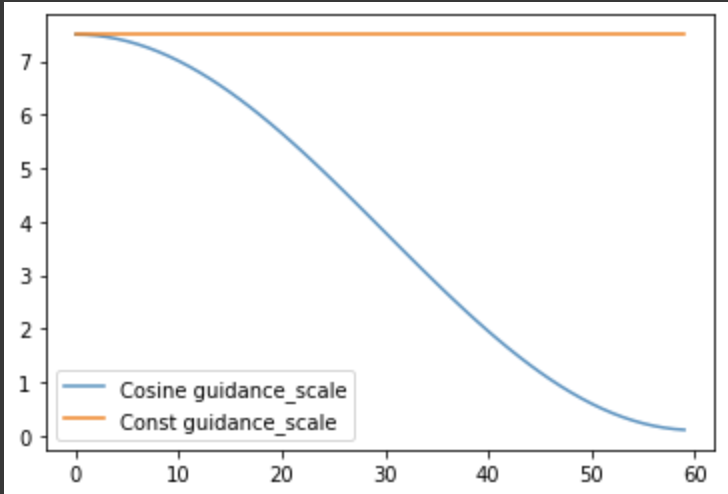
I observed something similar with the increase in detail/texture when i replaced the constant guidance_scale (orange) with a cosine scheduler(blue)(guidance_scale values decreases as the number of inference steps increases):
The image on the left is generated with the cosine guidance scale and the one on the right is with a constant guidance scale.
(upload://Akk7o65vKXGKdcGJcJ3SYV0Xxr7.png)
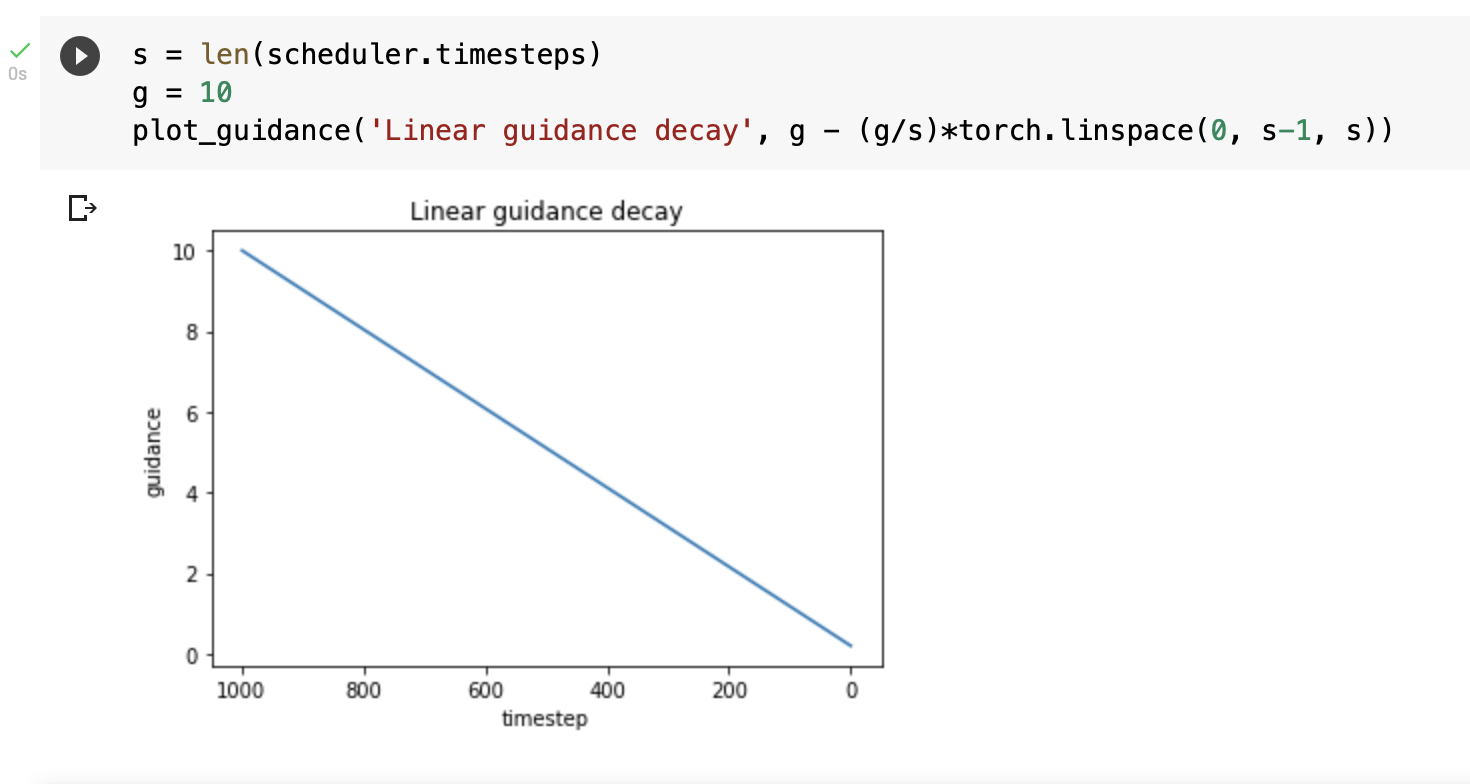
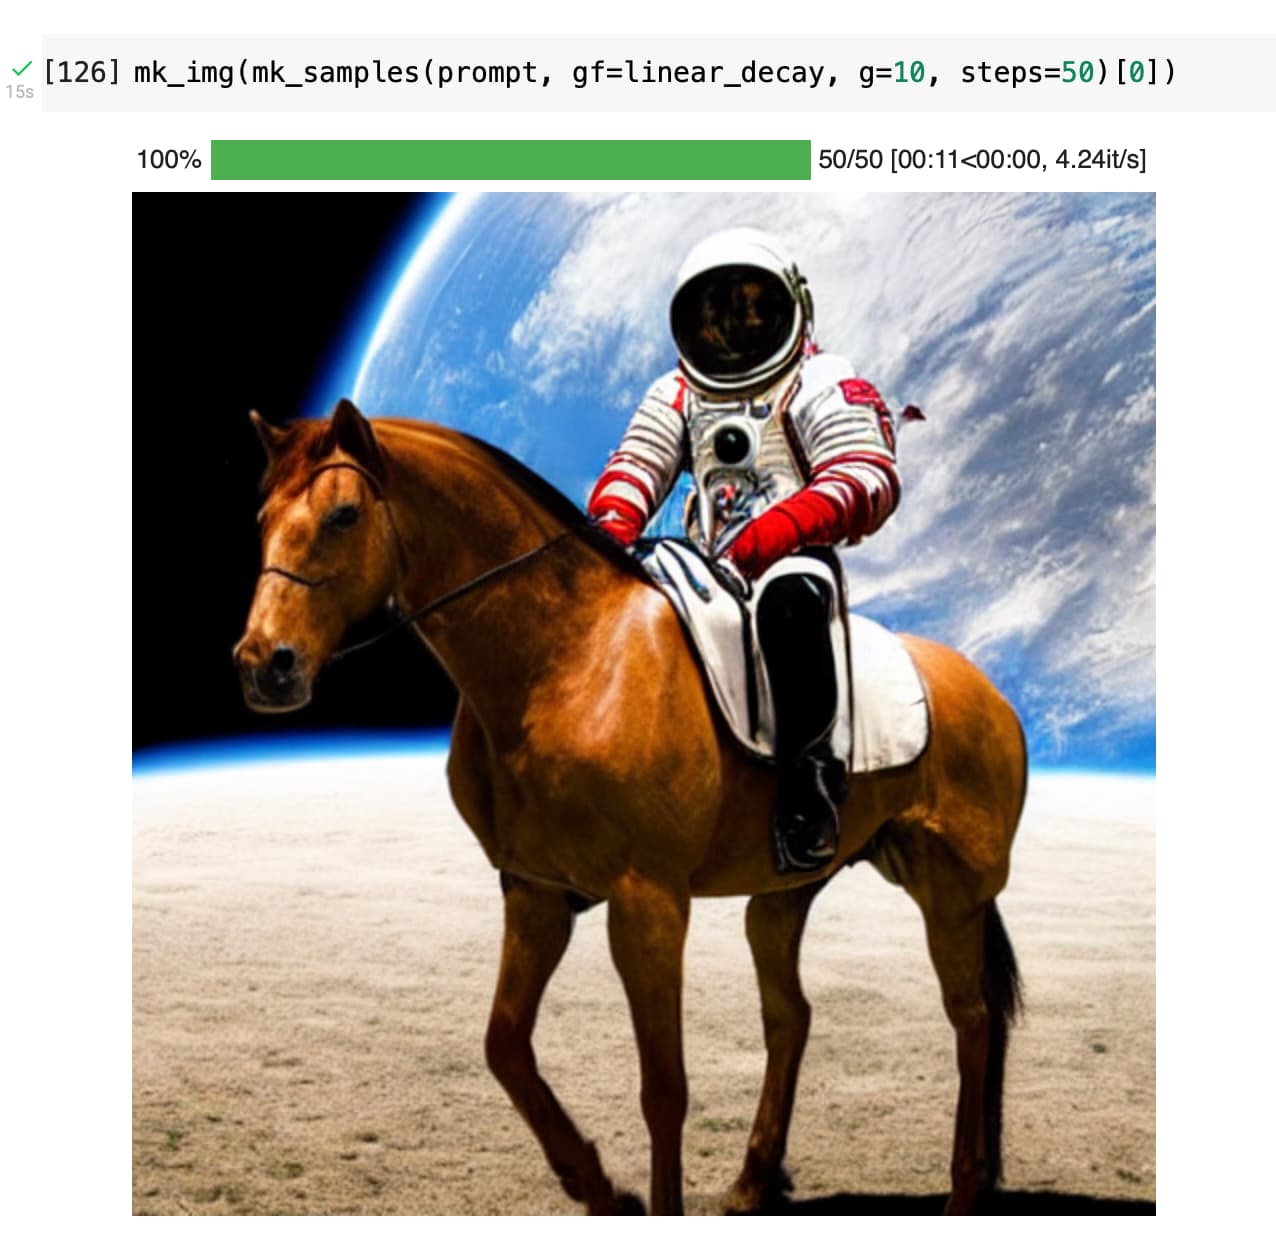
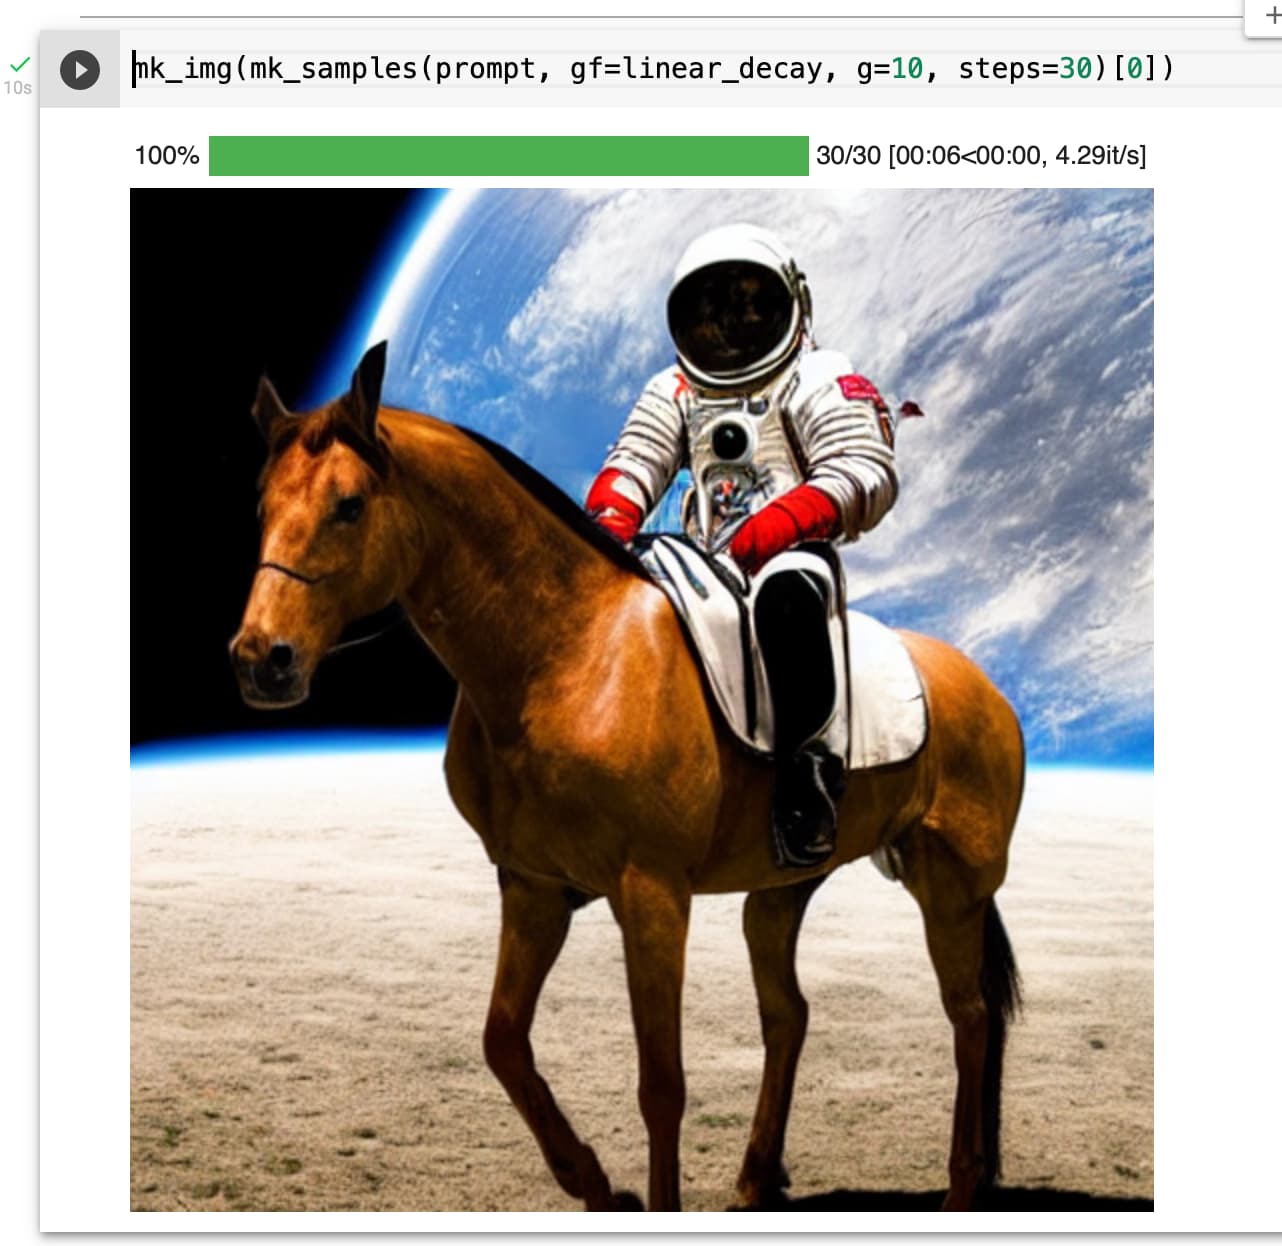
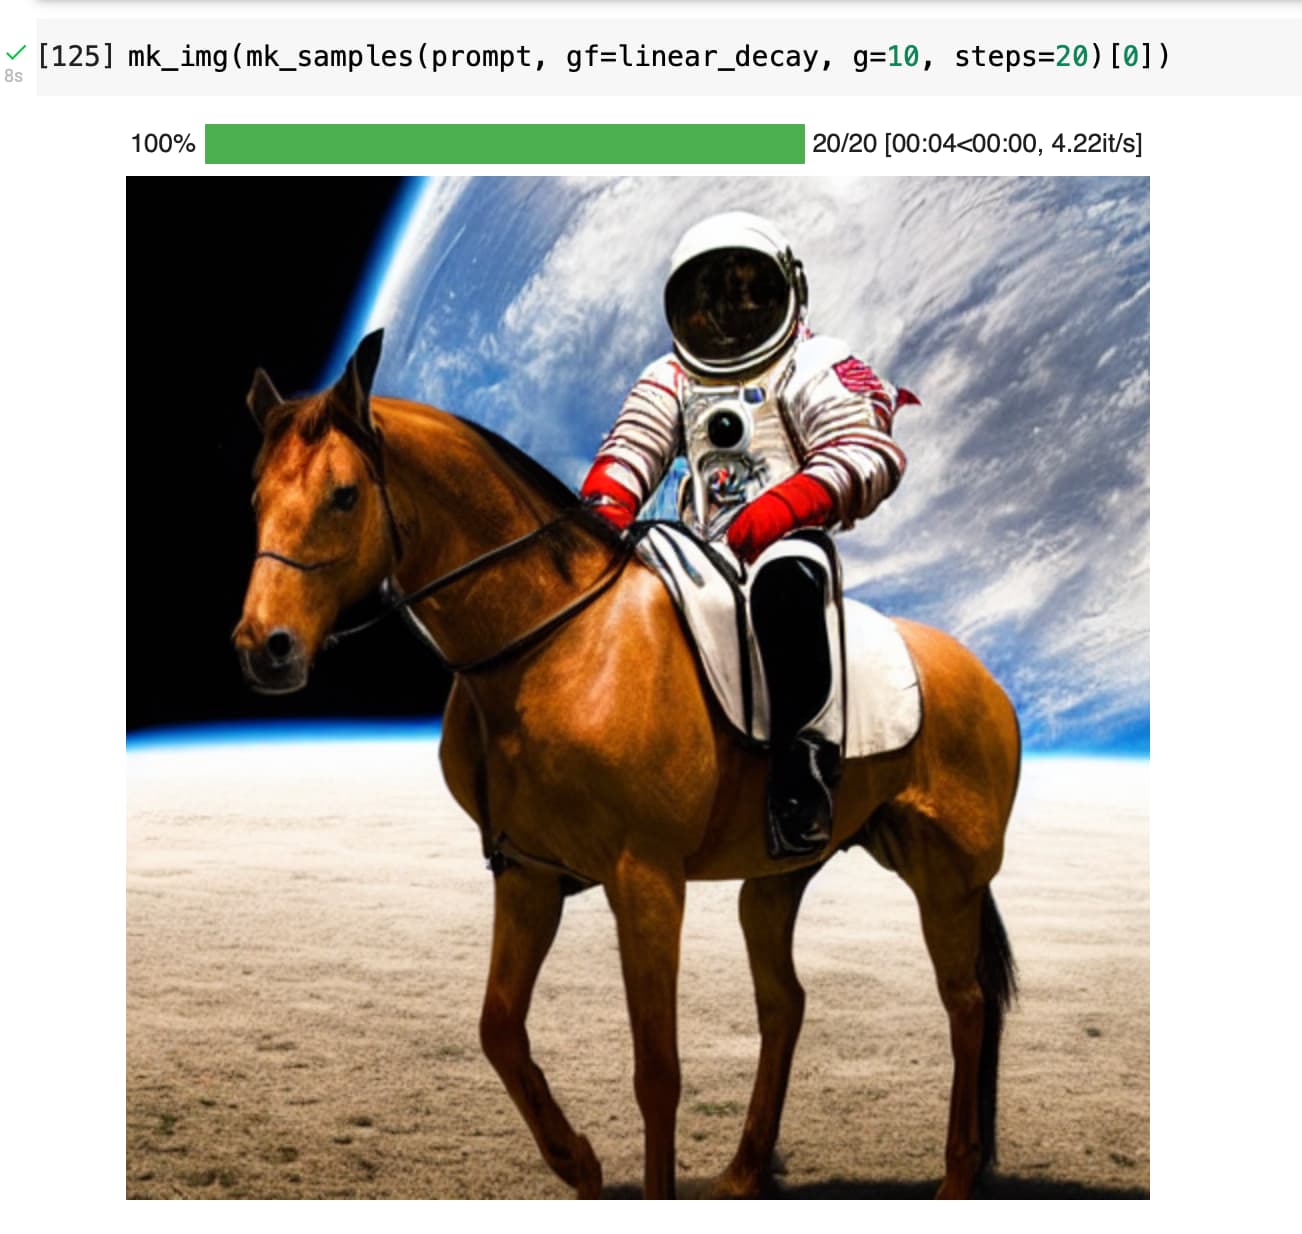
Actually, even linear decay seems to work. But initial guidance value needs to be higher. At guidance value 10 and linear decay, the horse missing leg issue also gets resolved as observed by @sebderhy
I did see more texture in the linear case too, but instead of increasing the guidance_scale i used g at 7.5 for 40 inference steps and then reduced it linearly for the next 20 steps.
I faced the same problem when I tried linear interpolation (lerp) b/w two noise vectors. interestingly, spherical linear interpolation (slerp) doesn’t have the degeneration problem you encountered.
mathematically, intermediate vectors that come from lerp are shorter in length than those from slerp which might be the cause of degeneration.
Hey, This looks great. A naive question, how did you implement the cosine scheduler in pytorch. Did you use the same max and min values as in the original scheduler and replaced the steps by using cosine scheduler?
I see. Thanks. So just to get it clear, you are getting the guidance scale per step using this method and you are multiplying this with the scheduler timestep value for that step, in simple terms?
Using that to get a guidance_scale value for each of the 60 num_inference_steps and then using it instead of the constant guidance_scale using it for each step. Will share the colab notebook in a bit
love this! I have seen often people will apply a separate superresolution model to upscale the outputs of stable diffusion and this almost looks like you get super resolution output for free haha
I actually did this (I’ll put the notebook up in a bit and link to it) but couldn’t see much of a difference … might have been the particular image or just my old eyes but I wasn’t seeing the increase in detail that others were seeing …
Maybe somebody else can take a look at my notebook and tell me where I’m going wrong
I think we need to build a proper benchmark for Stable Diffusion, we can’t make conclusions over 2 images. I will try to start a thread on this soon.
BTW, I feel like this weighted average step is kind of a patch to compensate for a weakness of SD: why can’t we do inference only on the conditional version and get good results? Why should we ever have to hide information to the network? I think that sooner or later, someone will improve SD to get good results without doing 2 passes to the network at each step.
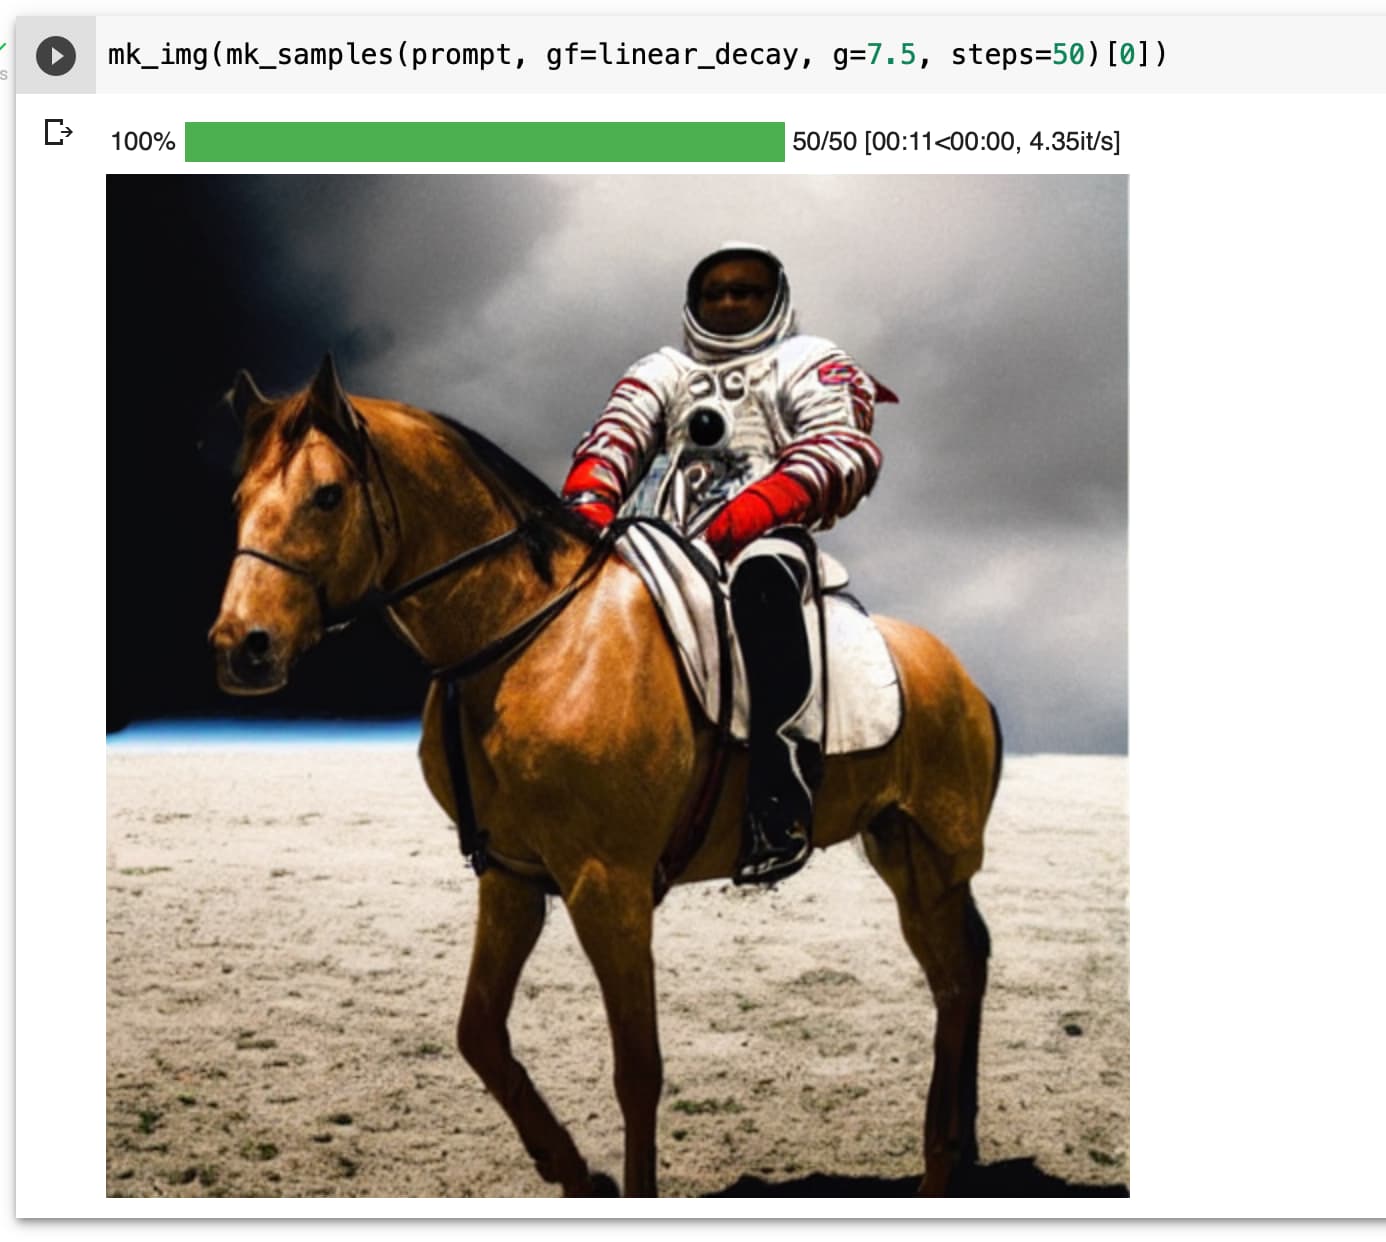
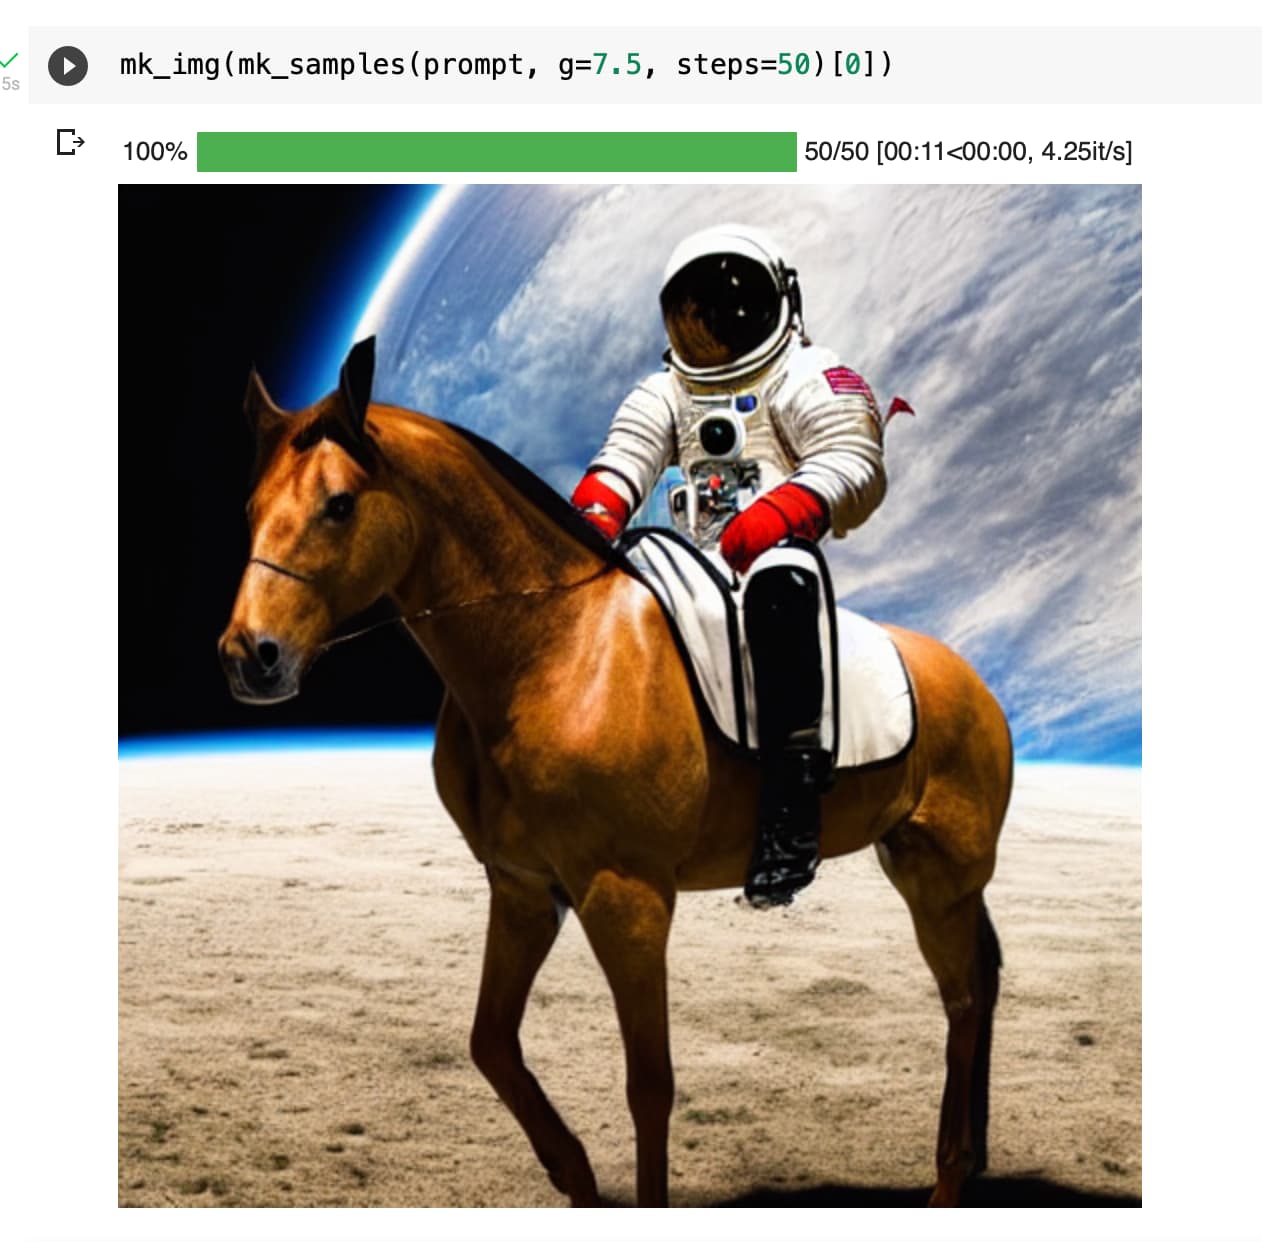
I’ve added a notebook with all the different guidance variations discussed in this thread so far with code for each as well as the final output compared. The notebook also contains links to each post in this thread which provided a new method.
If I’ve missed any, please let me know and I’ll update
Here’s a sample of the final output … sorry about the duplicated output in the second image — in a rush.
Edit:@akash5474 Here’s the notebook I mentioned earlier. And I was wrong about there not being differences, I think I had the code wrong or something in my original work. Re-did the notebook again today and I do see the differences in the various options. So just retracting what I said earlier …
I couldn’t get your code to work the way you posted but it worked with a minor modification — please let me know if I missed something.