I was following along lesson working on another dataset and realised that it’s a bit painful to load raw image bytes to multidimensional arrays(lists) purely in Python (obviously) without using libs like PIL & numpy.
After struggling a bit, I got curious about the datatype of the pickle object that we load in the lesson. Apparently, it’s of the type numpy.ndarray. We’re not really using numpy API after loading the data, so I guess it’s fine with the ground rules we’ve set(on not using numpy apis until we’ve sorta recreated them).
Either ways, I had a hard time loading PNGs directly to multidimensional lists, so I’m going to cut myself some slack and use PIL.Image and numpy.asarray for loading up the data. Just this one time.
Yes exactly - that was my theory anyways… Whilst I think it would be interesting and instructive to write a jpg or png decoder from scratch, it does feel rather out of scope!
Very interesting! so I’ve tried 2 things (hope they include what you had in mind): the bottom line is that your idea of rescaling the whole seems to work amazingly. The rescale factor I wrote previously might also help, but that’s less obvious .
I’ll try to do more robust experiments with all this, and see if we can prove more robustly that those rescaling factors help.
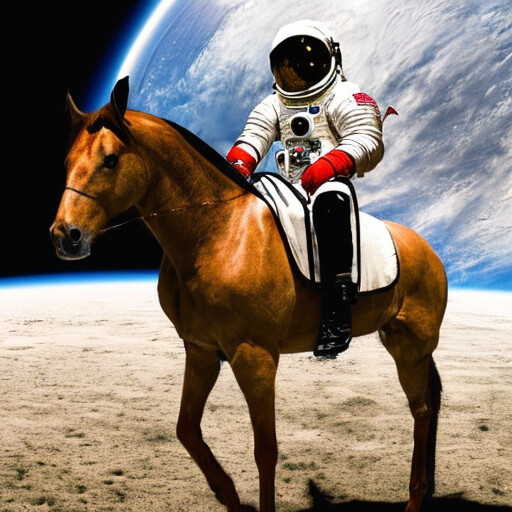
1. regular guidance (7.5) followed by rescale to match the original t 1.a Reminder: original images pred = u + g*(t-u)
→ seems to add a lot of details, without changing the picture!!
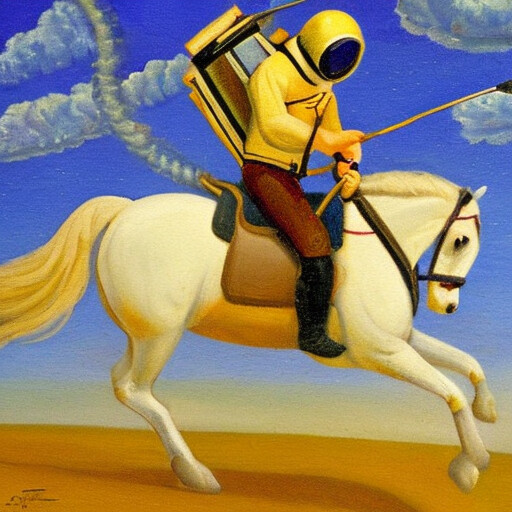
2. rescaled guidance update (0.15) followed by rescale to match the original t 2.a Reminder: original images pred_nonscaled= u + g*(t-u)/torch.norm(t-u)*torch.norm(u)
(note the rider’s foot missing on the right picture)
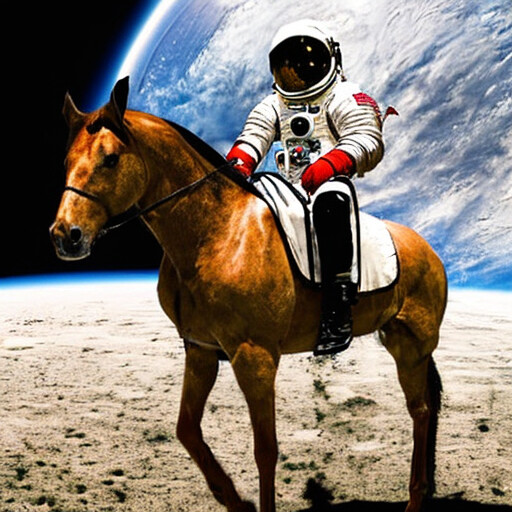
2.b With the “whole” rescaling pred_nonscaled= u + g*(t-u)/torch.norm(t-u)*torch.norm(u) pred = pred_nonscaled * torch.norm(u)/torch.norm(pred_nonscaled)
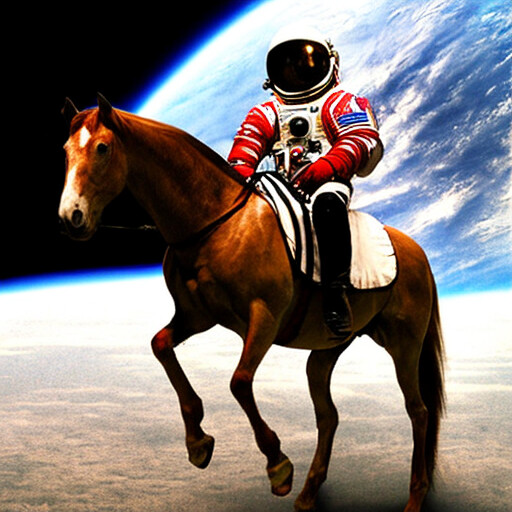
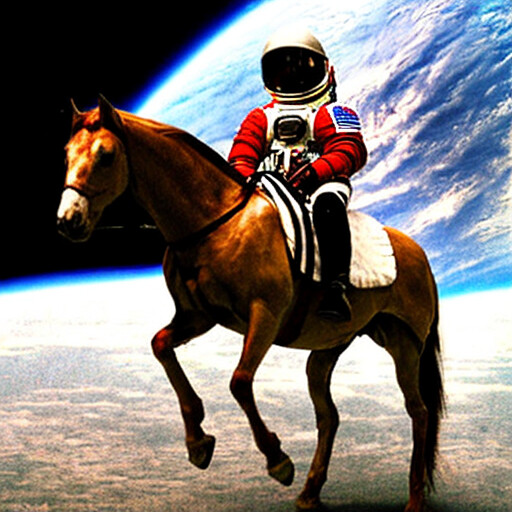
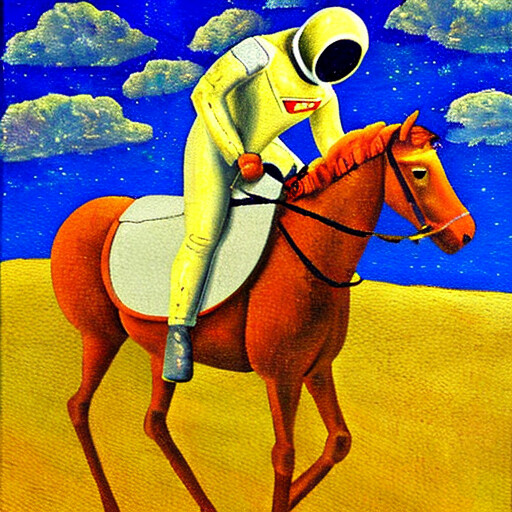
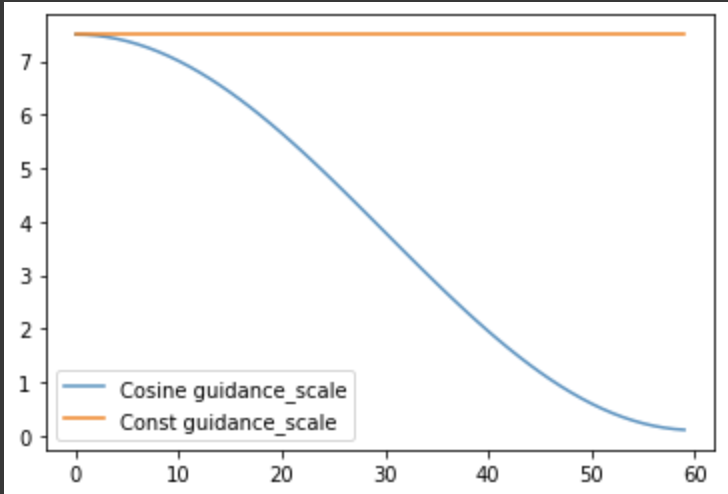
I observed something similar with the increase in detail/texture when i replaced the constant guidance_scale (orange) with a cosine scheduler(blue)(guidance_scale values decreases as the number of inference steps increases):
The image on the left is generated with the cosine guidance scale and the one on the right is with a constant guidance scale.
(upload://Akk7o65vKXGKdcGJcJ3SYV0Xxr7.png)
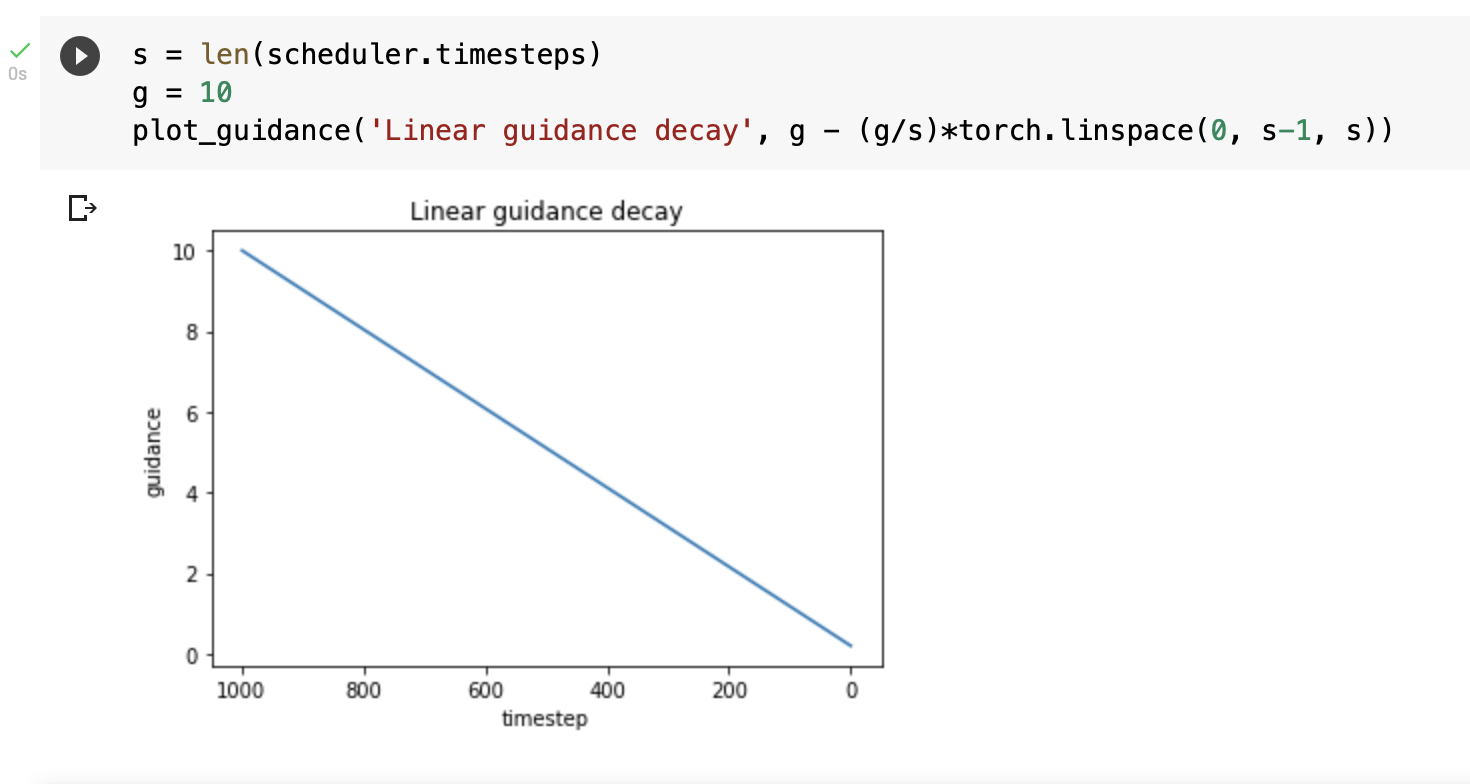
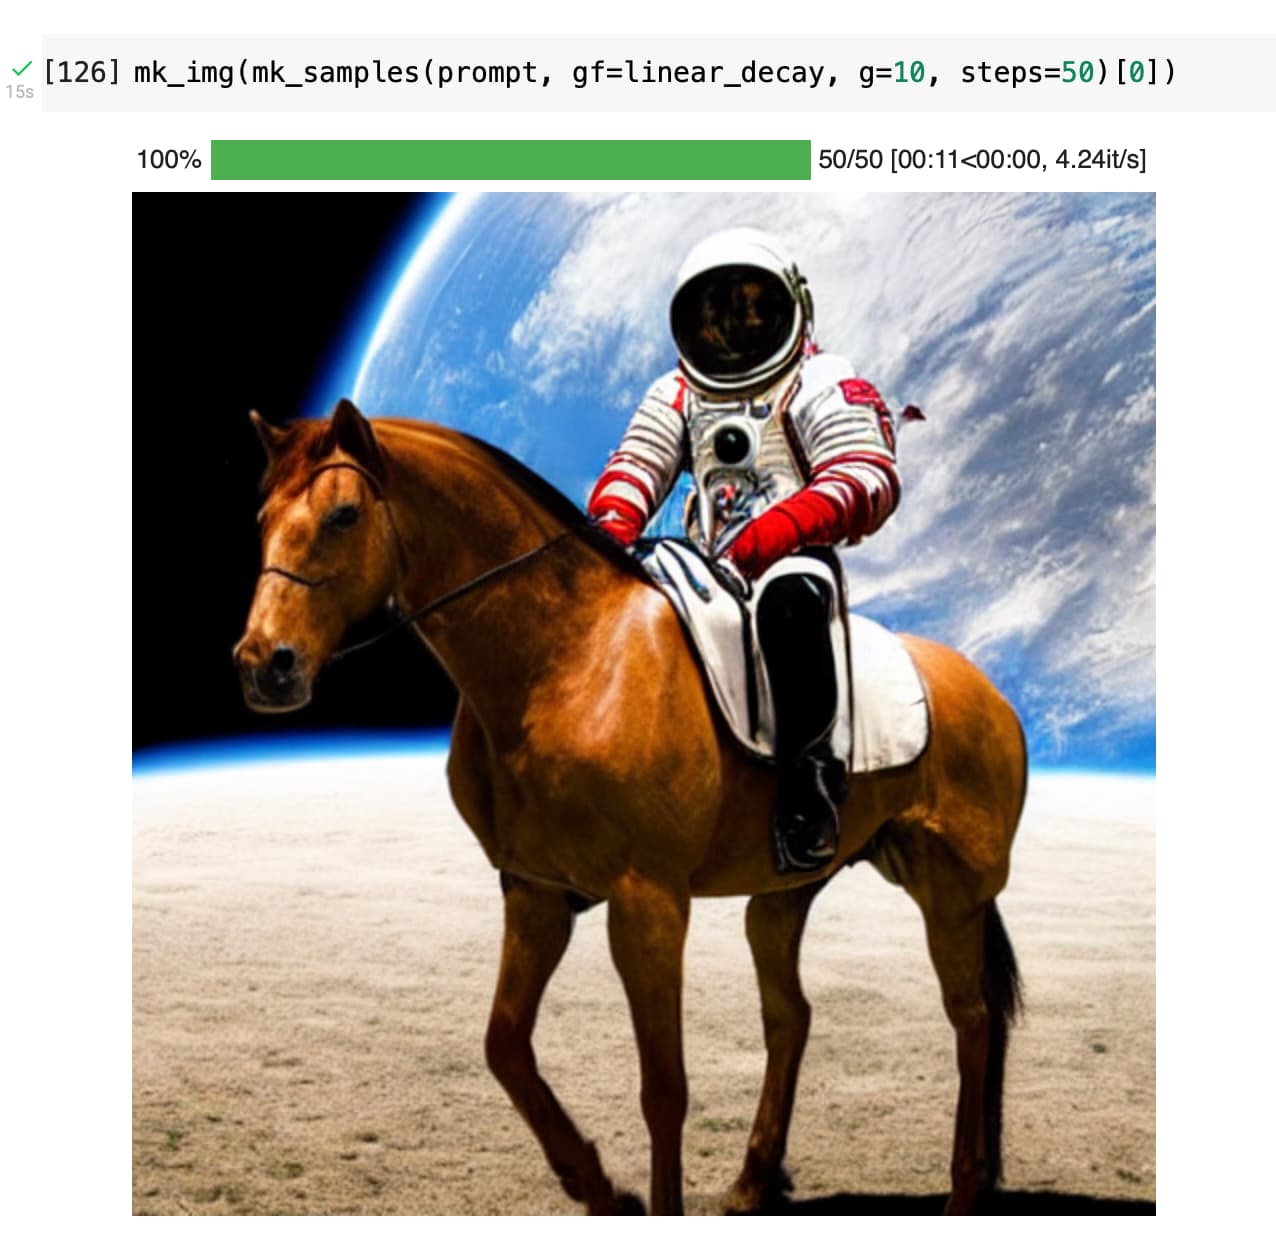
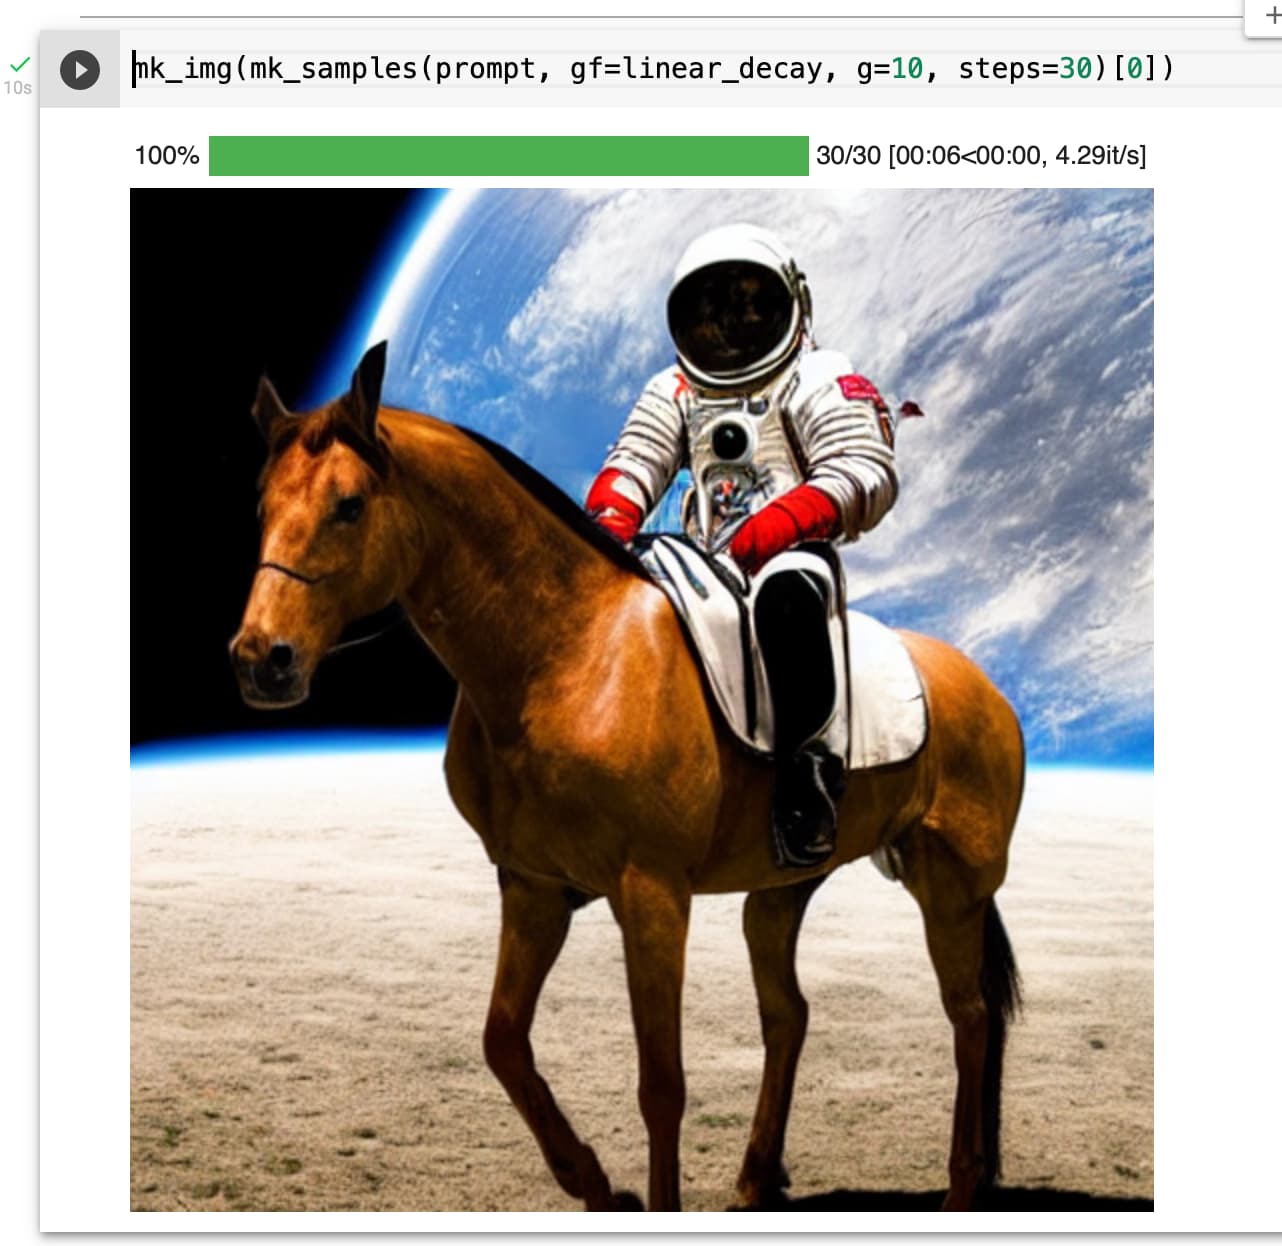
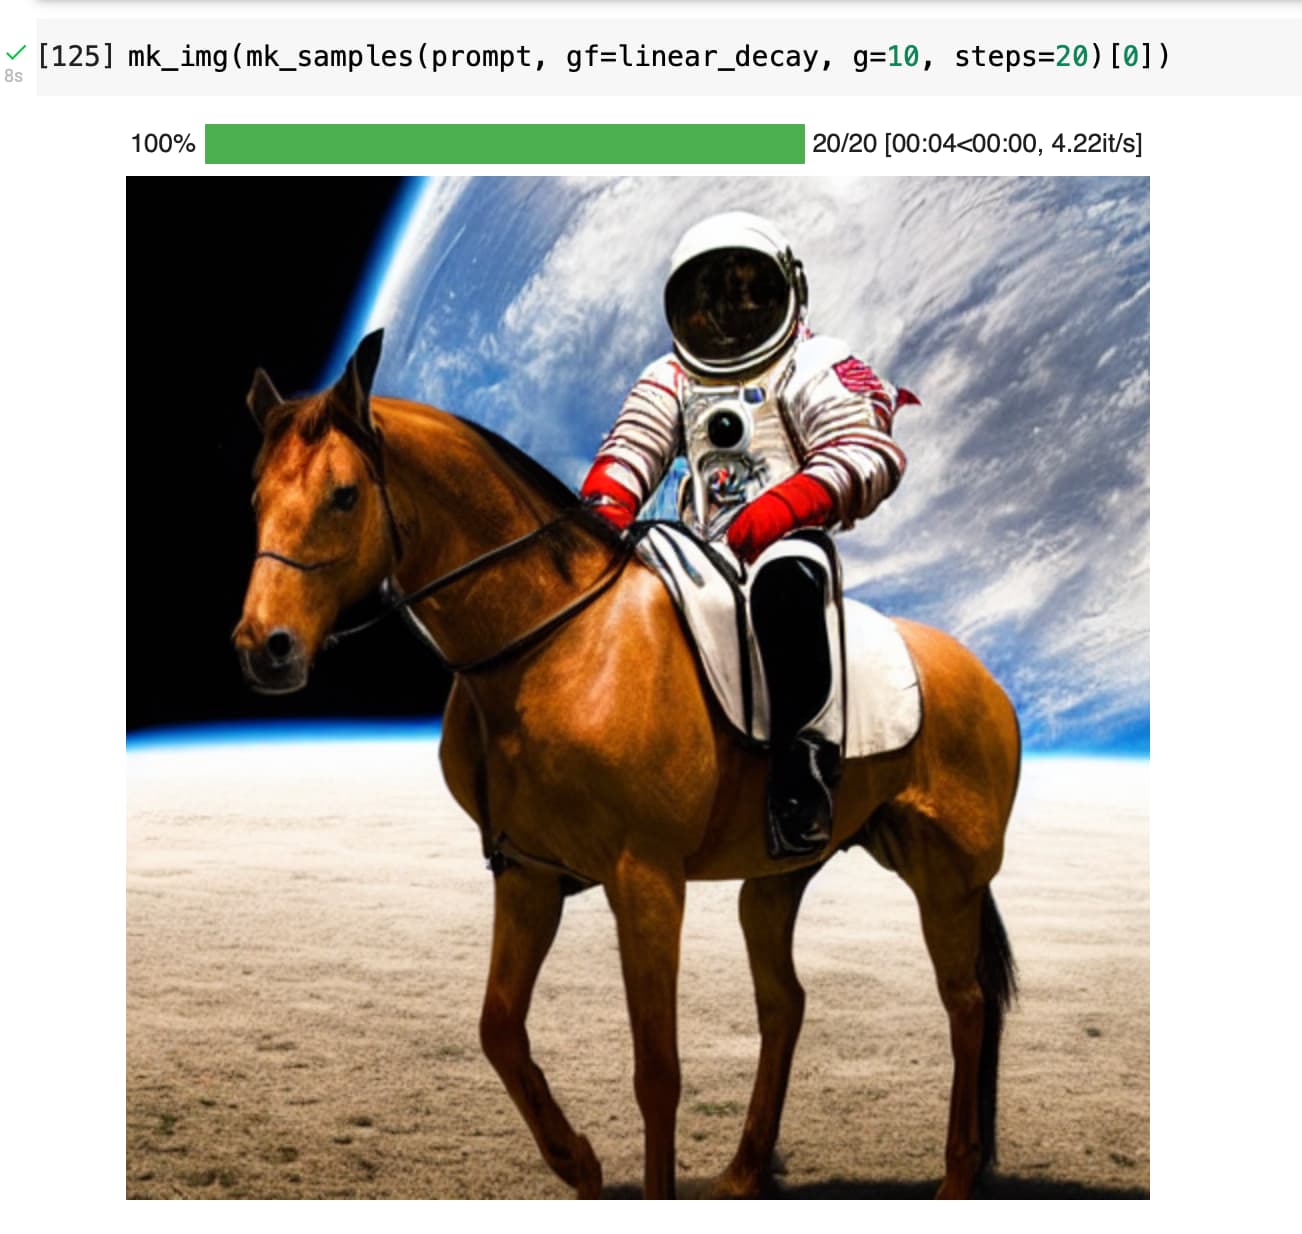
Actually, even linear decay seems to work. But initial guidance value needs to be higher. At guidance value 10 and linear decay, the horse missing leg issue also gets resolved as observed by @sebderhy
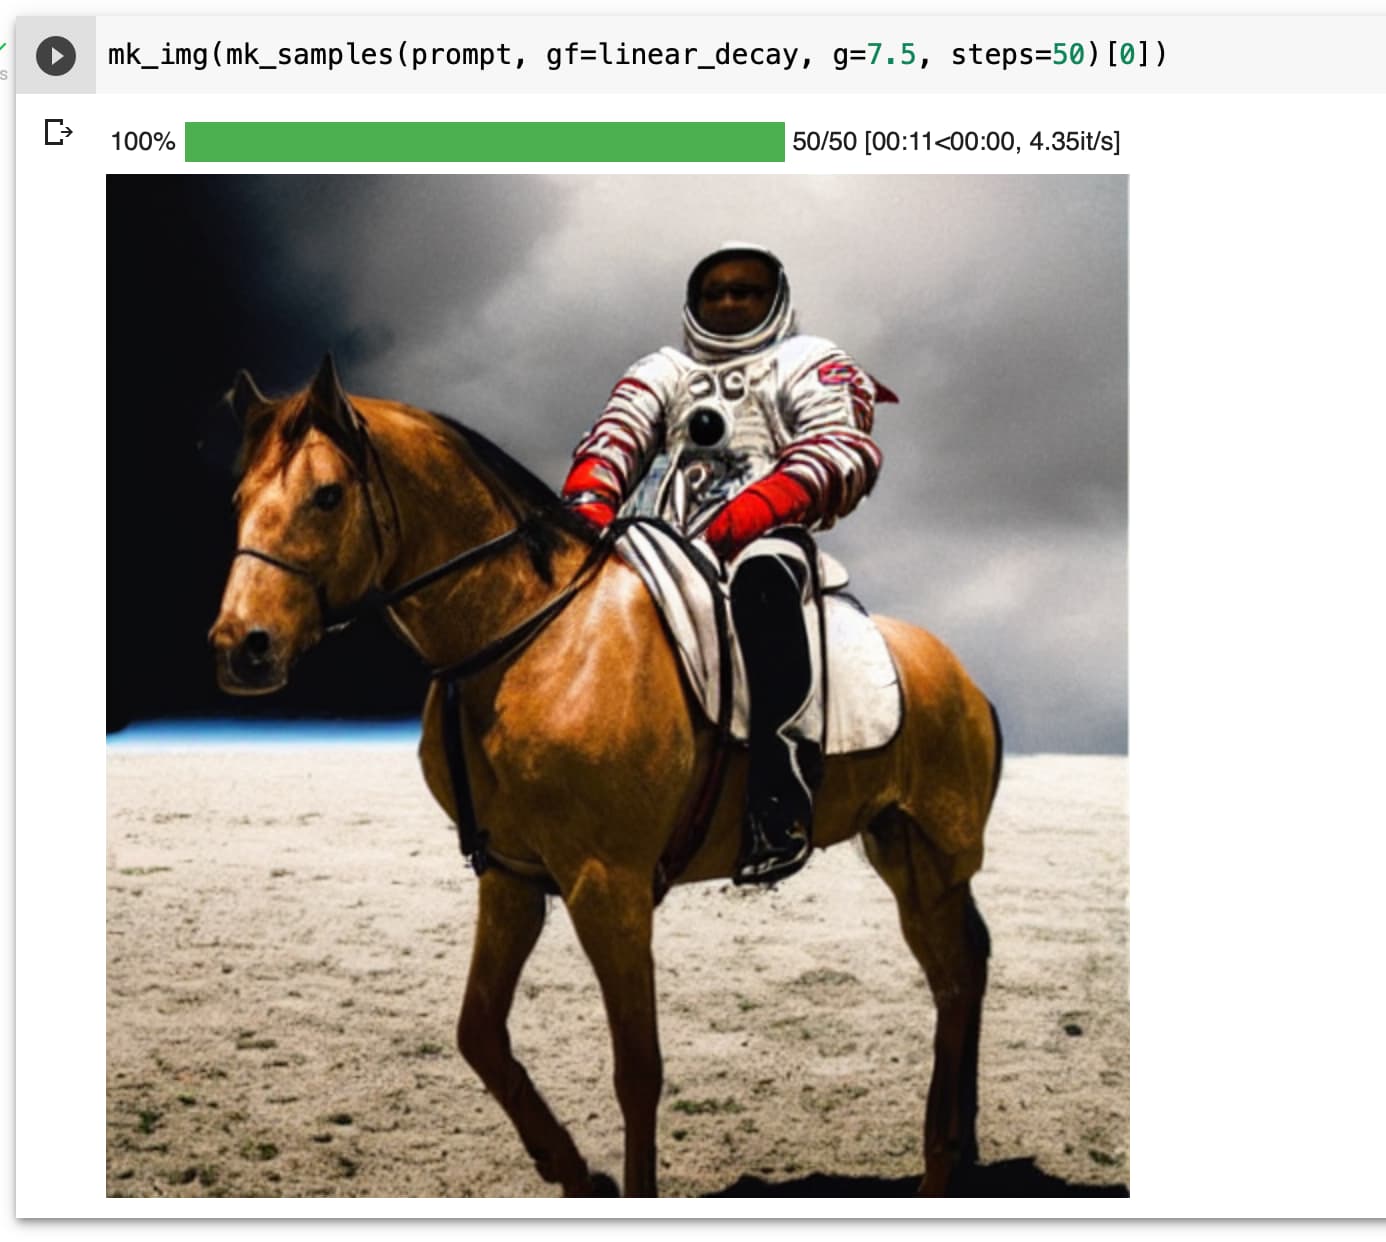
I did see more texture in the linear case too, but instead of increasing the guidance_scale i used g at 7.5 for 40 inference steps and then reduced it linearly for the next 20 steps.
I faced the same problem when I tried linear interpolation (lerp) b/w two noise vectors. interestingly, spherical linear interpolation (slerp) doesn’t have the degeneration problem you encountered.
mathematically, intermediate vectors that come from lerp are shorter in length than those from slerp which might be the cause of degeneration.
Hey, This looks great. A naive question, how did you implement the cosine scheduler in pytorch. Did you use the same max and min values as in the original scheduler and replaced the steps by using cosine scheduler?
I see. Thanks. So just to get it clear, you are getting the guidance scale per step using this method and you are multiplying this with the scheduler timestep value for that step, in simple terms?
Using that to get a guidance_scale value for each of the 60 num_inference_steps and then using it instead of the constant guidance_scale using it for each step. Will share the colab notebook in a bit