Lesson 1 In-Class Discussion ✅

In this case, we need to extract the labels from the names. We are going to use from_name_re . re is the module in Python that does regular expressions - things that’s really useful for extracting text.

The () in the expression selects the label accordingly. (Ex: PosixPath('/data1/jhoward/git/course-v3/nbs/dl1/data/oxford-iiit-pet/images/japanese_chin_139.jpg -> japanese_chin)

See here: https://github.com/hiromis/notes/blob/master/Lesson1.md#get_image_files-2515

The whole expression is used to match the pattern but only the part in () is extracted

Can you share presentations also?

Been running into a few errors in the notebook file. Had to add a few imports:

import numpy as np
from fastai.datasets import *
import re

I then get an error when running

data.show_batch(rows=3, figsize=(7,6))
# Error
ValueError: padding_mode needs to be 'zeros' or 'border', but got reflection

Could be because i compiled pytorch with cuda 10? I did so since i have a newer video card, which i couldnt get working on cuda 9 for v2 of the course.

Hi,

I was starting to get into v2 recently and decided to transition to v3, I currently have everything pre-installed from the previous course on a paperspace base instance not an image. Can anyone point me to any resource that can upgrade, pull the new repo, and ensure the environment is set-up for v3 without destroying the instance.

Thanks in advance.

Add padding_mode=‘zeros’ in your code
data = ImageDataBunch.from_folder(path, valid_pct=0.2,test=‘test’,
ds_tfms=tfms, size=224,bs=32,padding_mode=‘zeros’, num_workers=1).normalize(imagenet_stats)

Checkout : https://course.fast.ai/#

There’s a Server Setup section for different platforms.

Thanks! @jithinrocs

I do see for this course they are using a machine image using gradient on paperspace, do you know if there will be any resources on configuring a base image on paperspace with either shell scripts and conda?

I would like retain the existing paperspace instance already have and just run commands from there to obtain all resources for v3. Thanks!

You can also add padding by using:

data = ImageDataBunch.from_name_re(path_img, fnames, pat, ds_tfms=get_transforms(), size=224, bs=bs, padding_mode=‘border’)

@Jeffrey

Hi All

Thanks @Jeremy for wonderful course.

May I know what is cheapest option for GPU.

Thanks

Options and prices are discussed here https://course.fast.ai/index.html

I have a problem with the first lesson/notebook on Windows: I am getting an AttributeError: 'NoneType' object has no attribute 'group' when creating the ImageDataBunch. I am using Anaconda with Python 3.7, Pytorch 1.0 Stable, fastai 1.0.38 installed via conda and the current master-branch of the coursework from Github.

This seems to be the same problem encountered by Johan1us here but I wanted to cross-post it in this thread, as it concerns the 2019 version of the course.

Thanks in advance for any help!

3 Likes

OK I worked through lesson one using my own dataset of images captured at my birdfeeder. I previously created a binary classifier using a commercial product Classificationbox and achieved 92% accuracy, but by following the lesson plan and using resnet34 I am getting almost 98% accuracy, so a great result :slight_smile: Notebook on kyso -> https://kyso.io/robmarkcole/birds-vs-not-birds-image-classification-using-fastai

1 Like

G’day,
I worked through lesson 1 so I decided to do some home work. Found a flowers data set on Kaggle that has 102 different species of flowers. I copied the data set to my AWS instance, duplicated the lesson 1 notebook, then modified it to analyse the new data set. The initial results weren’t too promising with the vanilla Resnet34 model, with error rates around 70% for the first epoch. However I noticed a constant drop in error rate in subsequent epochs so I did a few more before I noticed over fitting starting to occur.

epoch train_loss valid_loss error_rate
1 2.832304 2.504375 0.610024
2 2.836951 2.441141 0.618582
3 2.752767 2.284255 0.574572
4 2.632155 2.179777 0.566015
5 2.481018 2.057612 0.525672
6 2.365763 2.012151 0.517115
7 2.291214 1.961817 0.504890
8 2.255578 1.995377 0.517115

50% is still pretty ordinary. Unfreezing and adjusting the learning rate didn’t help much either.

I had much better results using Resnet50 however. The first few epochs produced significantly lower error rates.

epoch train_loss valid_loss error_rate
1 2.498133 0.902909 0.179707
2 0.813650 0.290062 0.066015
3 0.337723 0.185570 0.039120
4 0.189965 0.168703 0.042787
5 0.102328 0.141482 0.039120
6 0.057604 0.116635 0.036675
7 0.045057 0.111272 0.033007
8 0.030797 0.111127 0.031785

Unfreezing and adjusting the learning rates I managed to get it down to < 3%.

epoch train_loss valid_loss error_rate
1 0.030077 0.105205 0.028117
2 0.026734 0.103359 0.029340
3 0.023275 0.101132 0.025672

I was quite surprised by the difference in results between Resnet34 and Resnet50. I assumed there would be some kind of “diminishing returns” as more layers are added to the model. If there is, I would assume “peak layer” hasn’t been hit yet - at least not for flower classification :slight_smile:

Onwards to Lesson 2!

2 Likes

Try changing the regex patter to windows format
pat = re.compile(r'\\([^\\]+)_\d+.jpg$')

Worked for me.

2 Likes

Good work!

For this dataset more layers do seem to help - here I get to 98.9% with DenseNet201 https://gist.github.com/AlisonDavey/5742c87aa45da57511b7b10bb4f8bd51 . People also get very good results with Resnet152.

In Lesson 1, why do we call unfreezing all the layers in the model fine-tuning? It feels we are doing the opposite.

PS: Not sure if this is the right place to ask this kind of questions. I am having issues understanding how Discourse works :open_mouth:

@gstrack @ritika26 thanks for the help you both. This community rocks :). Are these changes something I should put in a pull request? Or are notebooks only changed in exentuating circumstances by Jeremy?

1 Like

Thanks Aaron!

A community makes everything better!

In regards to changes to the git repo, I believe that’s managed by Jeremy and Rachel.

For me, I had to make a manual edits to resolve a couple of errors I encountered running my Lesson 1 notebook on my AWS instance. Here is a summary of the edits I made:

2nd Code Cell:
from fastai import *
from fastai.vision import *
#from fastai.metrics import error_rate

9th Code Cell:
np.random.seed(2)
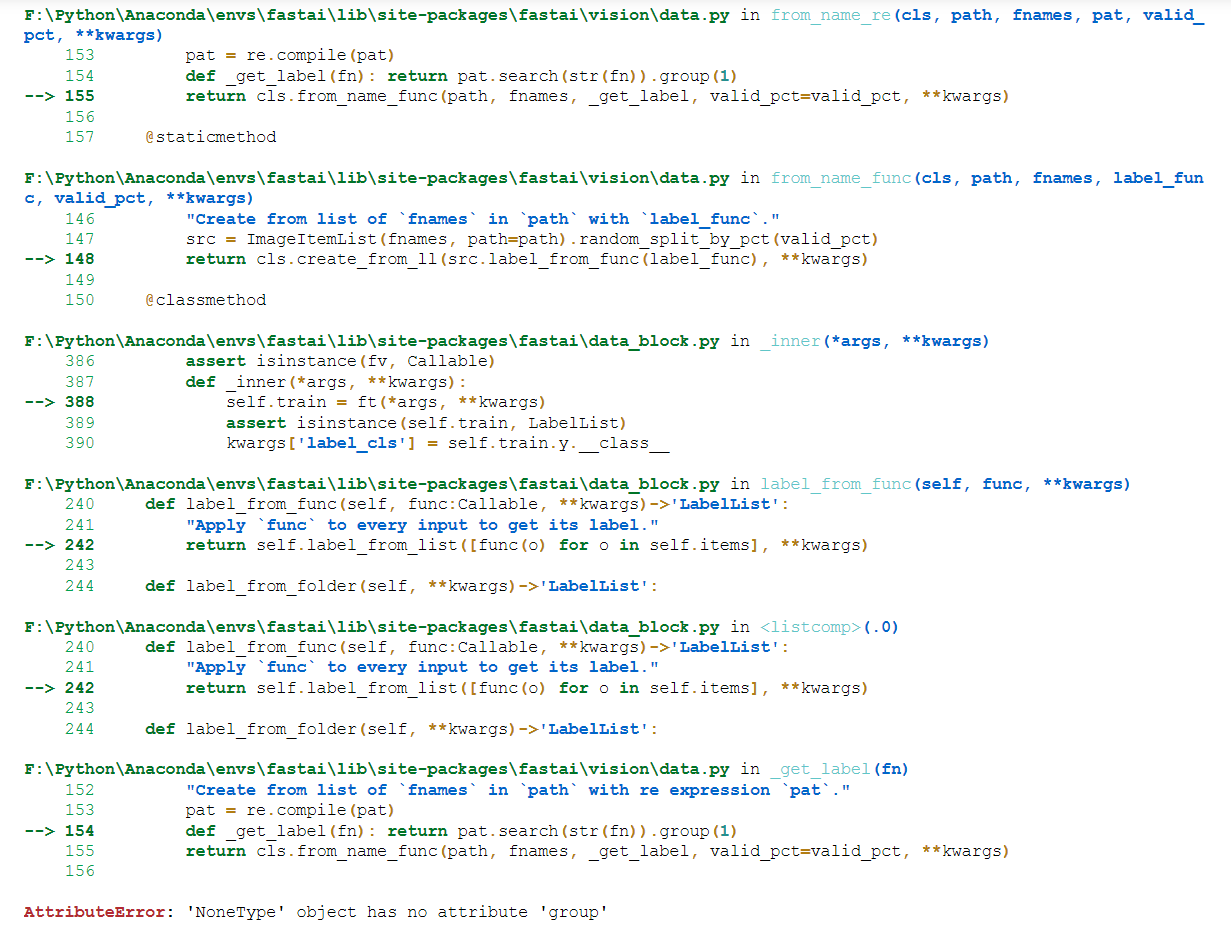
#pat = re.compile(r’/([^/]+)\d+.jpg$’)
pat = r’/([^/]+)
\d+.jpg$’

10th Code Cell:
#data = ImageDataBunch.from_name_re(path_img, fnames, pat, ds_tfms=get_transforms(), size=224, bs=bs
).normalize(imagenet_stats)
data = ImageDataBunch.from_name_re(path_img, fnames, pat, ds_tfms=get_transforms(), size=224, bs=bs, padding_mode=‘zeros’)
data.normalize(imagenet_stats)

C?? - Resnet50 Code Cell:
data = ImageDataBunch.from_name_re(path_img, fnames, pat, ds_tfms=get_transforms(),
size=299, bs=bs//2, padding_mode=‘zeros’).normalize(imagenet_stats)

I figure with so many different platforms, OS versions, library versions, etc. there is always going to be the odd tweak required here or there. I’ve found most of the errors are easily resolved by Googling the error message and/or searching this forum.

Happy coding!

2 Likes