Video
Fastai v2 daily code walk-thrus
Fastai v2 chat
These notes are from @pnvijay - many thanks!
This was a live coding session. While it is a terrifying thing to do, live coding, it is also something that provides a lot of value as well. We will start by trying to understand what @Transform does and justify why it is needed. There has been 26 rewrites of the data transform function since the inception of fastai.
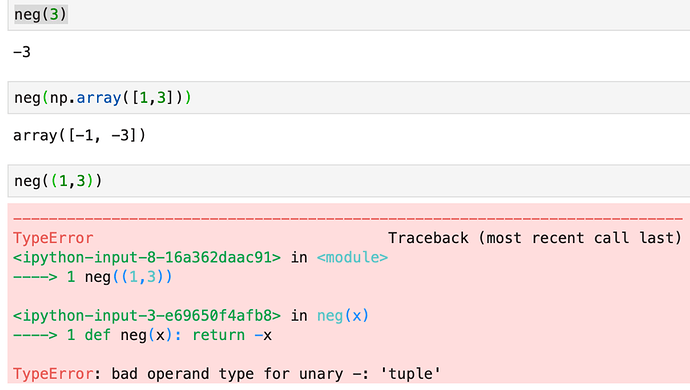
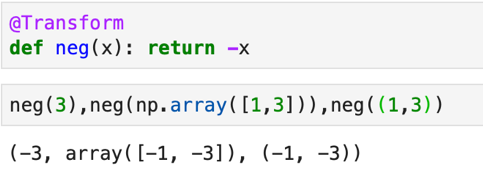
Let us define a function that returns a negative of a given number.
def neg(x): return -x
As you can see above, while it works for integer and array, it returns an exception for tuple. This is python’s normal behavior which causes the exception for tuple. But python also let’s us change the behavior according to the way we want.
In data processing, we are interested in tuple or tuples as we have things like (image, label), (image, mask) and ((image,image),bool) etc. The last example of ((image,image),bool) was for Siamese dataset. In tabular format we have ((continuous columns, categorical coumns),target variable).
We can use decorators to add new behavior to python. When we add @Transform decorator to the neg(x) code, we can see the new behavior.
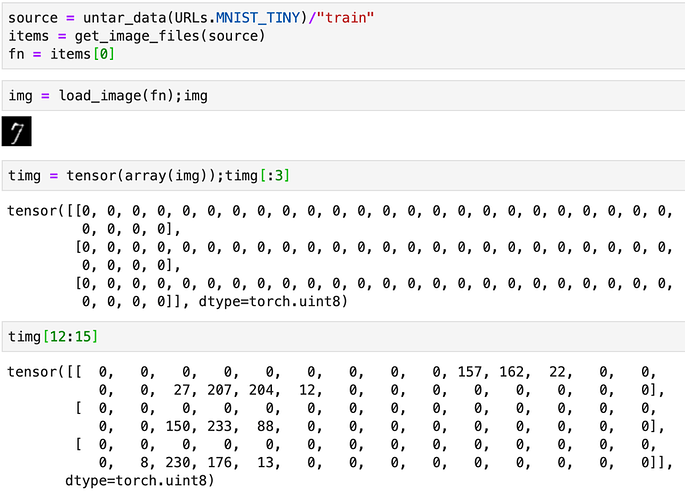
Let us now start working with actual images. Let’s us the MNIST Tiny dataset. We will choose one image and convert that into a tensor and sub-index into the same.
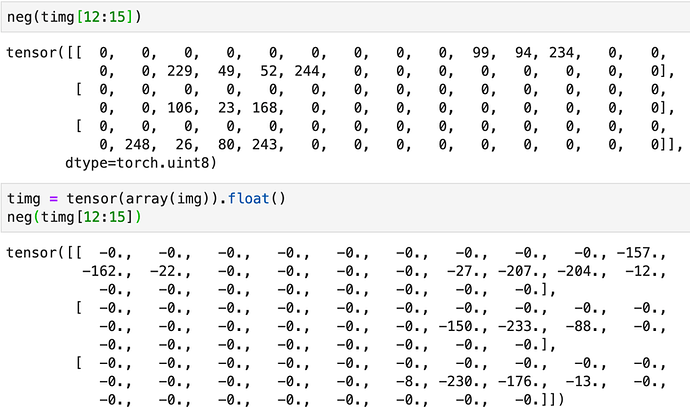
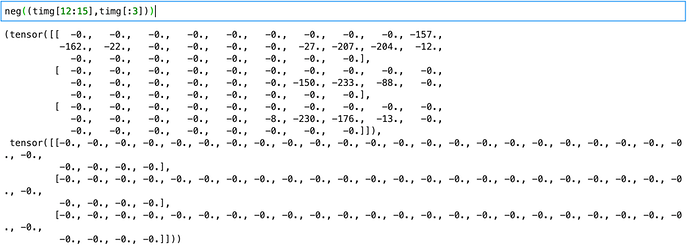
Let us try the neg() on timg[12:15]. It does not work as it is of type uint8 (unsigned integer). It works after we convert it to float. The negative function also works on a tuple of the image tensor sub indexes – neg((timg[12:15],timg[:3])).
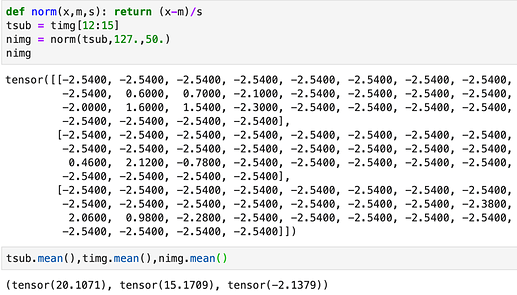
Let us define a normalization function to normalize the image. It takes in an image, mean of image and standard deviation of image. It returns the normalized image. Lets try this function on our sample image (timg) from the MNIST Tiny dataset that we had chosen before.
We want to do normalization in the GPU because it takes a lot of item in the CPU. But in the GPU it is not just an image it is usually a tuple which could consist of any of these options - (image, label), (image, mask), ((image,image),bool) and ((continuous columns, categorical coumns),target variable).
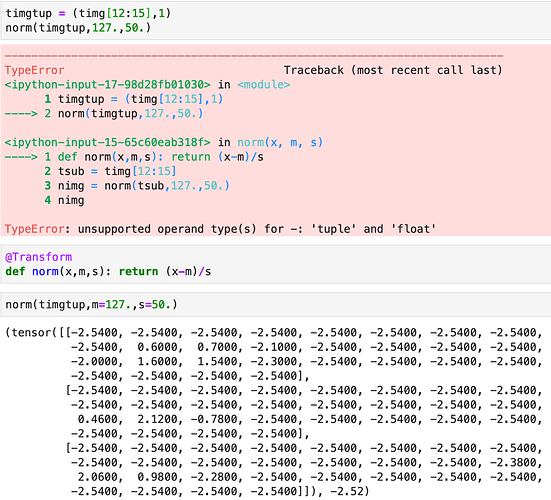
Let’s try a combination of image and label tuple and use the above defined norm function on the same. You will find that due to Python’s default behavior it doesn’t work but if we add the @Transform decorator to norm function it works. But in this it has normalized the label also whereas we want the normalization to apply only for the image.
Please note that while we normalize after adding the decorator, the mean and standard deviation must be explicitly declared as m = 127., s = 50… If it is not declared in this way the norm function will not work and throw an exception.
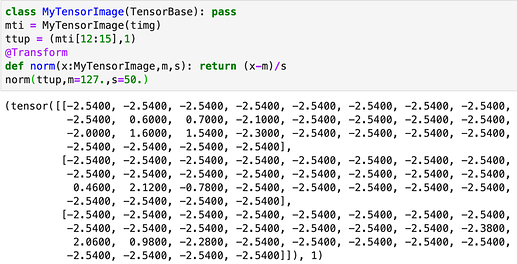
By the time a tuple like this comes to a data loader everything is a tensor. How can we differentiate between the different types of data in a tensor tuple? TensorBase is where the types can be kept for Tensors so that we can use the types of the various elements in the tensor tuple sent for processing in the GPU.
We will now declare timg to be a subclass of TensorBase , tweak the norm function to apply the normalization only on the image. As you can see below, now only the image gets normalized but not the label.
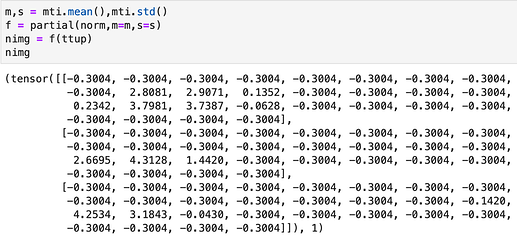
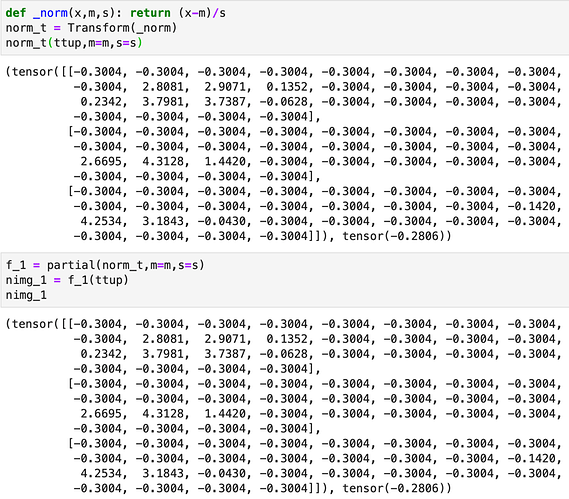
Now we don’t want to pass the mean and standard deviation every time, we want to grab them after we have calculated them. This can be done using partial function. We calculate the mean and standard deviation first and then we can declare a partial function that has the norm function and the calculated values of mean and standard deviation. To this partial function the image can be passed.
We don’t have to use the decorators if we don’t want to. Instead of using decorators, we can alternatively declare them as a subclass of Transform and achieve the same things as before including the partial function.
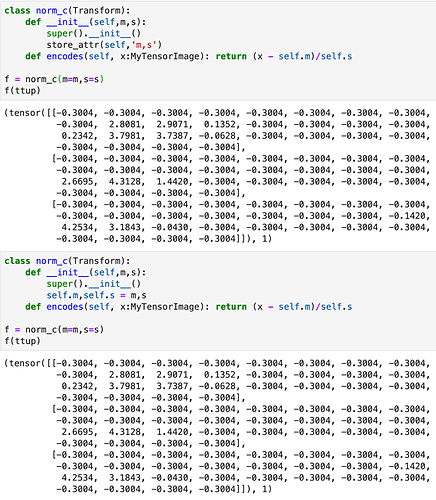
If we want to use state we can declare them as a class and achieve the same output as before. We can also use the store_attr that we saw in the last lecture and use that in the code. As explained in the last lecture the store-attr function just helps to add the values of args to self.
So we can write
self.m, self.s = m,s
or we can use store_attr to do the same thing.
store_attr(self,’m,s’)
The below shows the output for both the choice of usage. It is upto us to choose to use the convenience functions or not.
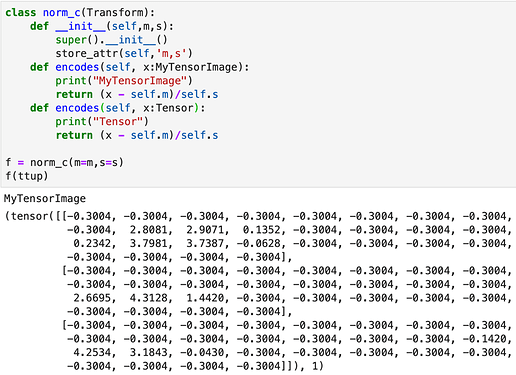
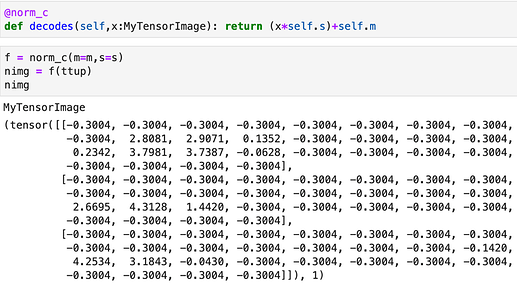
For multiple types of data we can define multiple encodes in the class. Also if there are many types that the data can belong to, it will take the closest or the most accurate match. As you can see in the example below, the data type MyTensorImage is the closest for the data and that option is chosen.
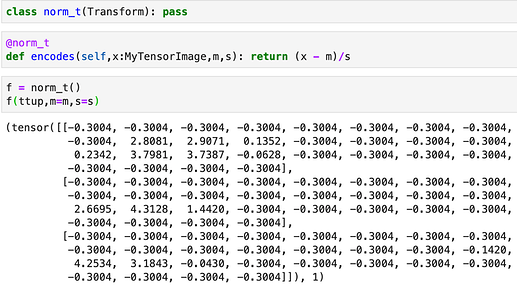
We can first define the class to be a subclass of Transform and then add the functions we want to add later by invoking the decorators. For example here, we define norm_t to be a sub class of Transform. Later we can add function encodes to the same by invoking the @norm_t decorator.
By this method, we can extend the functionality of the norm_t class to account for a data type like Audio, if we go onto define something like that later, and add a encodes function to the norm_t class.
For example:
@norm_t
def encodes (self, x:AudioTensor,m,s): return (x-m)/s
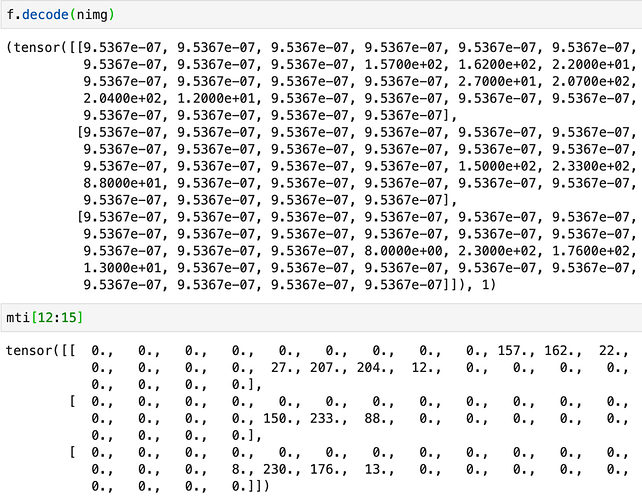
Now we want to want to go in the opposite direction where we want to show the image and need to de-normalize the image. We can achieve that via the decode function. The decode function can be called from the Transform class or sub class. In a typical class definition for doing the decoding, we will add an decodes function that will be called by the decode of the Transform class or sub class.
We can run the decode on the normalized image and retrieve the original image as shown here.
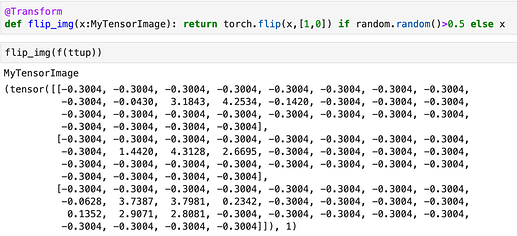
Usually transforms are not just limited to one. We will add other transforms like flip to the image. A simple way to combine these two functions – normalize and flip – one after the other.
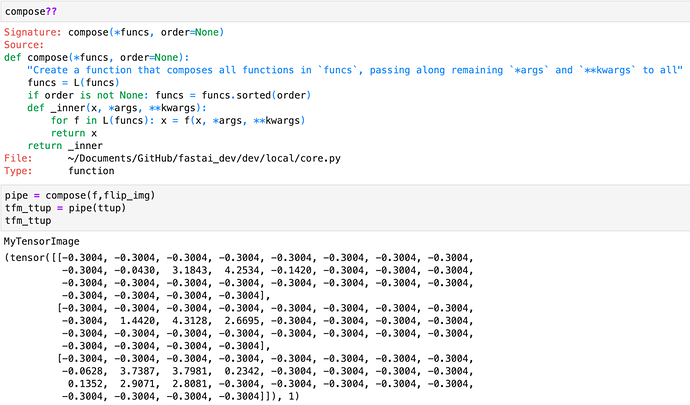
We can also combine transformations like normalization and flipping together. A typical way to do that is to use the compose function.
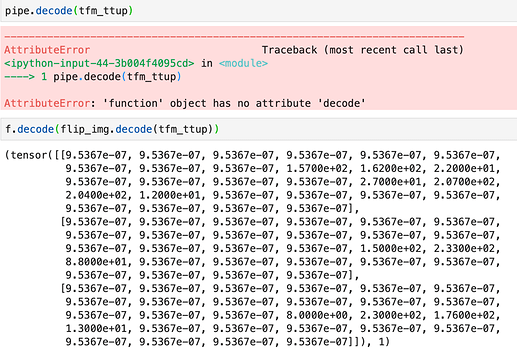
But with the compose approach we will not be able to call the decode function collectively on pipe. We will have to call it individually.
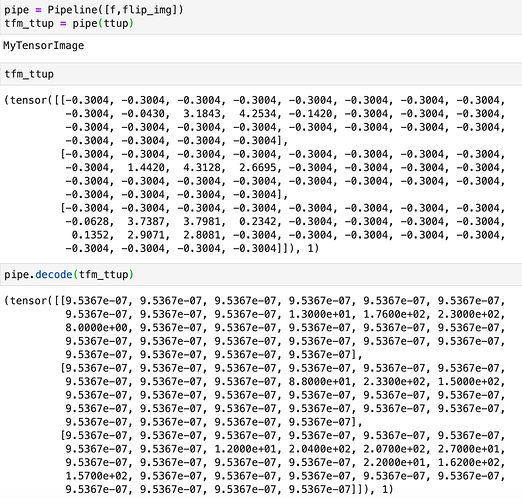
We can use the Pipeline to be able to use both the encodes and the decode method collectively.
Within a pipeline even if we pass a function that is not a Transform class type, it will convert it into a Transform class.
Jupyter notebook productivity tips:
-
- Tap “0” (Zero number in Keyboard) twice to restart
-
- Press “A” (Alphabet A in keyboard) to come to current cell
We are using normal python functions to dispatch and use it for data processing functions. We don’t have to define MyTensorImage like we did here in the note book. It is already available as TensorImage’ in fastai v2. We also haveInt` type as well here in fastai v2.
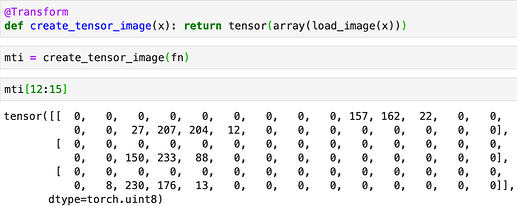
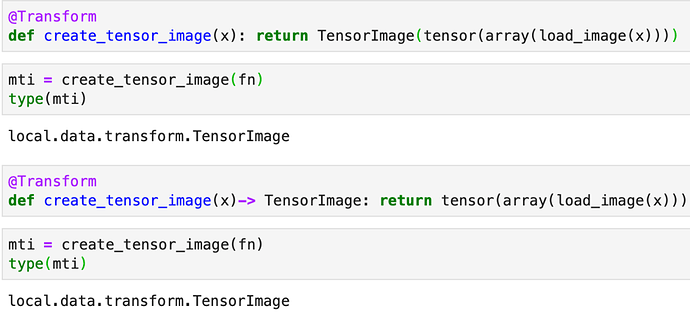
Let us try to use the load_image() as a transform. We will define a function create_image_tensor() to load image and convert it into a tensor. We will add @Transform decorator to add the Transform functionality. But the type of the image is still a Tensor.
We can directly create a TensorImage type directly. There are two ways of doing it which is explained below.
You don’t have to learn anything about TypeDispatch() or metaclass. Just understanding what things like Transform does is enough. But in the code walkthrough we take time to go through all these things.
In Transform and Pipeline we pass an argument as_item=False which allows us to do the operations on each element of a tuple or list. This is what we saw in the walkthrough now. But if we use as_item=True it will turn this functionality off.
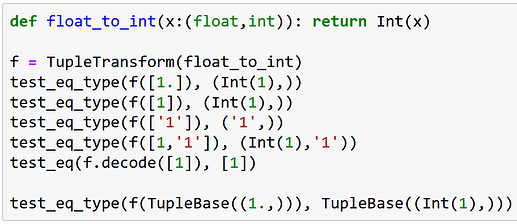
There are some predefined transform types in Transform like TupleTransform and ItemTransform. They have an argument as_item_force which they enforce. TupleTransform enforces as_item=False always while ItemTransform enforces as_item=True always.
The reason for having the as_item argument in Transform is that it goes through the functions and sets their as_item to be that of what has been passed in the initiation. The reason is that in data processing sometimes we want tuple behavior and sometimes item behavior.
So until we get to the batch we can have two different pipelines being applied.Like in the pets tutorial we have two different pipelines wherein as_item=True is set as they are not a tuple yet. Later on when they get to the DataLoader the as_item is set to False as required.
