Vim tips and help thread

Vim users, please share any vim tips you have below in the replies! - thanks Jeremy

Hi, this thread will help setup the vim with tags(creation) for fast lookups of functions and classes. I felt the need for this thread because in the past i had tried setting up this tags thing, but was overwhelmed by the plugins available and in the end always messed up with my system.
However this time i managed to setup this tags thing without any plugin. So just wanted to share for those who might be stuck.

Here are the steps from scratch(for linux):

Installation

  • sudo apt install vim
  • sudo apt install exuberant-ctags

Setup Vundle (Optional)

  1. Go to vundle and follow the steps. It’s pretty straight-forward.
  2. Here please remember to comment out (using " ) the packages you don’t need.(especially the YouCompleteMe package(takes a lot of time))
  3. Simply put Plugin 'tmhedberg/SimpylFold' after the call vundle#begin() line to enable automatic
    code folding just as in jeremy’s terminal.
  4. open vim using vi and write :PluginInstall

Creating tags for projects (Important)
This is the step that will do the magic.
So suppose you want to create tags for fastai library so that you can check for any function,class defined in the library.
For that you need to first locate where the library is installed.Simple step for that would be

locate fastai|less

this will show all the paths matching fastai word.Something like this

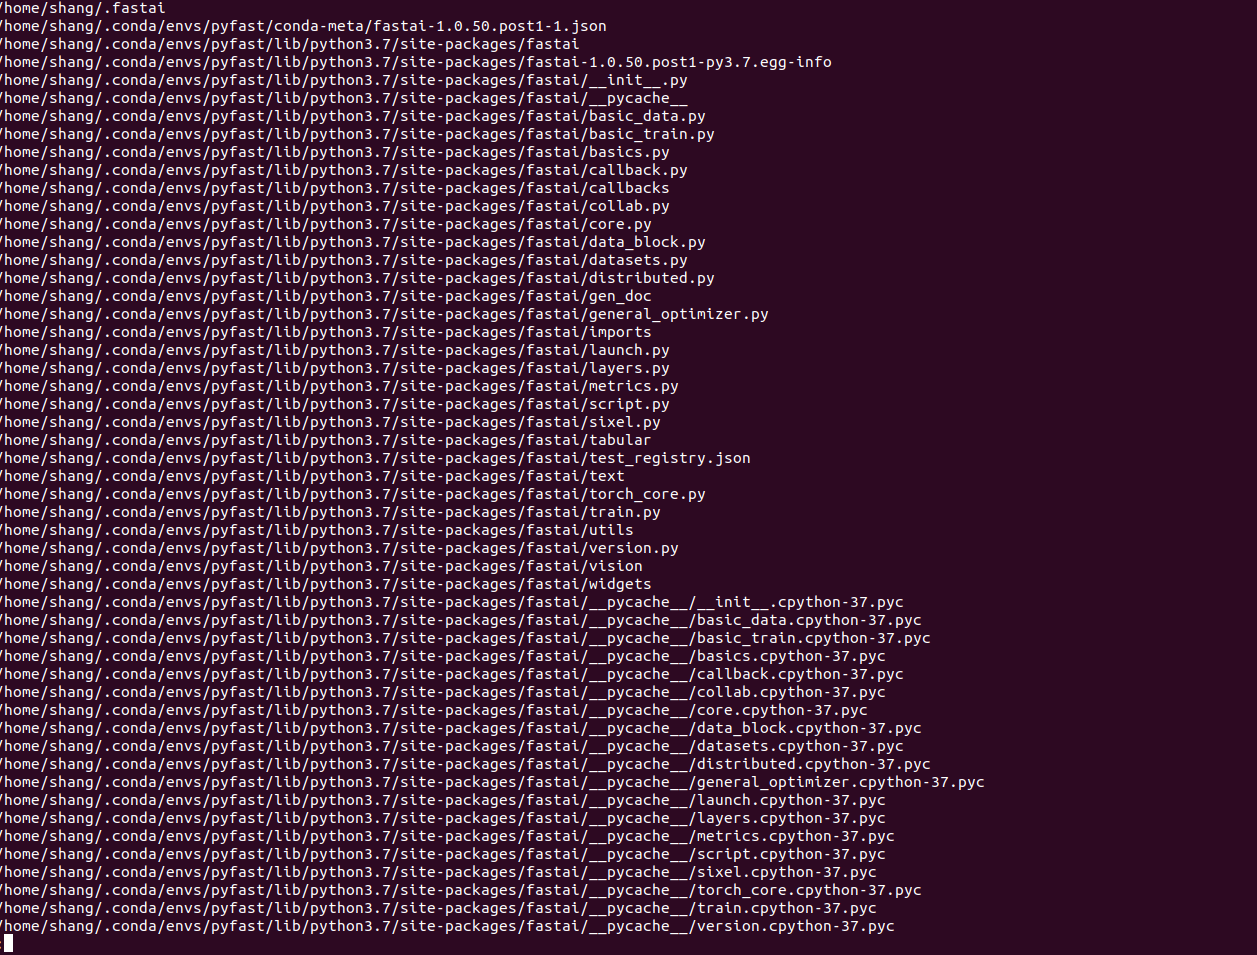
Now just get the base path where the fastai lib is installed. In my case, it would be

/home/shang/.conda/envs/pyfast/lib/python3.7/site-packages/fastai/

Now to generate the tags, simply write

ctags -R -o ~/fasttags /home/shang/.conda/envs/pyfast/lib/python3.7/site-packages/fastai/

This will generate a tags file and will store it at home directory named as fasttags. Here remember to provide the full path for both the output file and input file otherwise vim won’t be able to find the tags(happened with me).

To keep things in order and tidy, you can create a directory at home as .tags and move this fasttags file over there.
All done! Now simply open up your .vimrc file using vi ~/.vimrc and add the following line at the end -

set tags=~/.tags/fasttags

This line will tell the vim where the tags file is located.

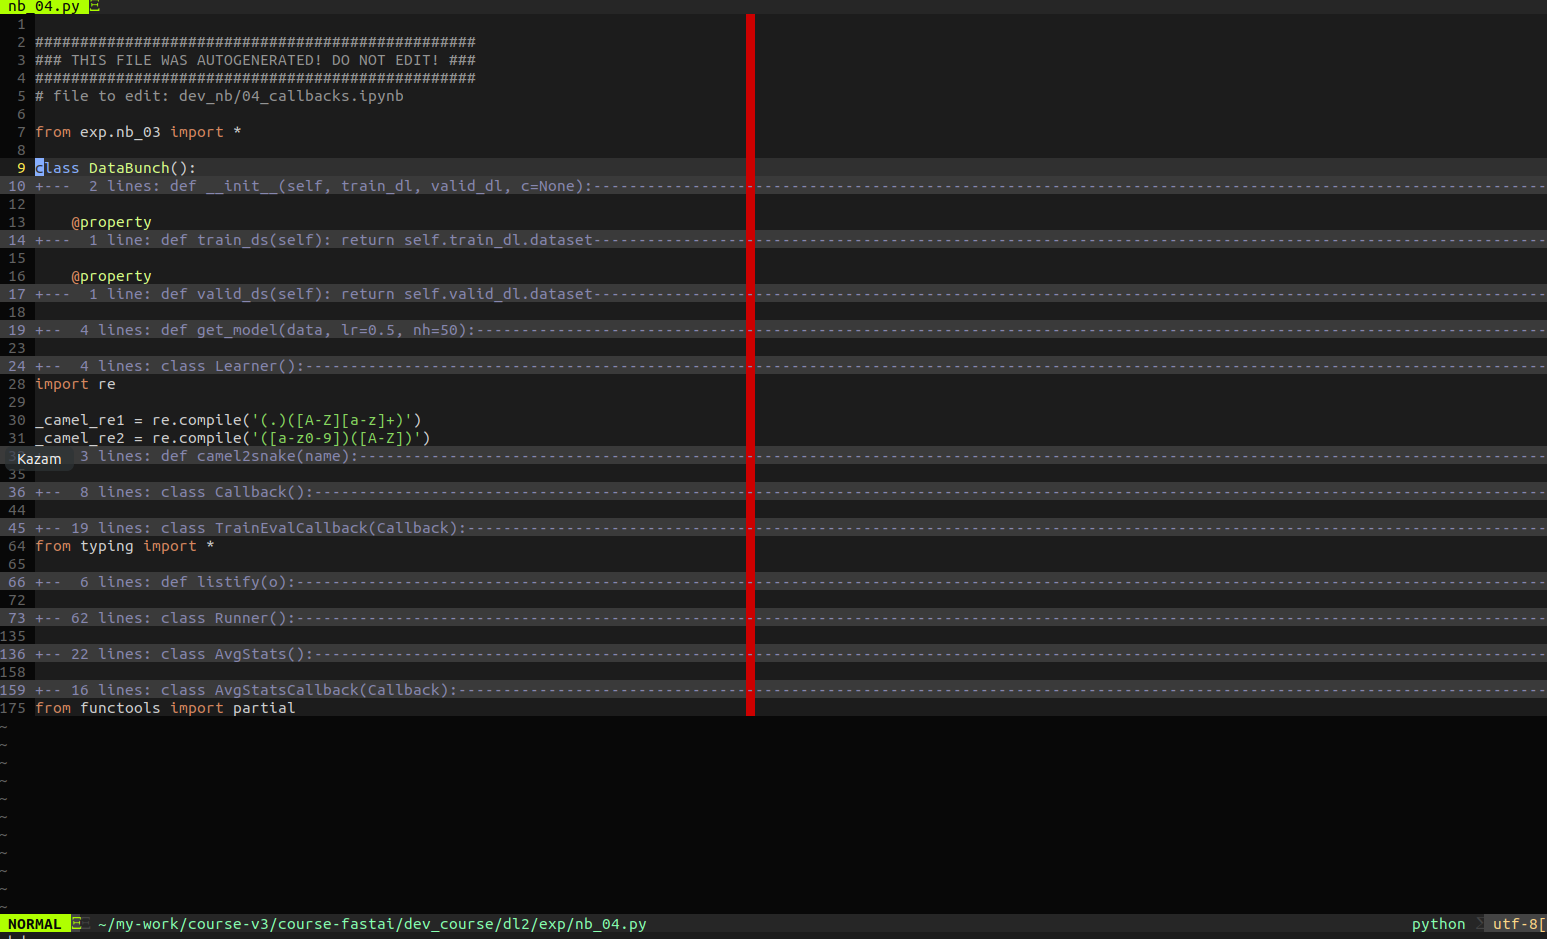
Now just fire up the vim and search for any definition of functions/class you want to search from fastai lib like DataBunch.
Here are the results of :ta DataBunch

Some Notes
you can provide multiple no. of tags file to vim using set tags=/path/to/file1,/path/to/file2 etc.
But here if you are maintaining different tag files for different libs supposed you have one for pytorch, one for working fastai, one for development mode fastai, one for the part-2 course,
then this like will be a bit messy. The workaround would be to structure the different tag file in different folders like this

image

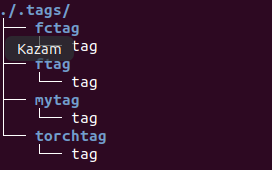
Just make sure the file name inside the folders is same.

Now change the tags line in the .vimrc file like this -

set tags=~/.tags/*/tag

and this will load all the different tag files you want.

I know the whole above setup is pretty straight forward, but still i wanted to share incase somebody got stuck like me.

27 Likes

Thanks for putting this together.

This discussion may be helpful as well for folks looking to essentially emulate Jeremy’s VIM environment. For what it’s worth, I think the setup is the best next thing to using VSCode and works very nicely for folks working on a remote server.

3 Likes

Thanks for thread reference @wgpubs . My main intent for setting up vim was just for definition lookup as the rest is there in jupyter notebooks like autocompletion, hints etc. Previously when i wanted to write a script or something, i used to switch back and forth between jupyter notebook ,atom and other files for source code during developement. But now thanks to jeremy and fastai folks, i can just export the code i want to the .py files with 1 line of code. :slight_smile:

In my opinion, VIM is hard to learn and use. A lot of things in VIM are much harder to do than in VS Code. Previously VIM was the best way to modify code on server. Instead of always uploading changes from local with VIM it is easy to make modifications to the code on server. I found that there is a tool that makes it plausible to use VS Code on any browser. I think that I’m going to use this in the future instead of VIM when I want to modify code on server.

2 Likes

I add the following in my .vimrc which will go through all the site-packages in your current conda environment (NB: you have to have activated your desired conda environment before firing up vim for this to work):

command! MakeTags !ctags -R --languages=Python --exclude='*.pyx' --exclude='*.pxd' . `python -c "from distutils.sysconfig import get_python_lib; print(get_python_lib())"`

Then you can just execute:

:MakeTags

and that will add all the tags from the current conda environment site-packages as well as the current project into your local tags file.

4 Likes

Also, for people who are new to vim, or want to improve their vim skills I’d highly recommend the following two videos to watch:

12 Likes

I agree that for completely new users that VS Code is going to be an shallower learning curve. It’s very exciting to see that you can now run it in the cloud!

Watch this video where someone runs VS Code in the cloud with TensorFlow using a Google TPU.

That being said, once you’re over the learning curve with vim, for efficiency and speed it’s very hard to use anything else. Though, you can use vim keys in VS Code of course!

3 Likes

Super Awesome! Thanks for this. Would it be a good idea to automate the tags generation whenever a new lib is installed?

Here is a command to get the :help into a window buffer therefore can be switched to using :bn or :bp . Place in your .vimrc file

command! -nargs=1 -complete=help H :enew | :set buftype=help | :keepalt h <args>

However I found that :bn etc did not work as it ignored the help buffer which is still there in the background so using :buffers! to list buffers I discovered it’s number which can be used to switch too it, move to the next buffer and return back again.

:b3 for example for buffer 3

If you use

:H usr_toc

This opens a buffer at the top level of help whereby you can ctrl-] and ctrl-T to move about the tags

The main feature here is to give a whole window to a help topic instead of splitting the window and which can be revisited by switching buffers. AFAIK

Source Of Command

@noskill I’ve improved the vimscript above to make this a bit easier:

" also look for tags in `libtags` in cwd
set tags=tags,libtags
" Make ctags from all python libraries
command! -bar MakeLibTags !ctags -R --languages=Python --exclude='*.pyx' --exclude='*.pxd' -f libtags . `python -c "from distutils.sysconfig import get_python_lib; print(get_python_lib())"`
" Make ctags just from local project
command! -bar MakeTags !ctags -R --languages=Python --exclude='*.pyx' --exclude='*.pxd' -f tags .
" Make both ctags for all python libraries and local project
command! MakeAllTags silent MakeTags|silent MakeLibTags|redraw!
" On python file save, update local ctags
autocmd BufWritePost *.py silent MakeTags|exe ':redraw!'

Because the ctags for the while python library is large and takes a while to build I’ve broken out the library ctags from your anaconda environment into a file called libtags which will be written to your current working directory.

And then you have the regular tags file just contain tags from local project files.

You can run :MakeLibTags to build out the library tags.

You can run :MakeTags to build out just your local tags.

You can run :MakeAllTags to do both.

And the last line will rebuild your local tags every time you save a python file.

6 Likes

Thanks for this… :slight_smile:

Thanks for the links. Both videos are really helpful.

Slightly off-topic: Is anyone able to work with Jupyter notebooks completely mouseless? I haven’t found a way to do it completely with native Jupyter shortcuts, e.g. for clicking into cells to activate them aftere searching/scrolling I need the mouse. It can be done with additional hotkeys, e.g. by using Surfingkeys (a chrome plugin for mouseless surfing), but this interferes with the Jupyter shortcuts.

I don’t use jupyter that much any more, but I also use a plugin called vimium which is something similar to SurfingKeys that might help. It does a pretty great job of getting around most apps with vim key bindings.

Hi @noskill
Thanks for such an awesome post. Do you also know how Jeremy set up Ack?

Hey everyone!

I created a tutorial on how to browse fastai source code using Vim and wanted to share the link with you in case you are interested.

6 Likes

i love this - i just wish we could let medium’s and its paywall nonsense die its death already.

lols I know. I just have to open in incognito mode when I run into that darn thing :slight_smile:

I’m new to programming. Especially, the concept of libraries, “everything a class or instance” and “from lib import *”.
Ctags is obviously very helpful in navigating and referring to source code.
I was wondering, are there any resources which can help me understand various libraries that are there on github. You know, something which can teach me some OO lingo, walkthroughs, commonly used design conventions.

Hi,
I am not able to set up the tag uitlity in my ubuntu app of Wndows 10.
Getting below output while running locate fastai|less

Kinldy guide on this.