Share your work here ✅

For rectangular images, check this out: https://forums.fast.ai/t/deep-learning-with-audio-thread/38123/50?u=rsomani95

Classifying Luxury cars.

Hello All,

I have put together a small data set (the data set is not public yet, let me know if you want it to be public) of images of 8 different brands of luxury cars and trained a resnet50 on it. (initially just the FC layer and also trained after unfreezing). The result is very promising. I do not have an idea about human benchmark in this problem but I doubt it can surpass what the model is doing (~ 92% accuracy on the validation set). I have the plan to include layer-wise t-SNE or PCA analysis of the result also (not done yet). I am sharing the notebook here - https://colab.research.google.com/drive/1khL0FnmwEIm_igCLC8bkST6nrWvfE89O

Thanks a lot to everyone and of course to @jeremy for such a great course.

2 Likes

Hi,

I am planning to work on a similar problem. Will be interested to discuss

Best,
Shubhadeep

Yes I understand that ,I have been Working upon Segmentation with 7 channels and have finally managed to include a little bit of fastai(learner )into that.I had to create my own transforms ,create the databunch .I think we can have networks that automatically adjust the first Layer based on the input shape.I do agree that it is not the problem of library but libraries should be robust to deal with this.And we can just replace the initial Conv Layer to accept from 3 to num_channels while keeping the rest of the layers Constant

Hi, I have worked on classifying books into categories of technical and non-technical (novels, self-help books etc) on the basis of the book cover.

For that, I have trained a Resnet-34 pre-trained model and got an accuracy of 85%.

epoch

The following is the confusion matrix I got

confusion_matrix_book_cover

Where the model go wrong?

my github repo (Book Classifier)

1 Like

I modified the “SuperRes” example from lesson 7 to use an picture -> pencil sketch image crappifier.
The concept is to create a model that can turn a pencil sketch into a real photo
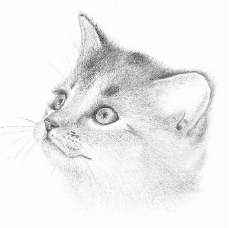
So something like this would become an actual cat image:
image

The crappifier used is this small code snippet that does this kind of image -> pencil.

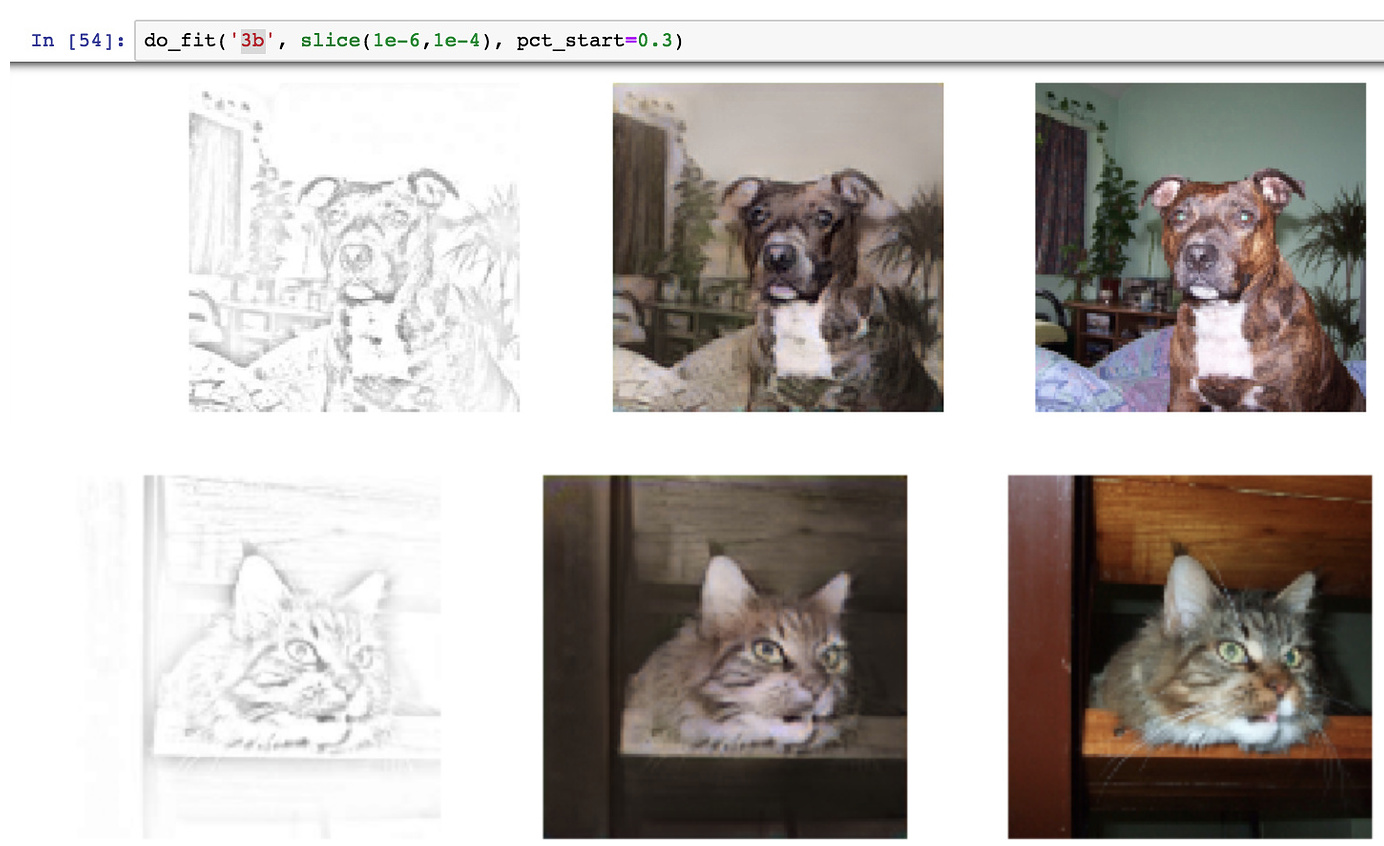
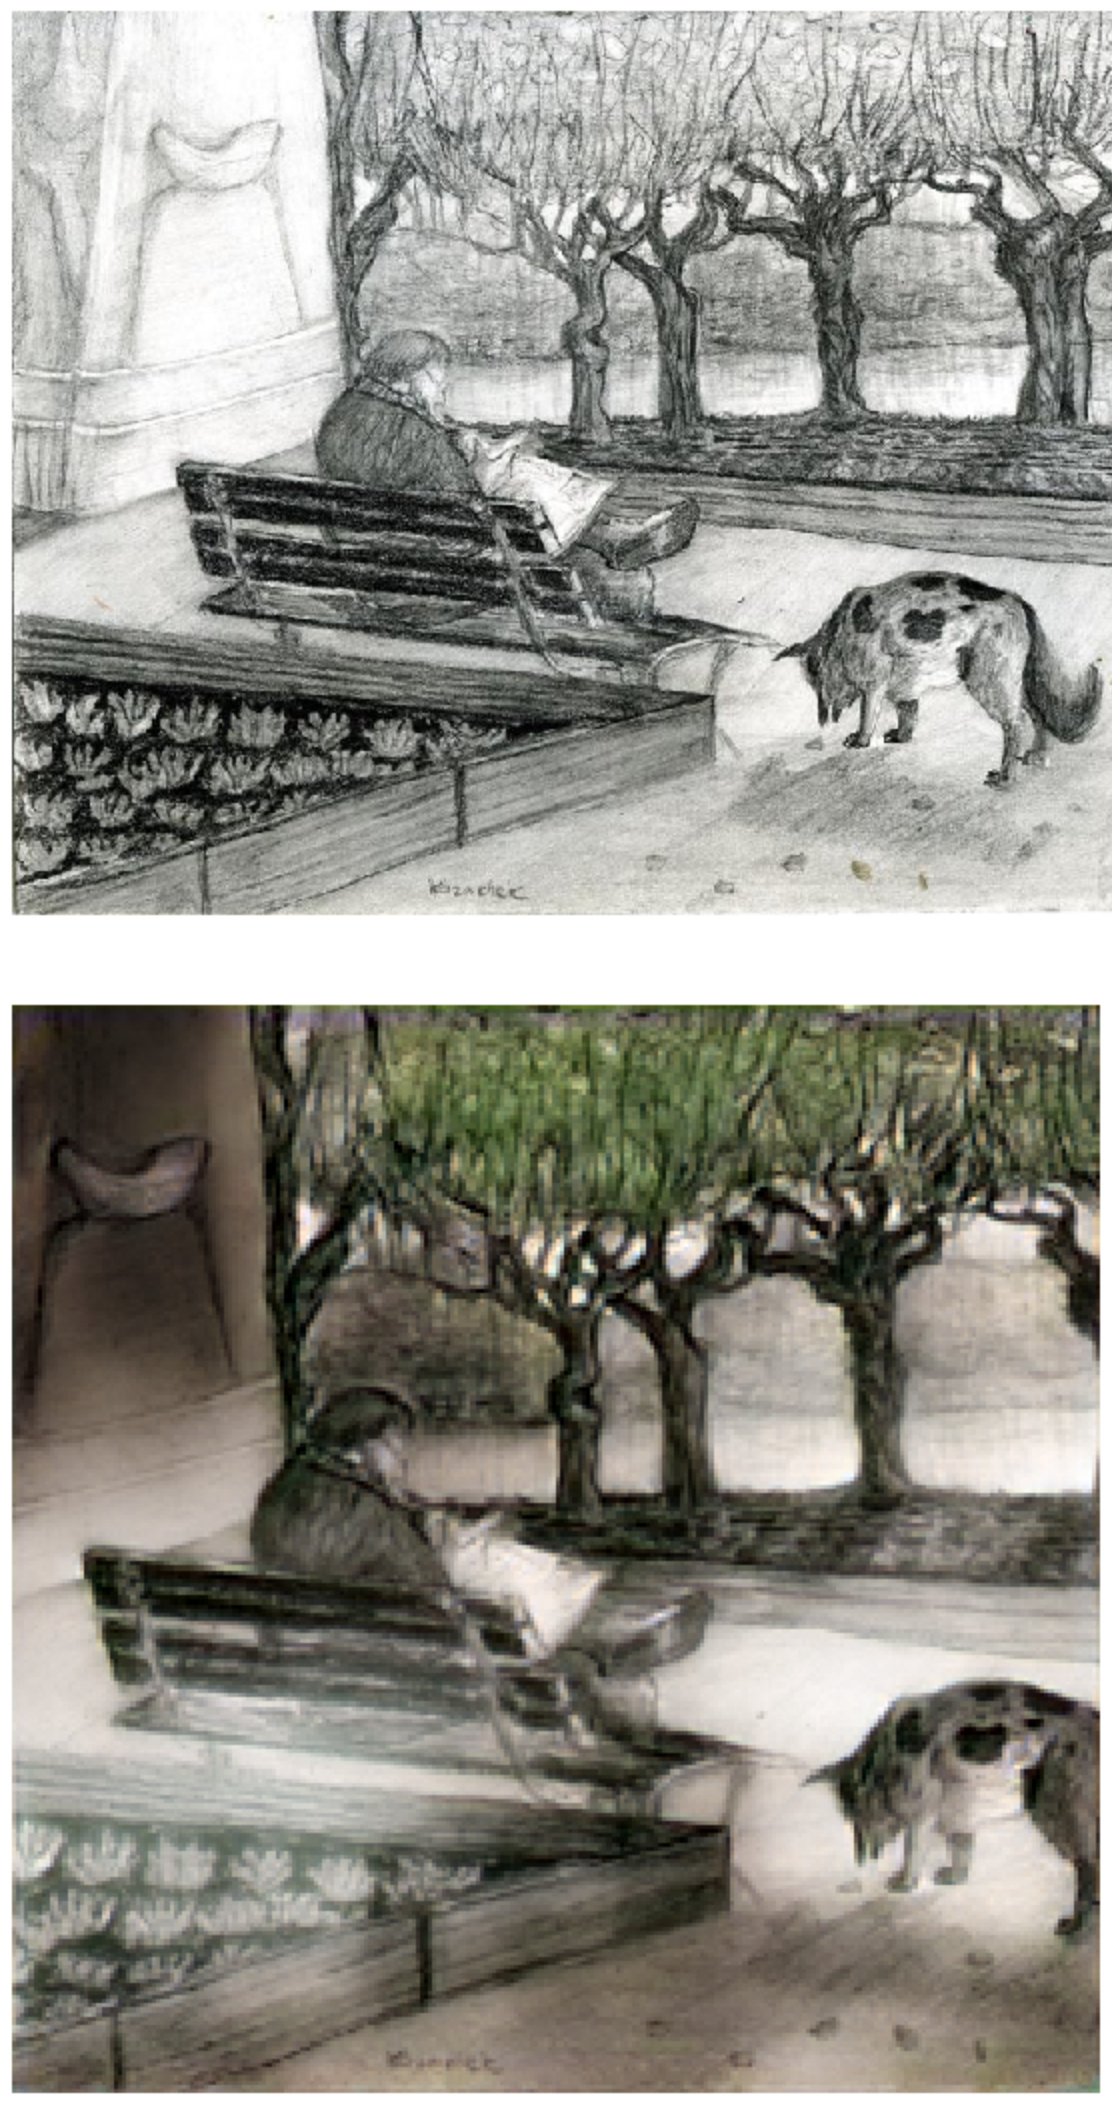
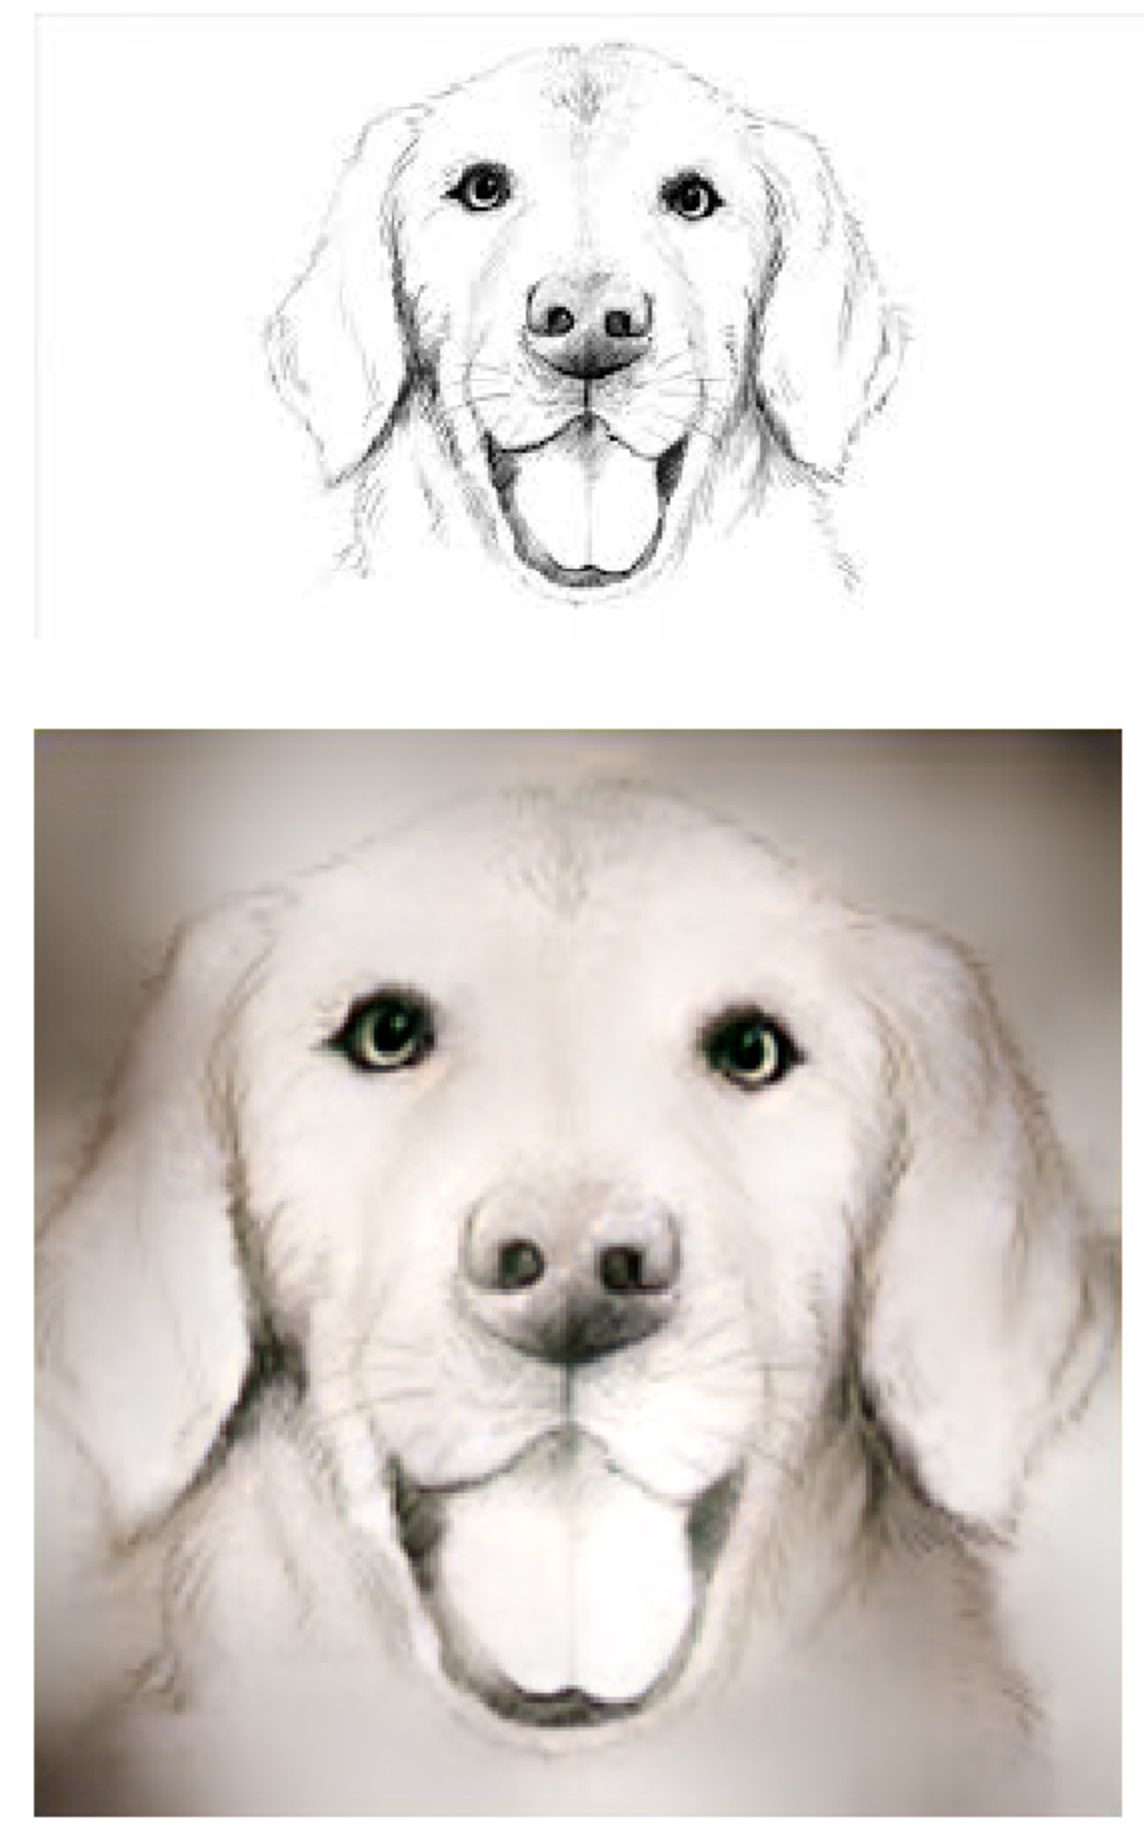
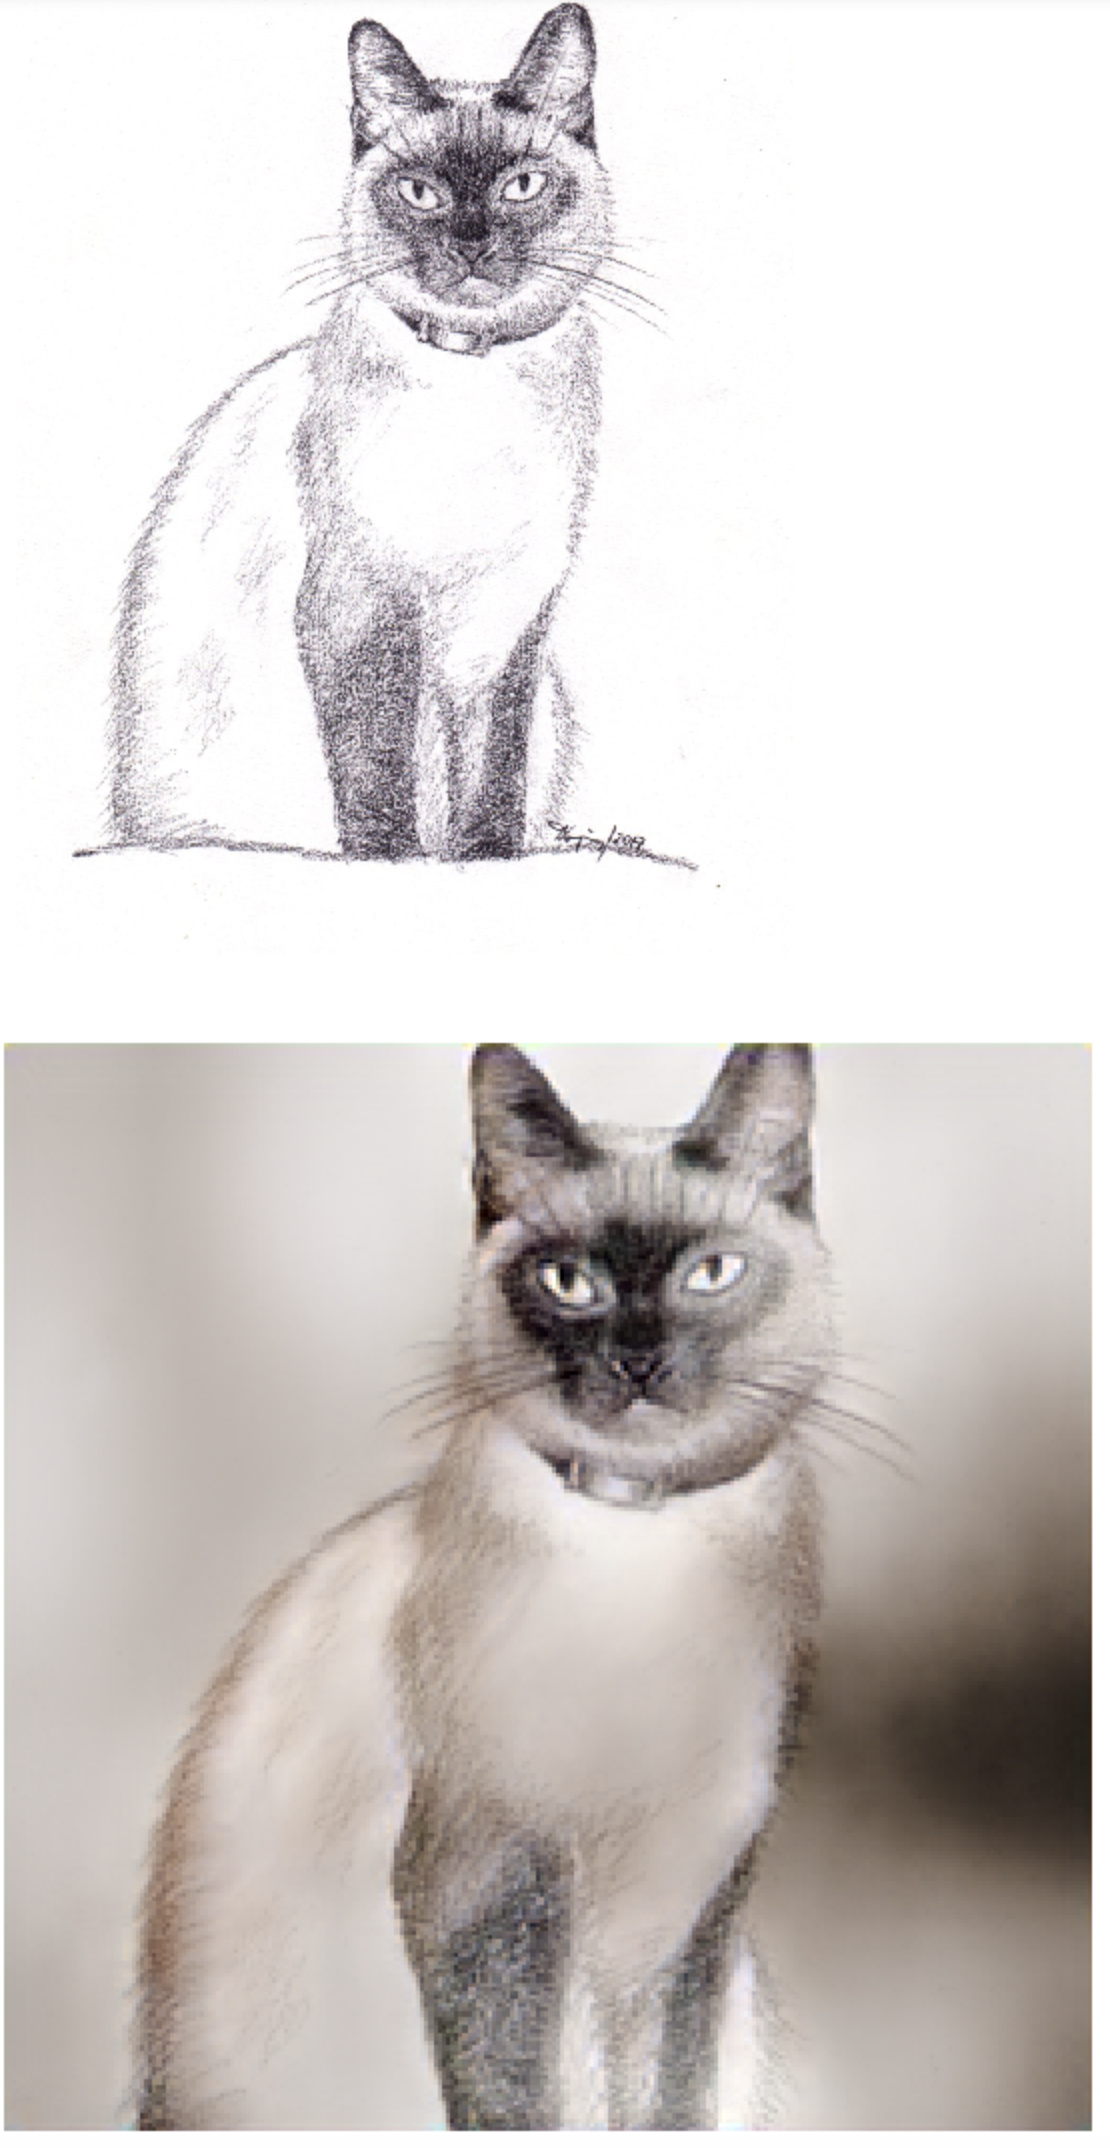
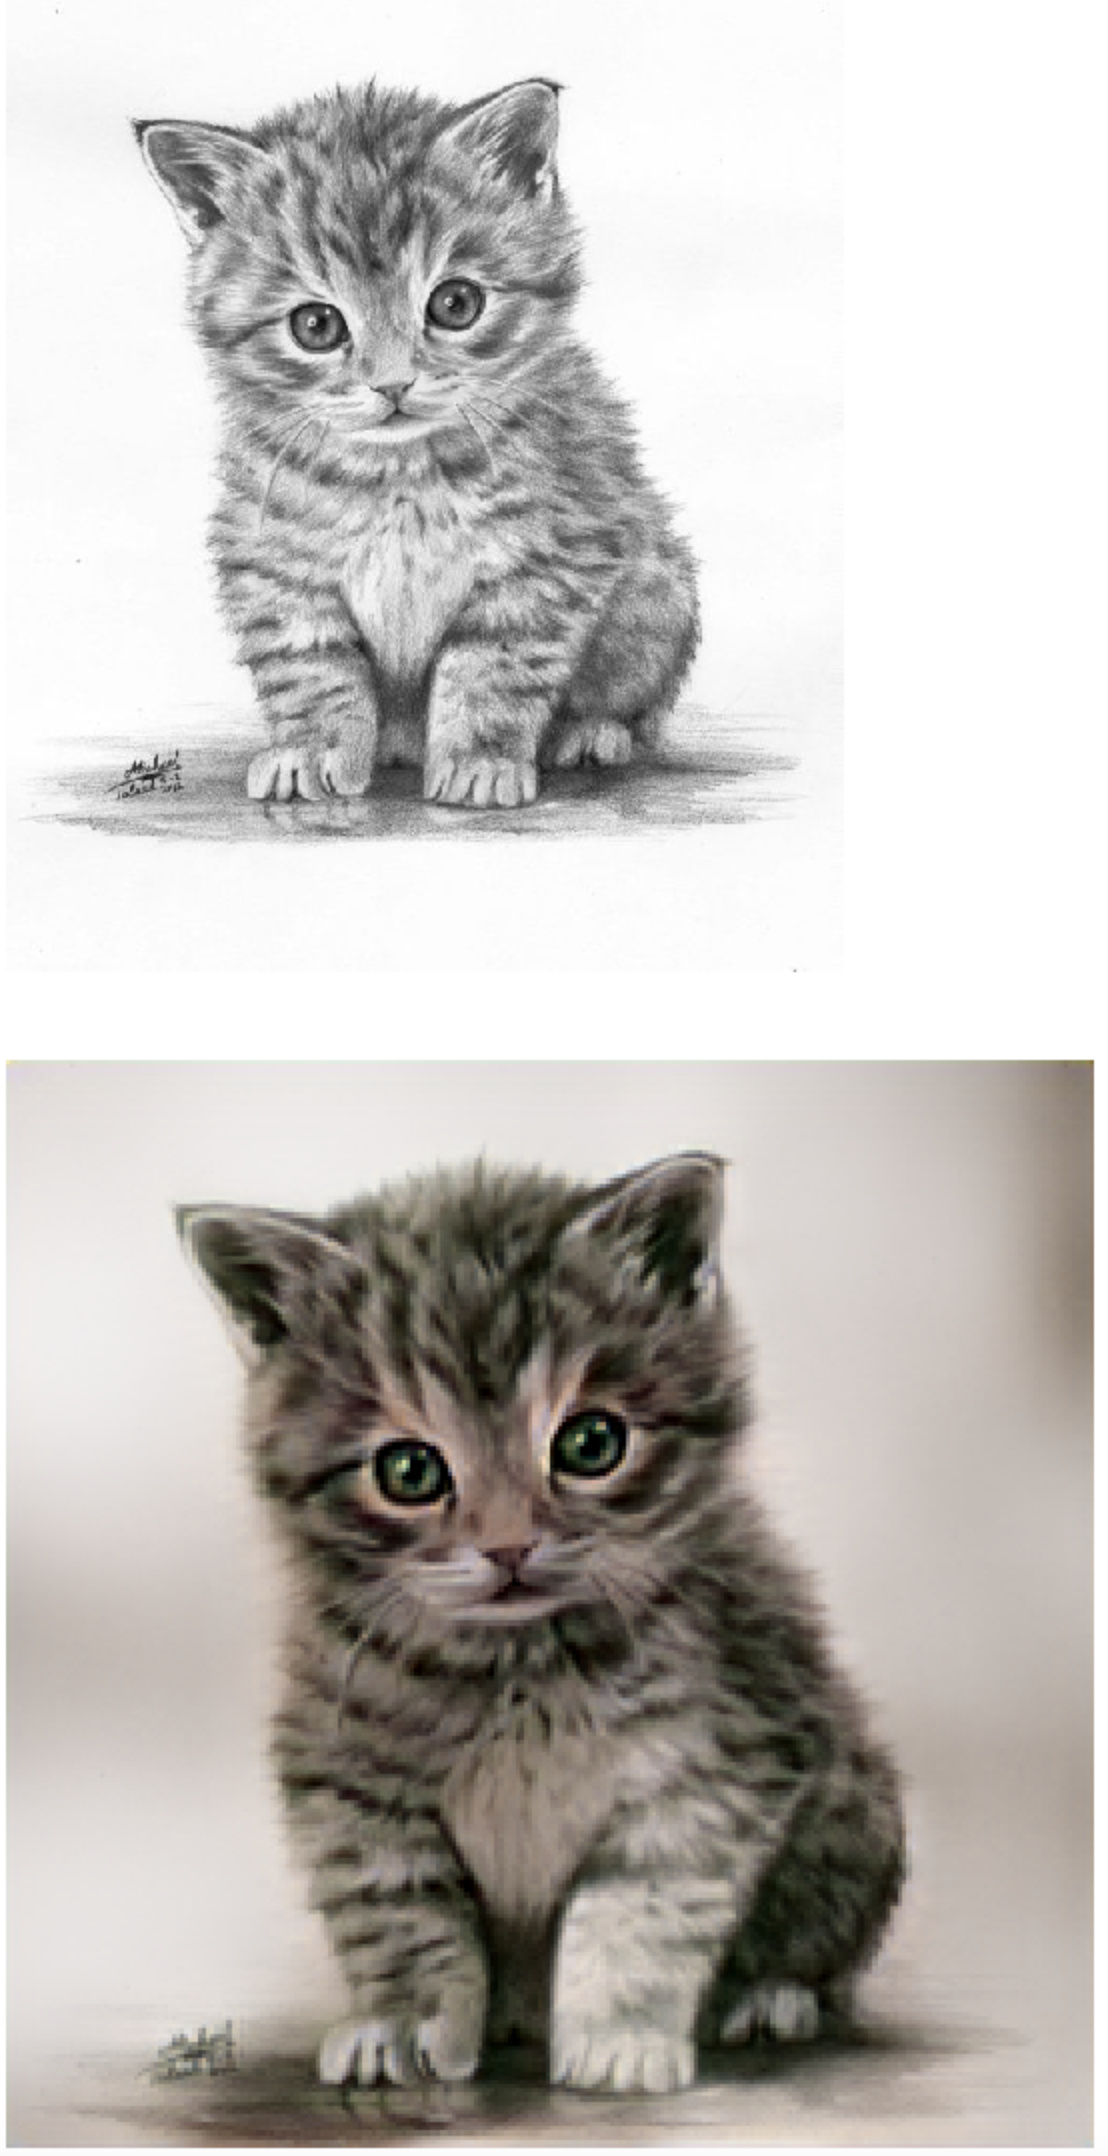
images from the training data got restructured quite well into animal pictures:

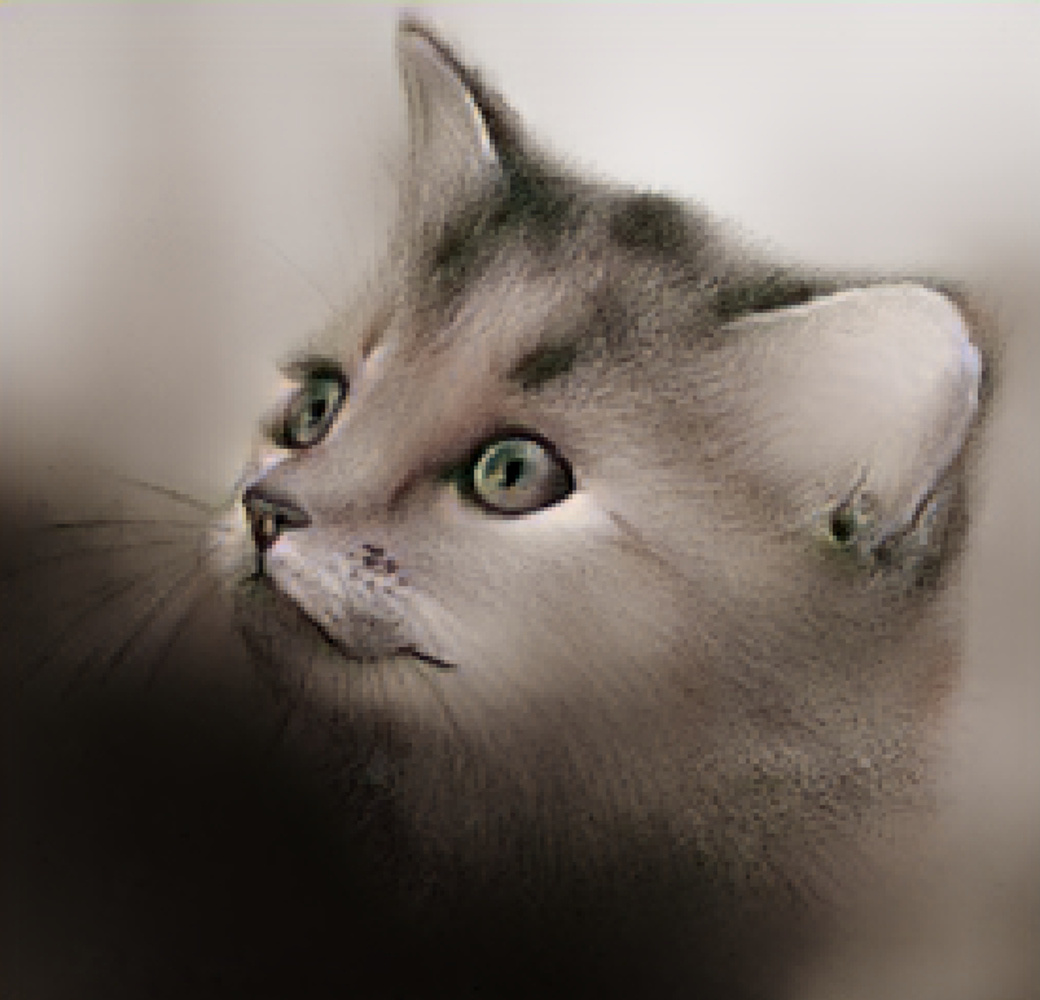
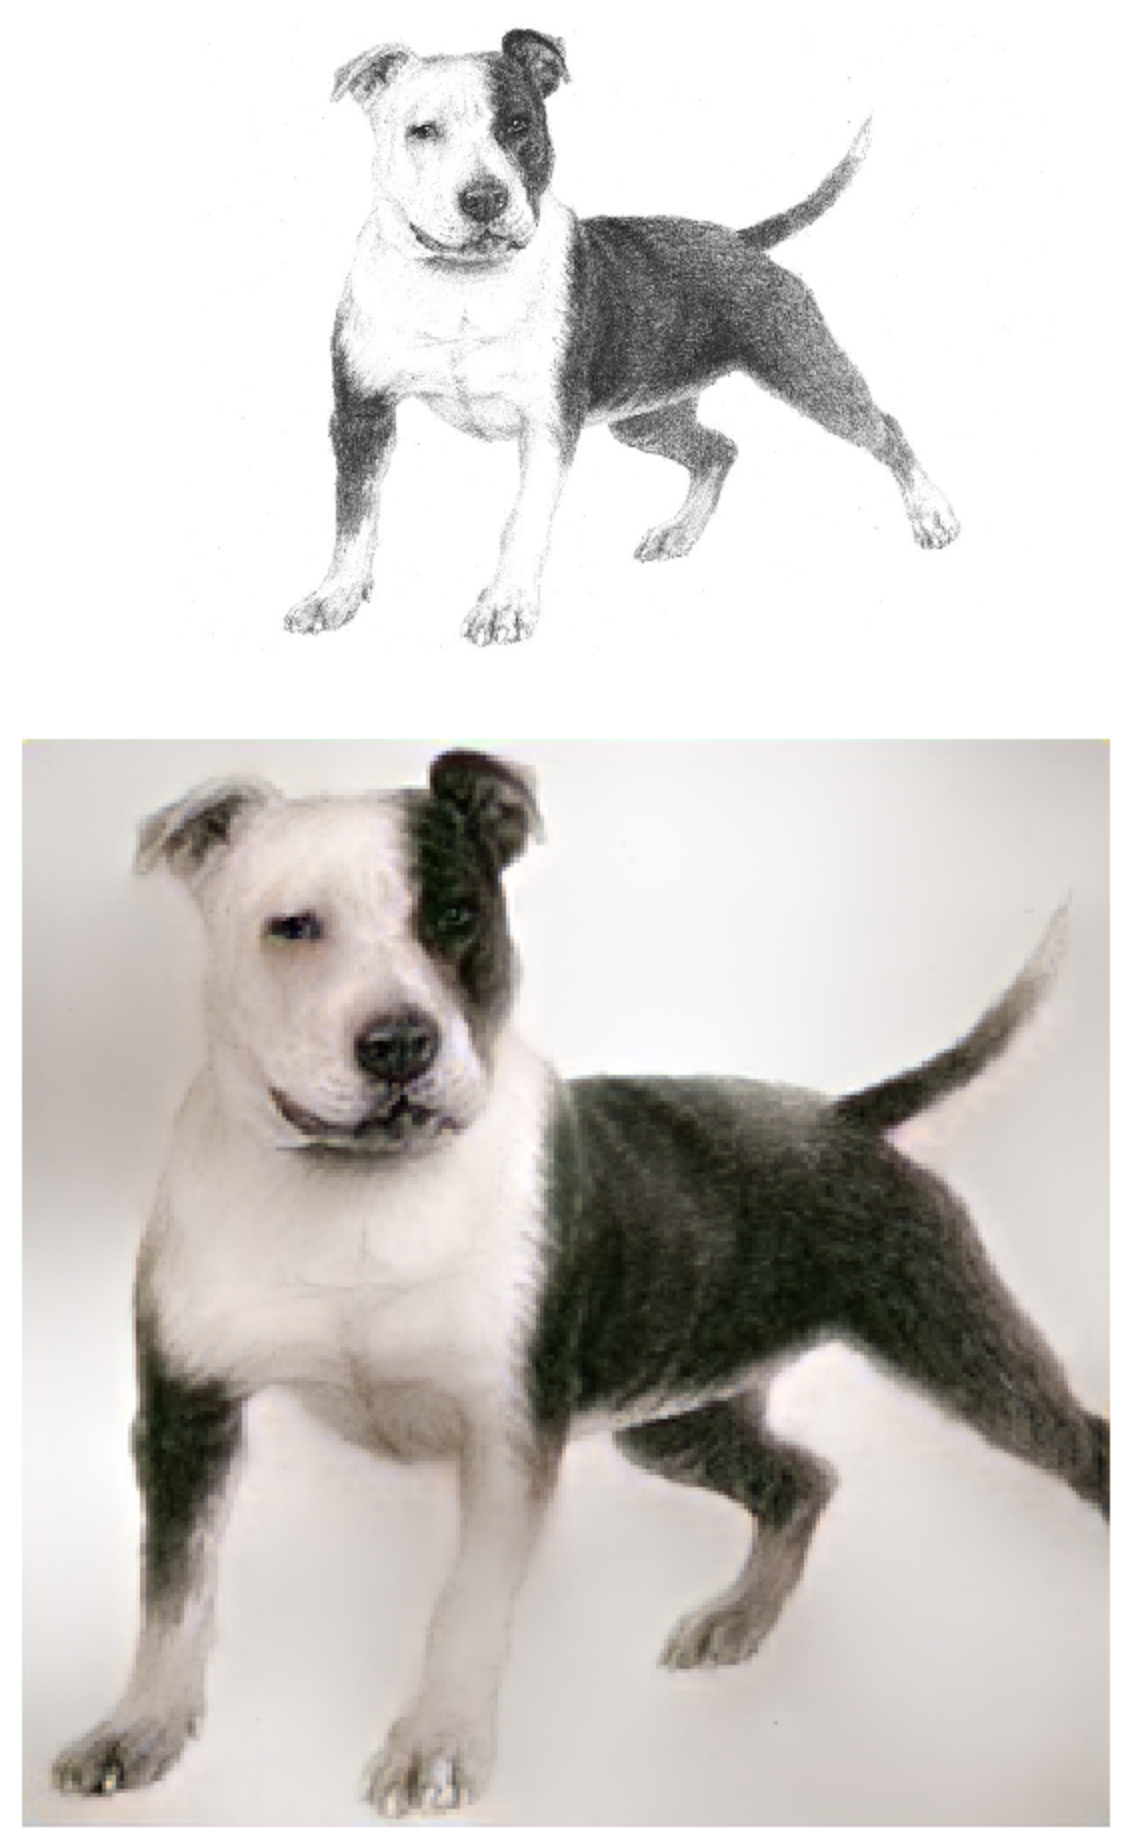
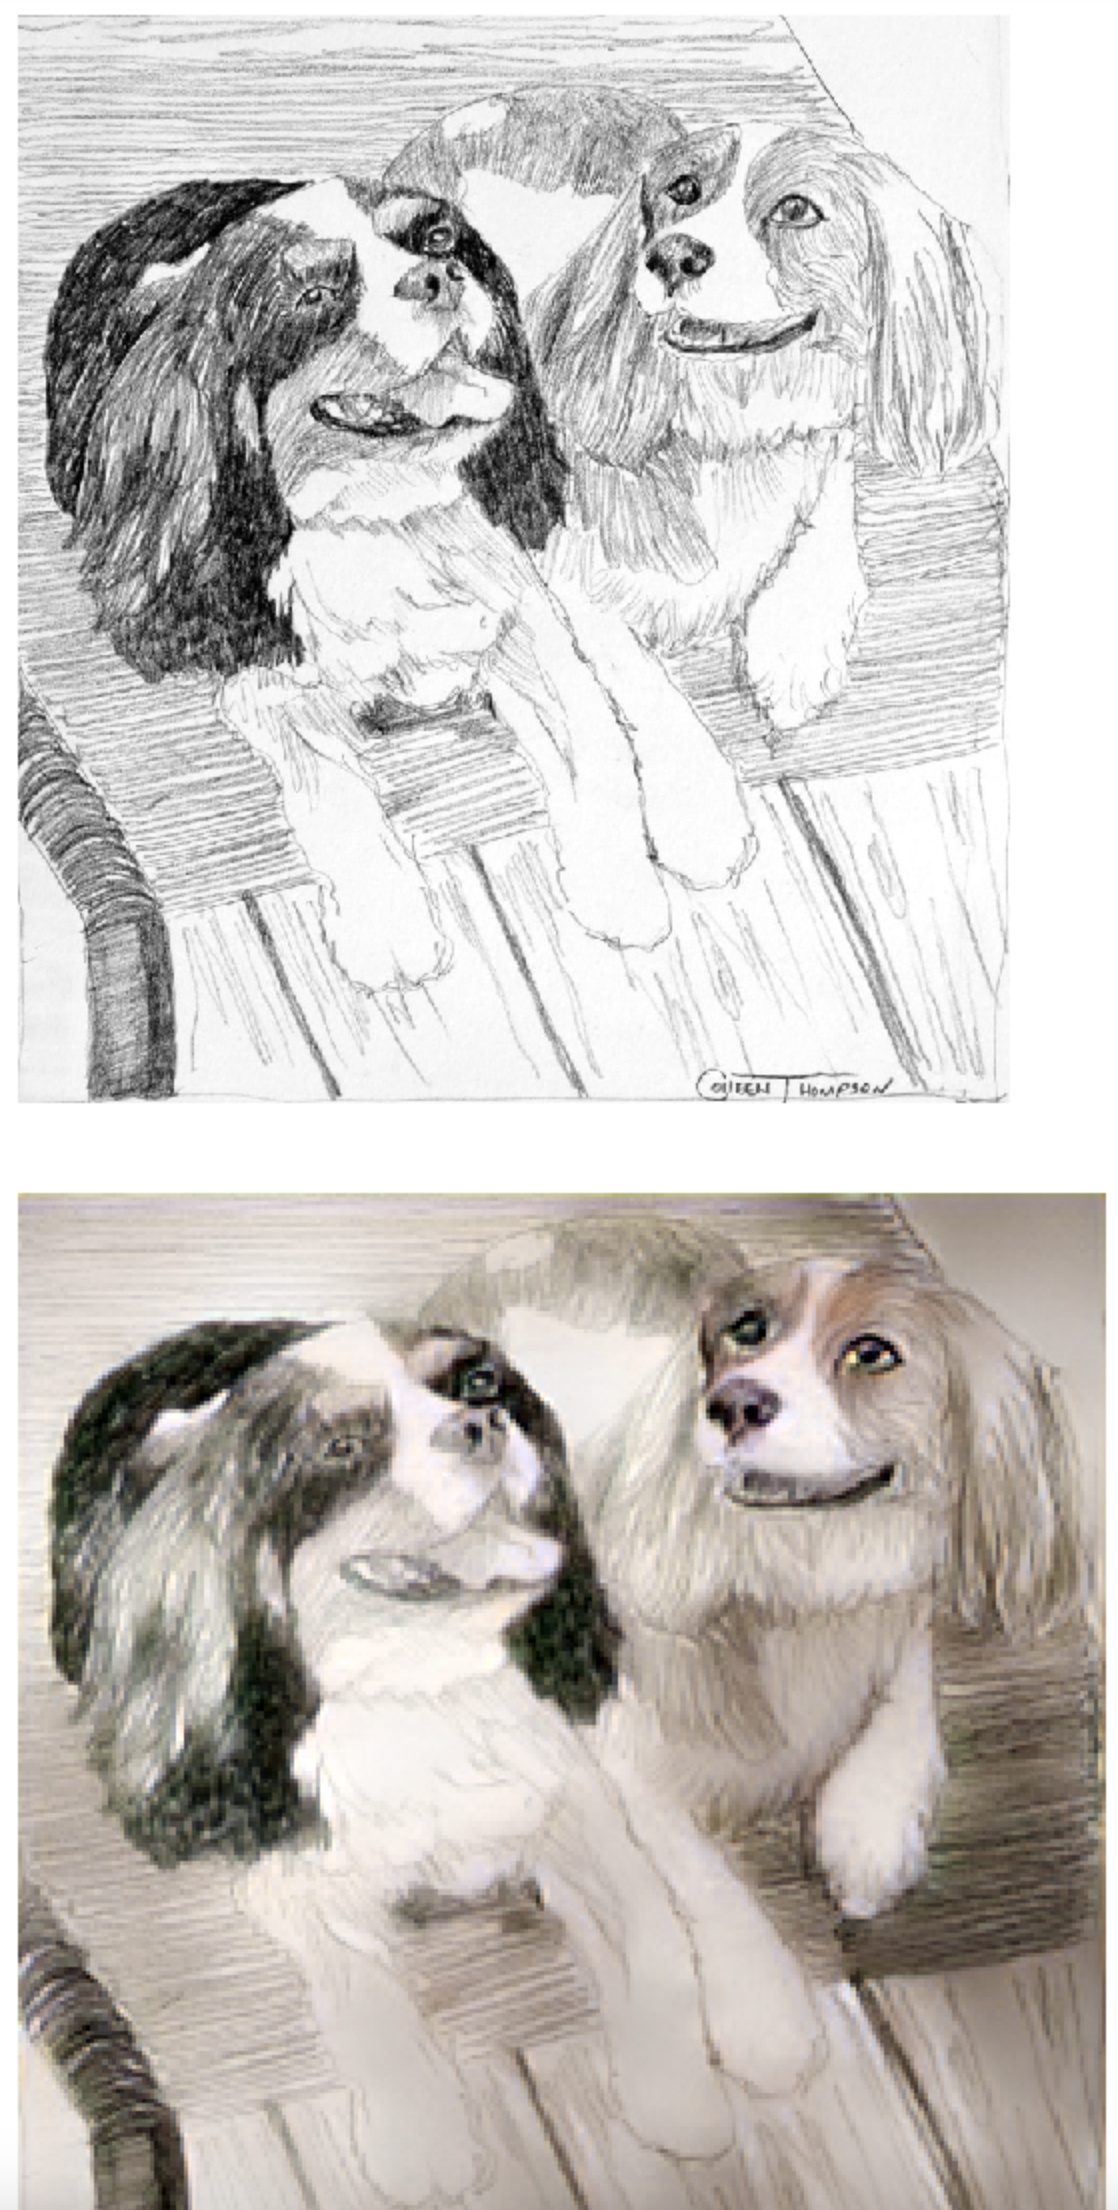
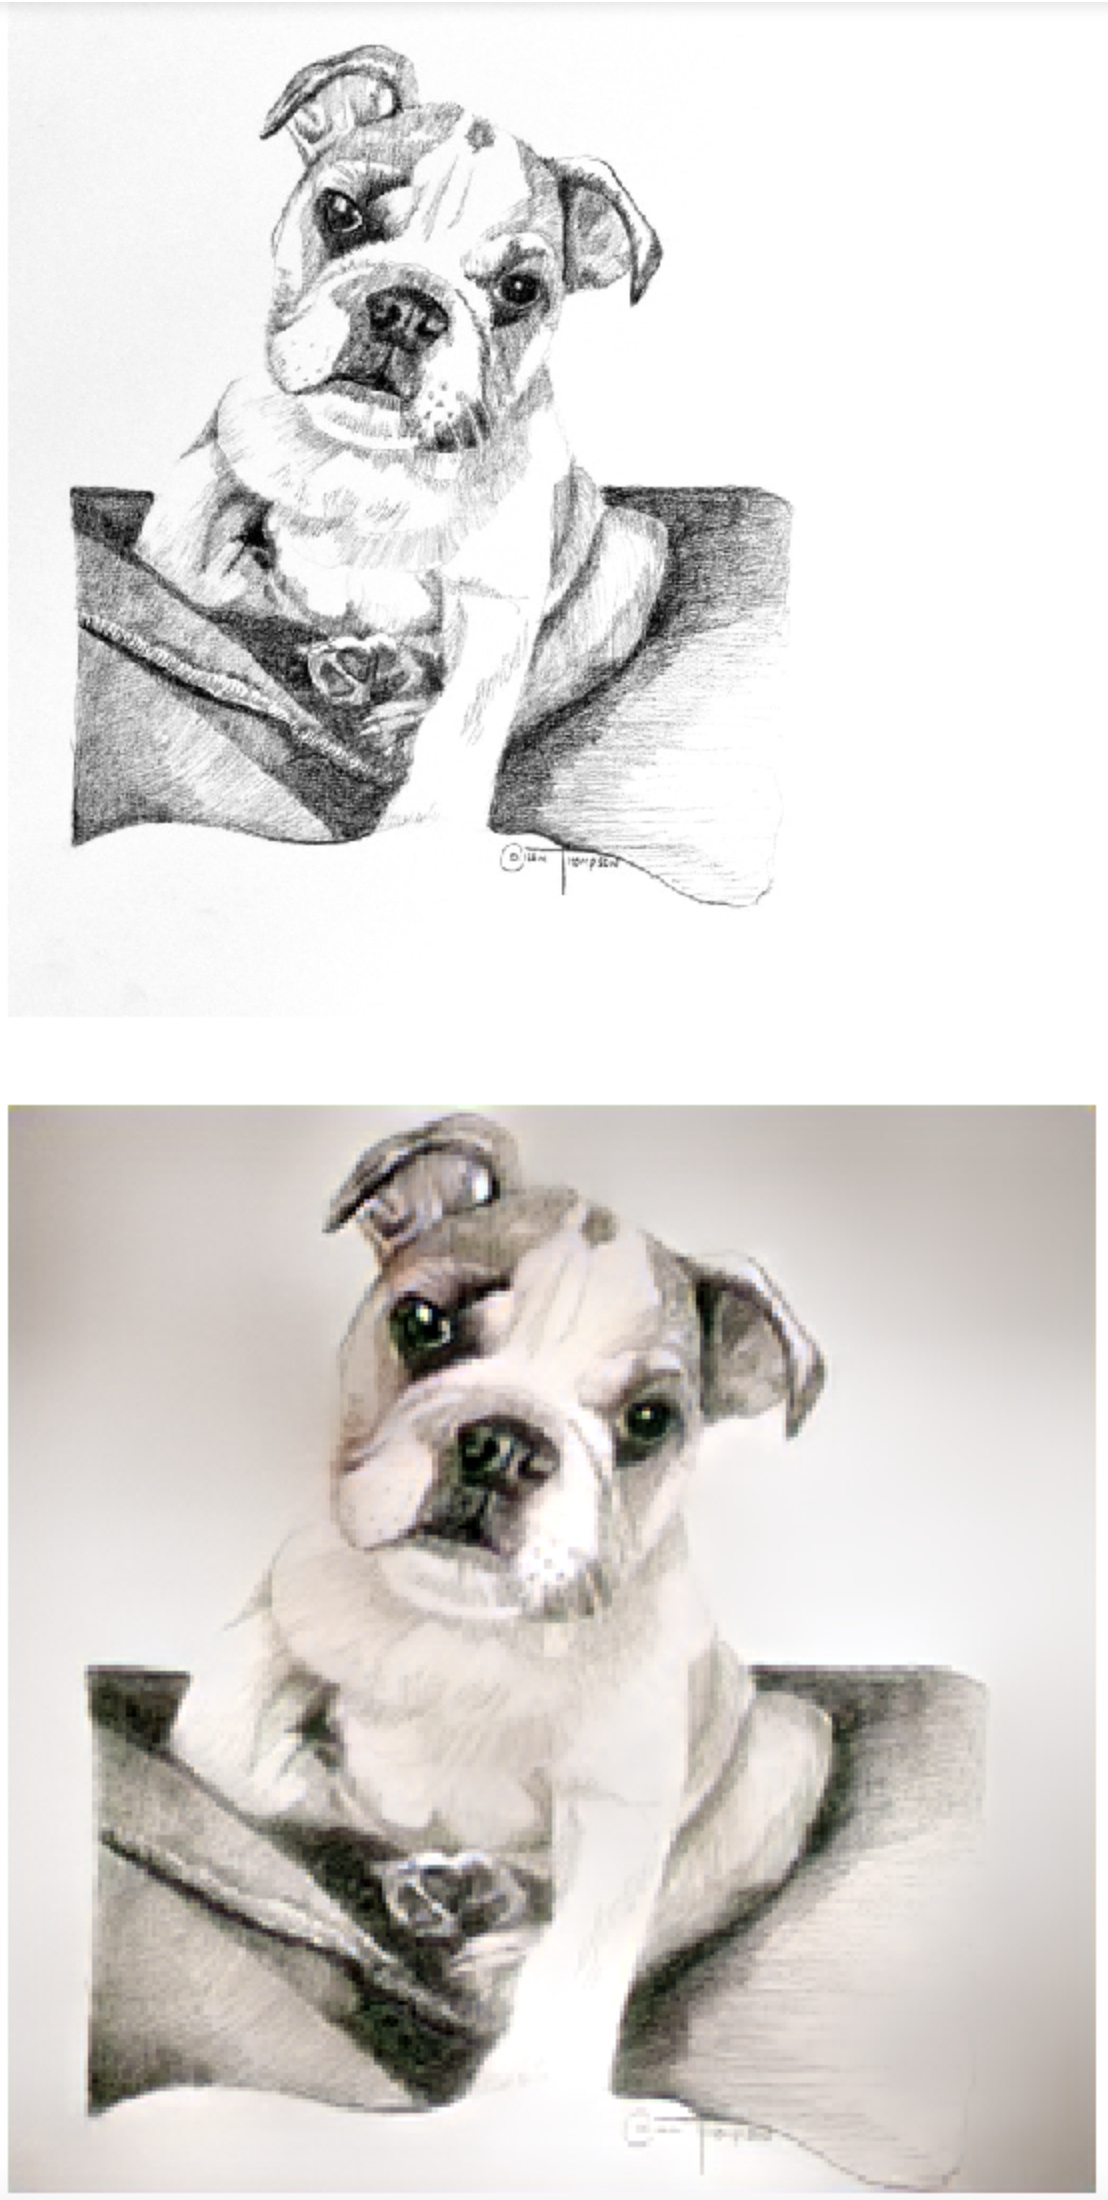
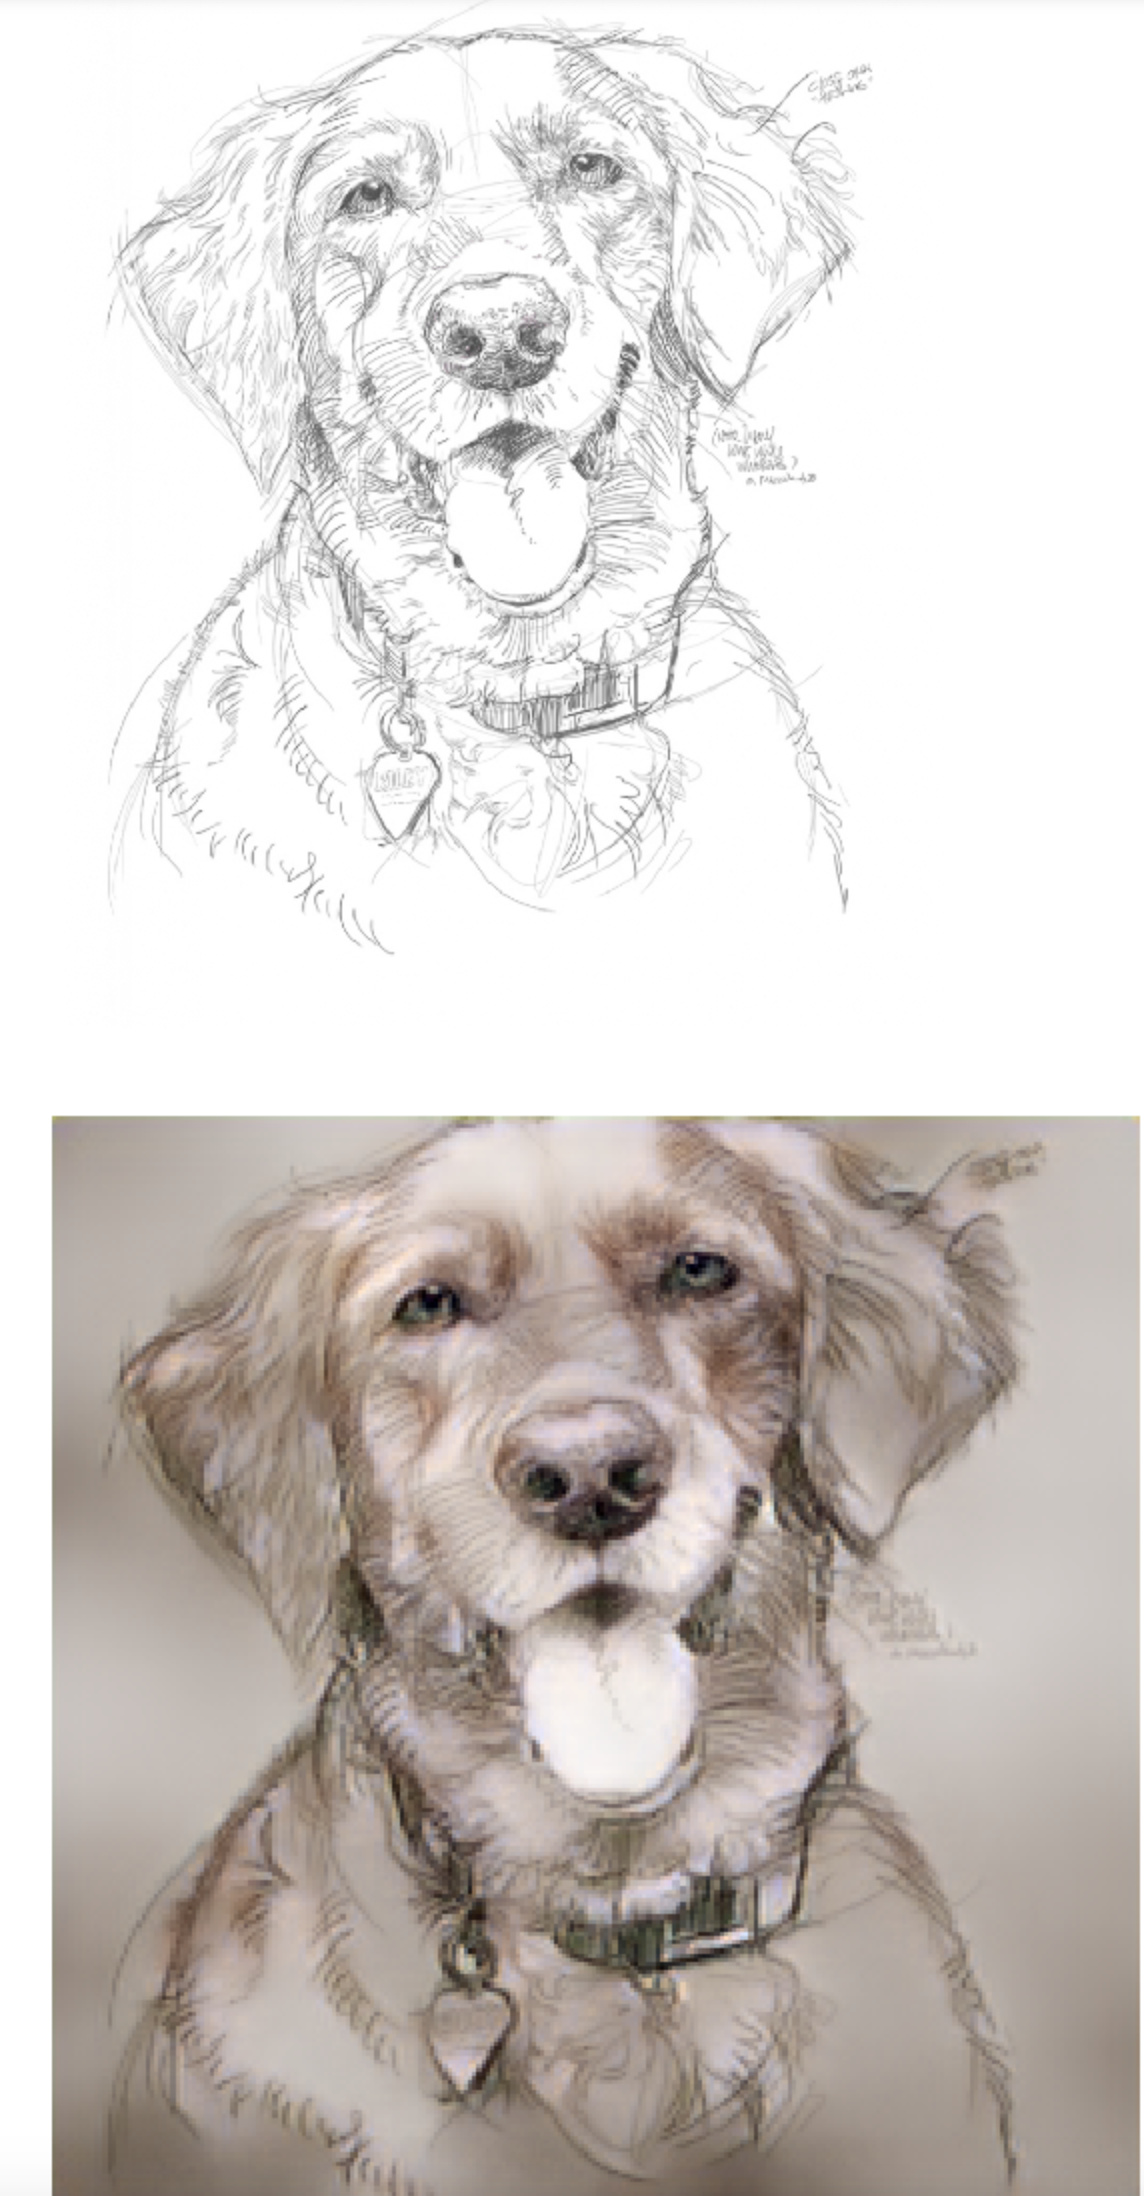
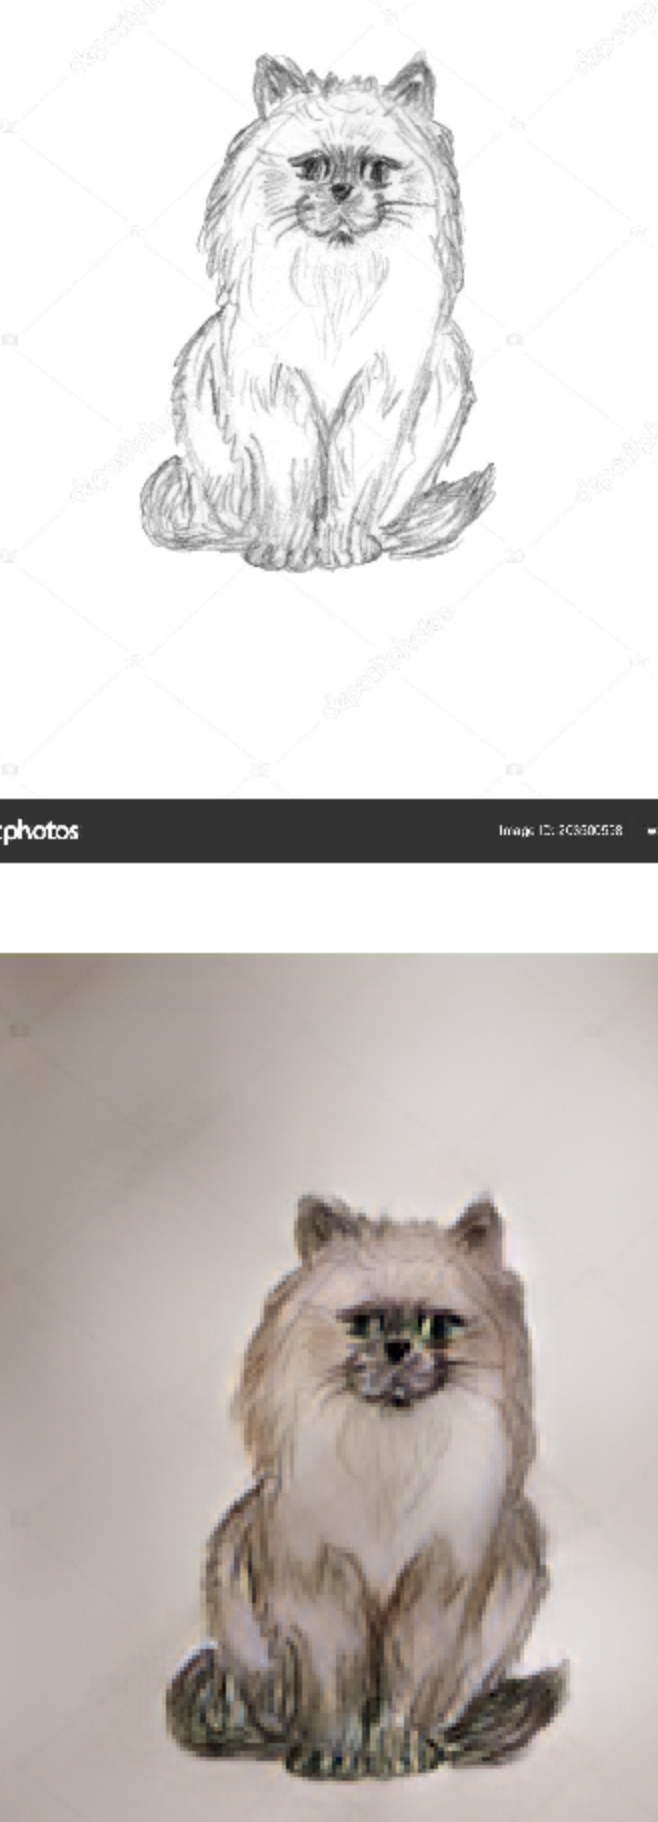
however, for random sketches from Google (which I guess carry less detail than the training data after the filter), it looks more like colorized drawings (but still really cool and happy with the result).


See below, “Pencil Sketches” from Google, with colorized “photo-realistic” outputs"
image

Happy to hear your thoughts and ideas :slight_smile:

27 Likes

This is really spectacular… Appreciate the sharing.

2 Likes

Thank you! There are a few caveats of course:

  1. This is only one the Fashion-MNIST dataset, I still have to test it in others to see if the improvements remain.
  2. I am doing both benchmark and CDA with default hyper-parameters (e.g., learning rate). It may be that when those learning processes are optimized, the gap between Benchmark and CDA is reduced. My hope is that both would methods would improve, so CDA would still give an advantage.
  3. CDA has behind it obviously more training (more weight updates via gradient descent). But it is not clear than just doing the benchmark for more epochs it could improve (I give it 200 epochs, while CDA has 100 epochs). It seems that the Benchmark with default parameters finds the best model within the first 100 epochs.

Hey thanks a lot @jeremy and Rachel for this course!

I just finished 2 lessons and already have two classifiers working!

My first project was - Was that a Wolf or a Coyote?. This was inspired by me getting a bit excited that I saw a Gray Wolf up close. I showed the picture to my friends and they said its a coyote and not a wolf! Not 100% convinced by their statements (and wikipedia information) I was still in a happy bubble that I saw a wolf in the wild.

After going through the two lessons, thought I’d put the pictures to a real test. And turns out that it was a coyote! :confused:

I was able to train the model accuracy until 96% but couldn’t improve it further. I would be happy to get inputs from you all if that is possible :slight_smile:

Heres the code for the jupyter notebook

2 Likes

Very nice results - and clever crappification :slight_smile: You may need a bit more gram loss to get better colors, BTW.

1 Like

This is the start of a web app for my sister to help her search the internet.

Backstory, she has autism and two things that impact her significantly are: she pronounces words/syllables significantly different than everyone else and she can’t spell.

She loves going online and looking clothes, worksheets, etc. At the moment, this requires someone else to tell her what letters to type/fix the letters she typed, or get to the website for her.

So far I’ve recorded 10 samples of her saying 9 different stores (Macy’s, Walmart, …), converted the recordings to spectrograms, used all the normal transforms except flipping horizontally, used a pretrained resnet18, and it’s 100% accurate (with just 10 samples per class)! To be continued soon/after part 2.

13 Likes

I made a blog post/tutorial on some of the simple ways to add layers to the middle of a pre-trained network without invalidating the trained weights for the later layers. It’s in Tensorflow 2.0 as I wanted to play a little with their new API, and includes a working Collab.

1 Like

Hi all,

After reading about Progressive Resizing as well as Mixed Precision here in the forums, I tried these techniques out on an image classification problem for the Plant Village plant diseases data set (other students have shared their projects on the same data set here as well – hi @aayushmnit @Shubhajit :grinning: ).

I was very surprised I was able to get a better than the top result! (99.76 percent)

And to think that this was on Colab, a free DL platform.

Thanks to fastai’s mixed precision capabilities, I was able to train faster in larger batches using progressive sizing for a smaller number of epochs using smaller sized images – @sgugger your mixed precision feature works wonders!!

TLDR;
The following steps were used to create the final model:

Note: all the training was done using Mixed Precision (learn.to_fp16())
except when running an interpretation, in which the model was converted to use 32bit fp (learn.to_fp32()) in order to run classification interpretation steps – for some reason, fastai barfs when classification interpretation is run on a mixed precision model.

  1. Use image size of 112x112, batchsize=256

    1. Stage 1 - Frozen except last layer, train at default LR (1e-3)
      • Best result : 0.982915
      • 5 epochs at 6 mins per epoch, total training time: 29:58
    2. Stage 2 - Unfreeze, train with LR slice 1e-6,5e-4
      • Best result: 0.992821
      • 4 epochs at 6.3 mins per epoch, total training time: 25:22
  2. Use image size of 224x224, batchsize=128

    1. Stage 1 - Frozen except last layer, train at default LR (1e-3)
      • Best result : 0.996092
      • 5 epochs at 11 mins per epoch, total training time: 55:17
    2. Stage 2 - Unfreeze, train with LR slice 1e-6, 2e-5
      • Best result: 0.996819
      • 4 epochs at 14.5 mins per epoch, total training time: 58:34
  3. Use image size of 299x299, batchsize=128

    1. Stage 1 - Frozen except last layer, train at default LR (1e-3)
      • Best result : 0.997546
      • 5 epochs at 24.5 mins per epoch, total training time: 1:43:33
    2. Stage 2 - Unfreeze, train with LR slice 8e-7, 7e-5
      • Best result: 0.998001
      • 4 epochs at 27 mins per epoch, total training time: 1:48:37
Total Epochs : 36
Total Training Time:  6.36 hrs
Model: ResNET50
Max GPU Memory: 11GB

Another notable finding was the GPU memory usage during training:

  • Using a batch size of 256 and image size of 112x112, Mixed Precision used up approx. 3-4 GB GPU Memory.

  • Using a batch size of 128 and image size of 224x224, Mixed Precision used up approx 3-4 GB as well.

  • Lastly, using a batch size of 128 and image size of 299x299, Mixed Precision used around 11GB GPU Memory (triggering warnings in Colab, but otherwise ran to completion)

If you have suggestions on how I can further speed up the training or just improve on it in general, please reply…

Thanks in advance…

Butch

Here’s my notebook on github or you can run it on Colab

_

13 Likes

Excellent one. Can you please share the notebook?

Thanks @jeremy, I will look into gram loss for this one.

Hi @amitkayal,
It’s in kind of a messy shape due to debugging this issue.
I’m doing a setup of the entire dev environment now and can hopefully share this later this week as a clean version.

I don’t think even a person can say for sure whether a book is technical or not, just by its cover. There are plenty of technical books, with a non-bland cover. You can obviously make a judgement from the title, but that is NLP.

Maybe don’t judge a book by it’s cover? :stuck_out_tongue:

That’s correct. :slight_smile: There are technical books that have the same design and color of cover page as of self help and novels.

Fixed the code link for the post!

Got through exercise 0-3, that was great fun! Took the advice to also get hands dirty as fast as possible. Did this little web app that tries to classify your facebook avatar into one of 36 Oxford pets (Had to drop Sphynx since it was getting to much matches :smiley: )

Demo: https://the-dog-in-me.andersjurisoo.com
Code: github.com/ajthinking/the-dog-in-me

3 Likes