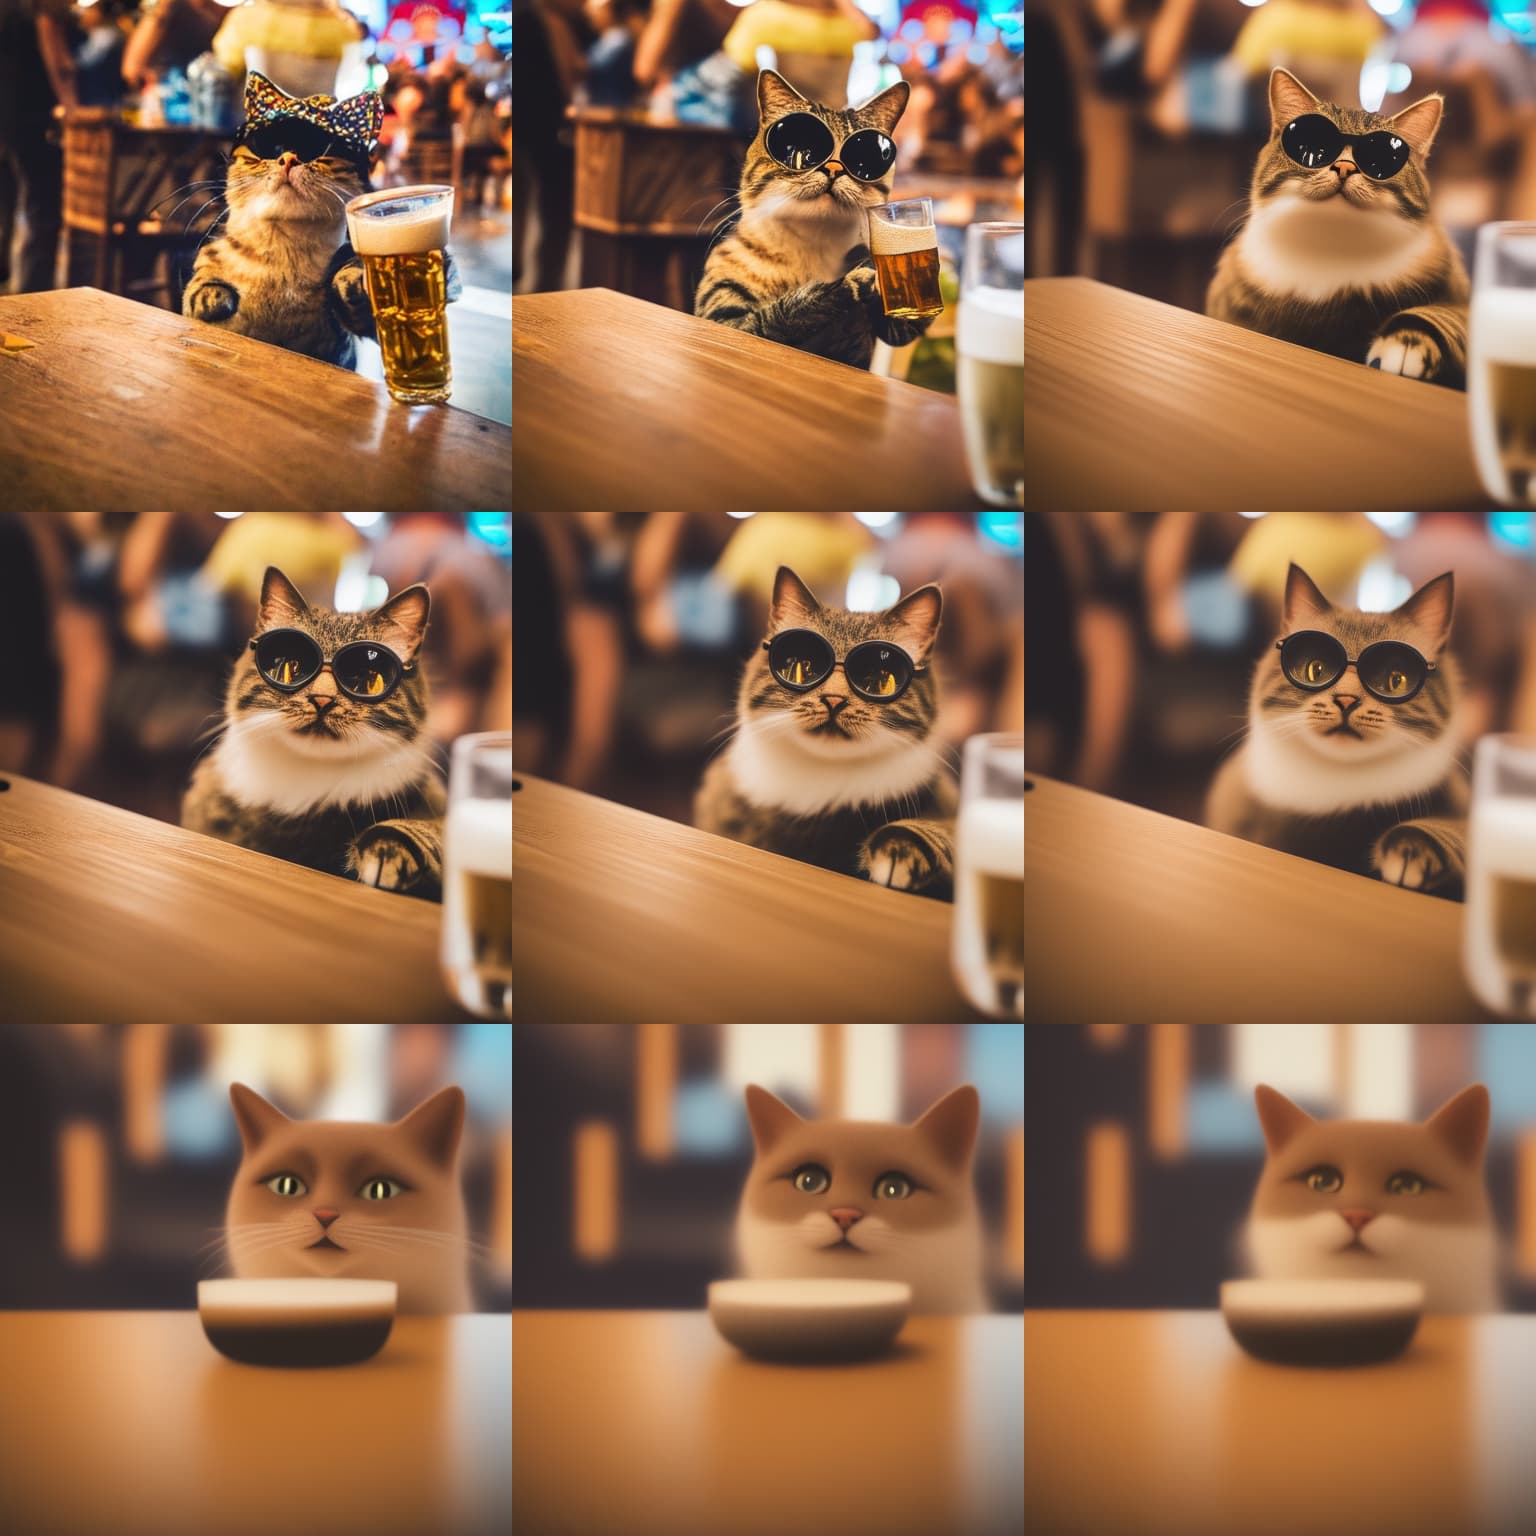
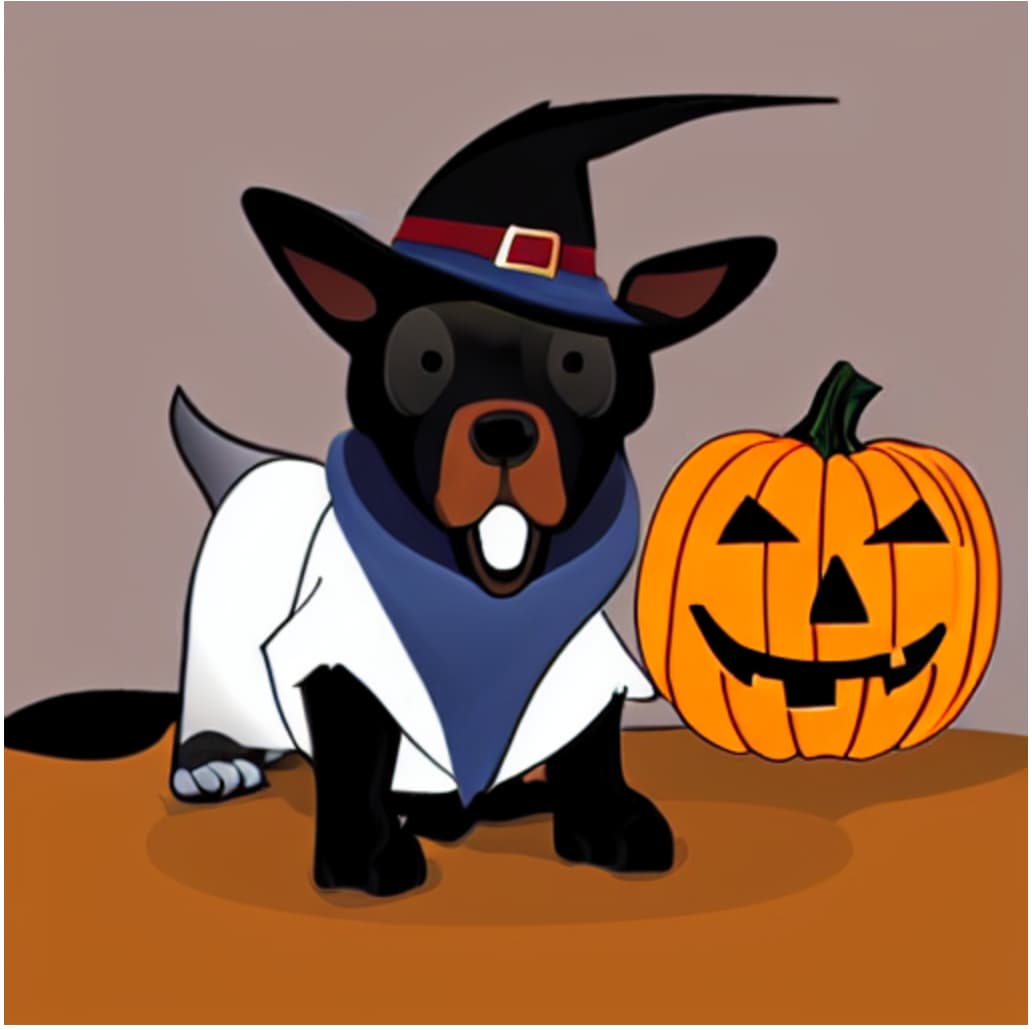
Has anyone tried scaling the the noise prediction? I tried applying small pred = pred * scaler multipliers here on a linear scheduler, and it has quite an impact as I guess larger values aggressively de-noise the image, making the result extremely stylised.
All of these were generated using the same parameters except the noise prediction “exaggerations”.
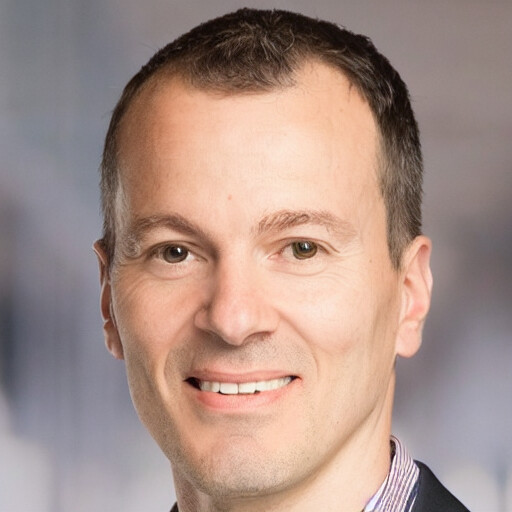
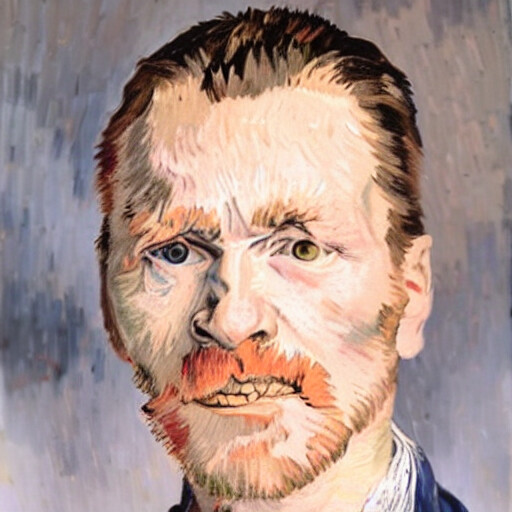
I thought I would try generating a photo of Vincent Van Goph by starting with a photo of myself. What really helped here is the negative prompt. Without the prompt we end up with a painting.
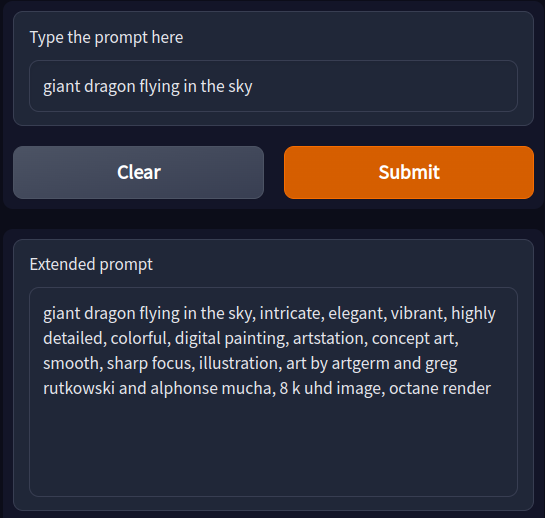
For this, I trained a new tokenizer (pre-trained one butchered artist names) on the dataset of stable diffusion prompts, and then trained a GPT-2 model on the same.
Here’s the GitHub repo; it contains all the notebooks for training as well as the gradio app for it. I’ve also uploaded the model and the tokenizer on HuggingFace Hub.
I’d love to know what folks think of this, as well as any feedback or suggestions anyone might have.
If anyone has ideas for how to improve classification accuracy, or thinks that there is a limit to how well DMs can classify, please let me know! Any feedback would be much appreciated.
using pretrained Stable Diffusion, no additional training on dataset [0]
accuracy shown for 200 images [1] for a variety of loss functions that I tried
Results:
The best accuracy was with “latent loss” at 90%. There is a lot of room for improvement! (Kaggle leader is 99% accurate
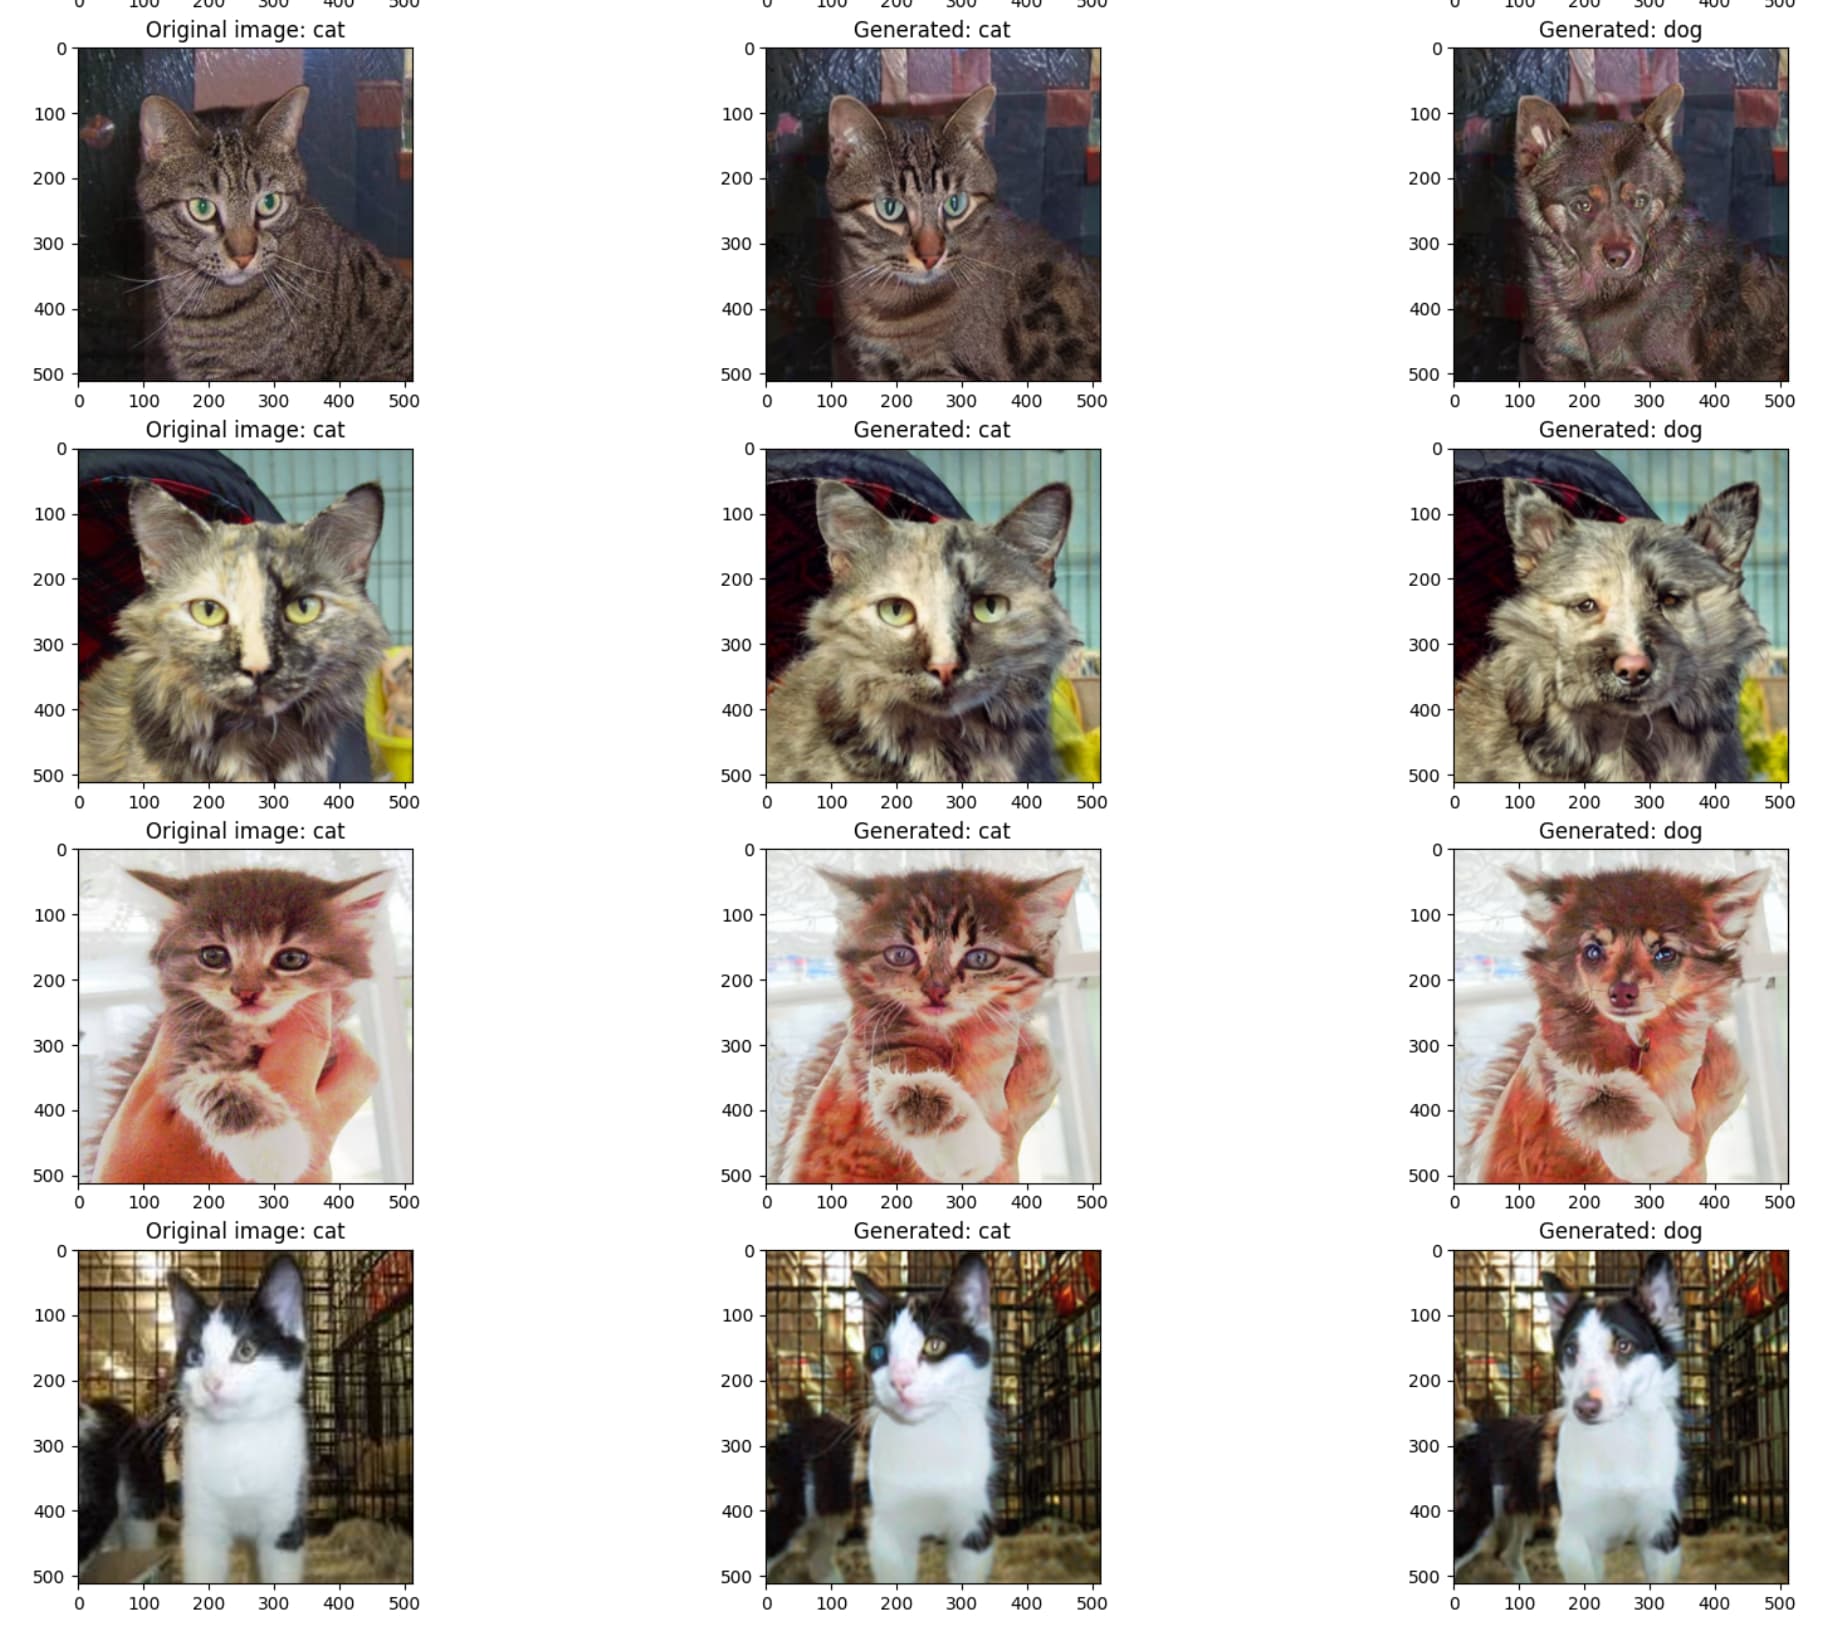
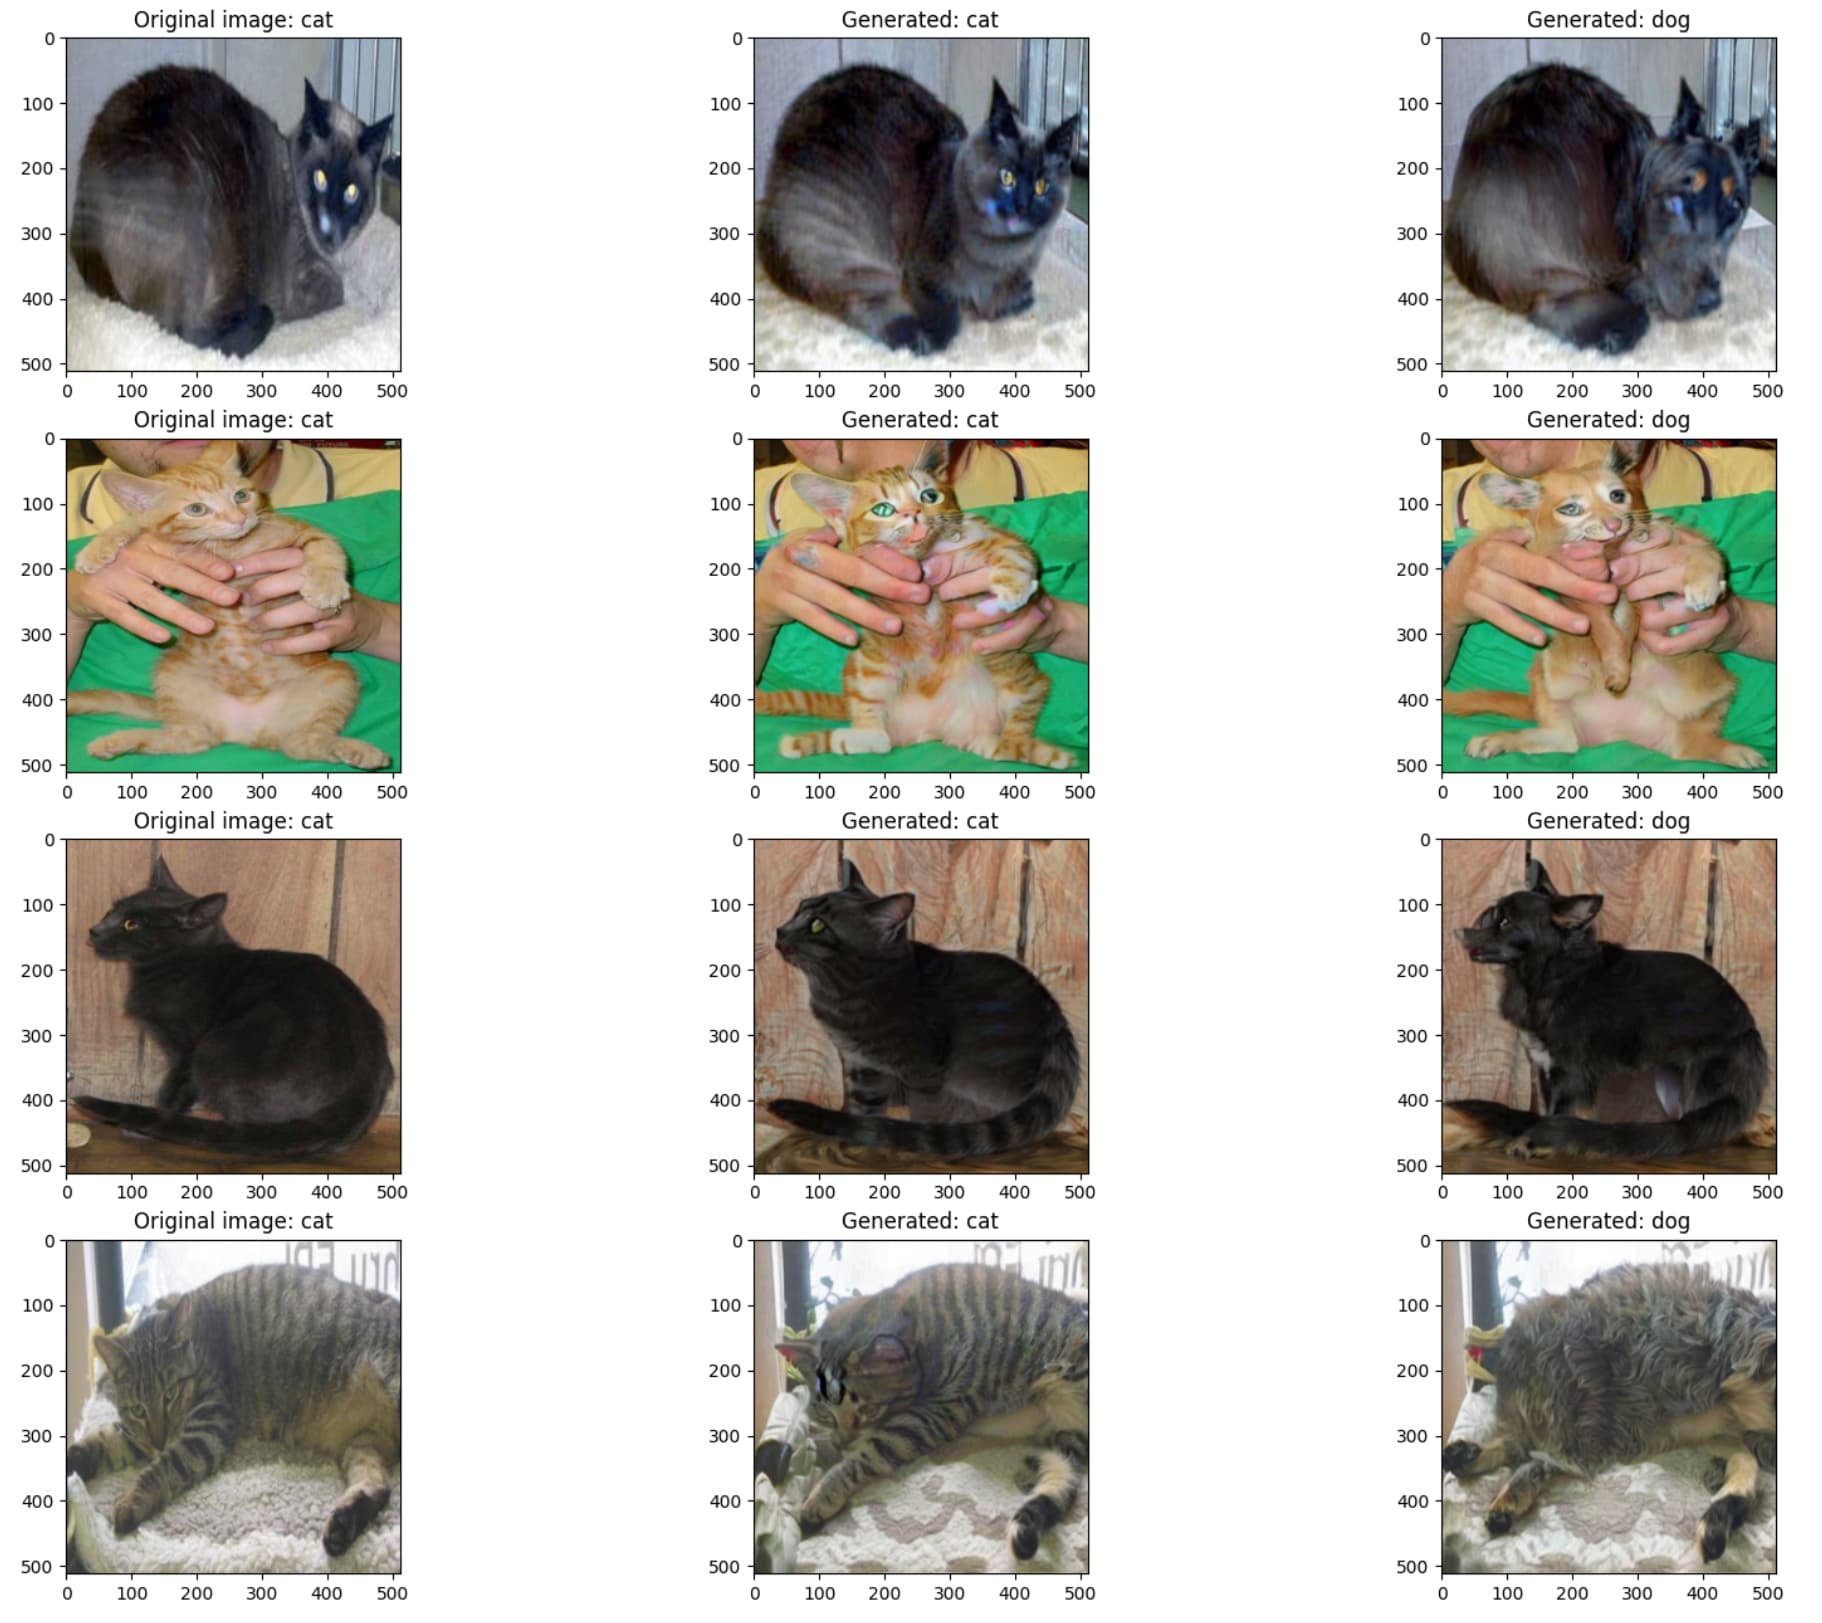
Generated images
Correct predictions: in this case the generated image for the correct class was “closer” to the input image than the generated image for the incorrect class
Incorrect predictions: in this case the generated image for the incorrect class was “closer” to the input image than the generated image for the incorrect class
A noised version of image to be classified is used as starting point.
Run diffusion model with two prompts based on class labels e.g. “cat” and “dog”.
The diffusion process is started at an intermediate step (e.g. 30 out of 50)
The diffusion process is guided by the input image with an additional loss function which is applied every 5 steps (similar to the “make image blue” loss function in SD deep dive notebook).
After the two images for each prompt are generated, measure the “distance” between the original image and the two generated images. The prompt which generated the closer image is taken as the predicted class for the input image.
How it works:
Take the image to be classified and run it through the VAE to get it latent encoding x0.
This encoding lies on the “manifold of real images” in the space of latents.
Adding noise moves the latent off the manifold.
Running the diffusion process with prompts corresponding to class labels (c1, c2) results in two new latents (x1, x2) (which should be close to the manifold of real images). The guidance in step 4) makes sure that x1 and x2 are not too far away from x0.
By looking at how close x1,x2 are from x0, we can get an idea of whether the c1 and c2 prompts moved x1, x2 away from x0, or towards it.
The idea is that a prompt which matches the original image should result in a latent which is closer to x0, and so we predict that this prompt is the label of the image.
Here are the losses tried to measure the distance so far:
“latent loss”: is the mse between the final latent of the diffusion process, and the latent of the original image
“noise loss” is the sum of latent losses across the whole diffusion process
“original loss” is the sum of the losses of the guidance function across the diffusion process
“style loss” is the standard VGG based style loss
[0] It’s possible that the dogs vs cats dataset was included in the Stable Diffusion training data. There might be overfitting if so.
[1] Images taken from the training set, as labels are not available on test set without submitting to Kaggle. This shouldn’t be an issue, as no training was done with dataset.
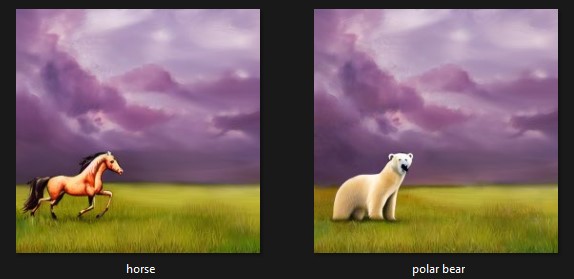
A bit late but I was able to get my implementation of DiffEdit working (now I will sleep better). There is still work I need to do to make the masking more robust and general but overall this was so much fun! I feel like polar bears (my favorite animals) are under represented on this thread, so here’s one that was dreamed-up and brought to life using DiffEdit on a dreamed-up image of a horse.
Looking for ideas on what to implement next, would love recommendations if some of us are already working on something.
Thanks @jeremy for this challenge. On to the next one.
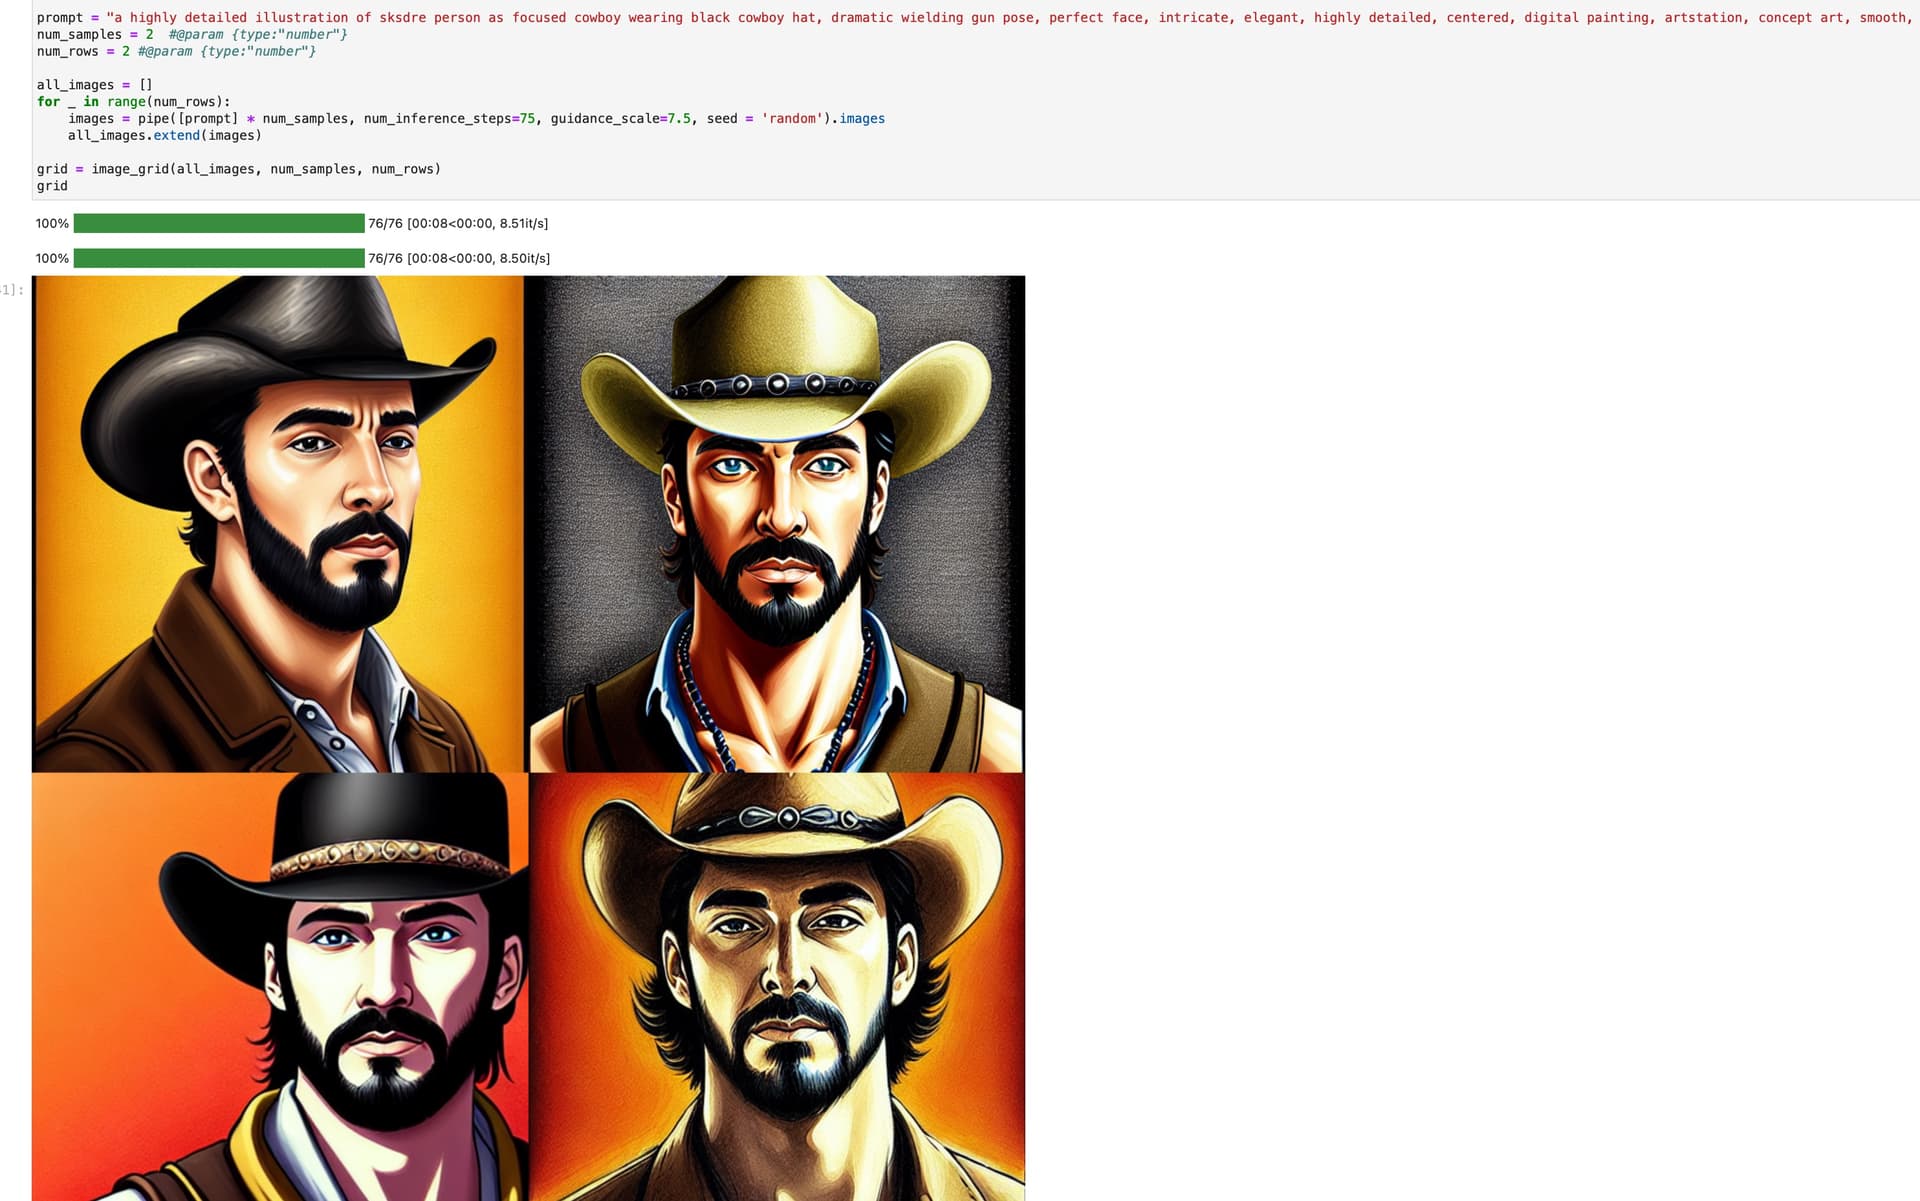
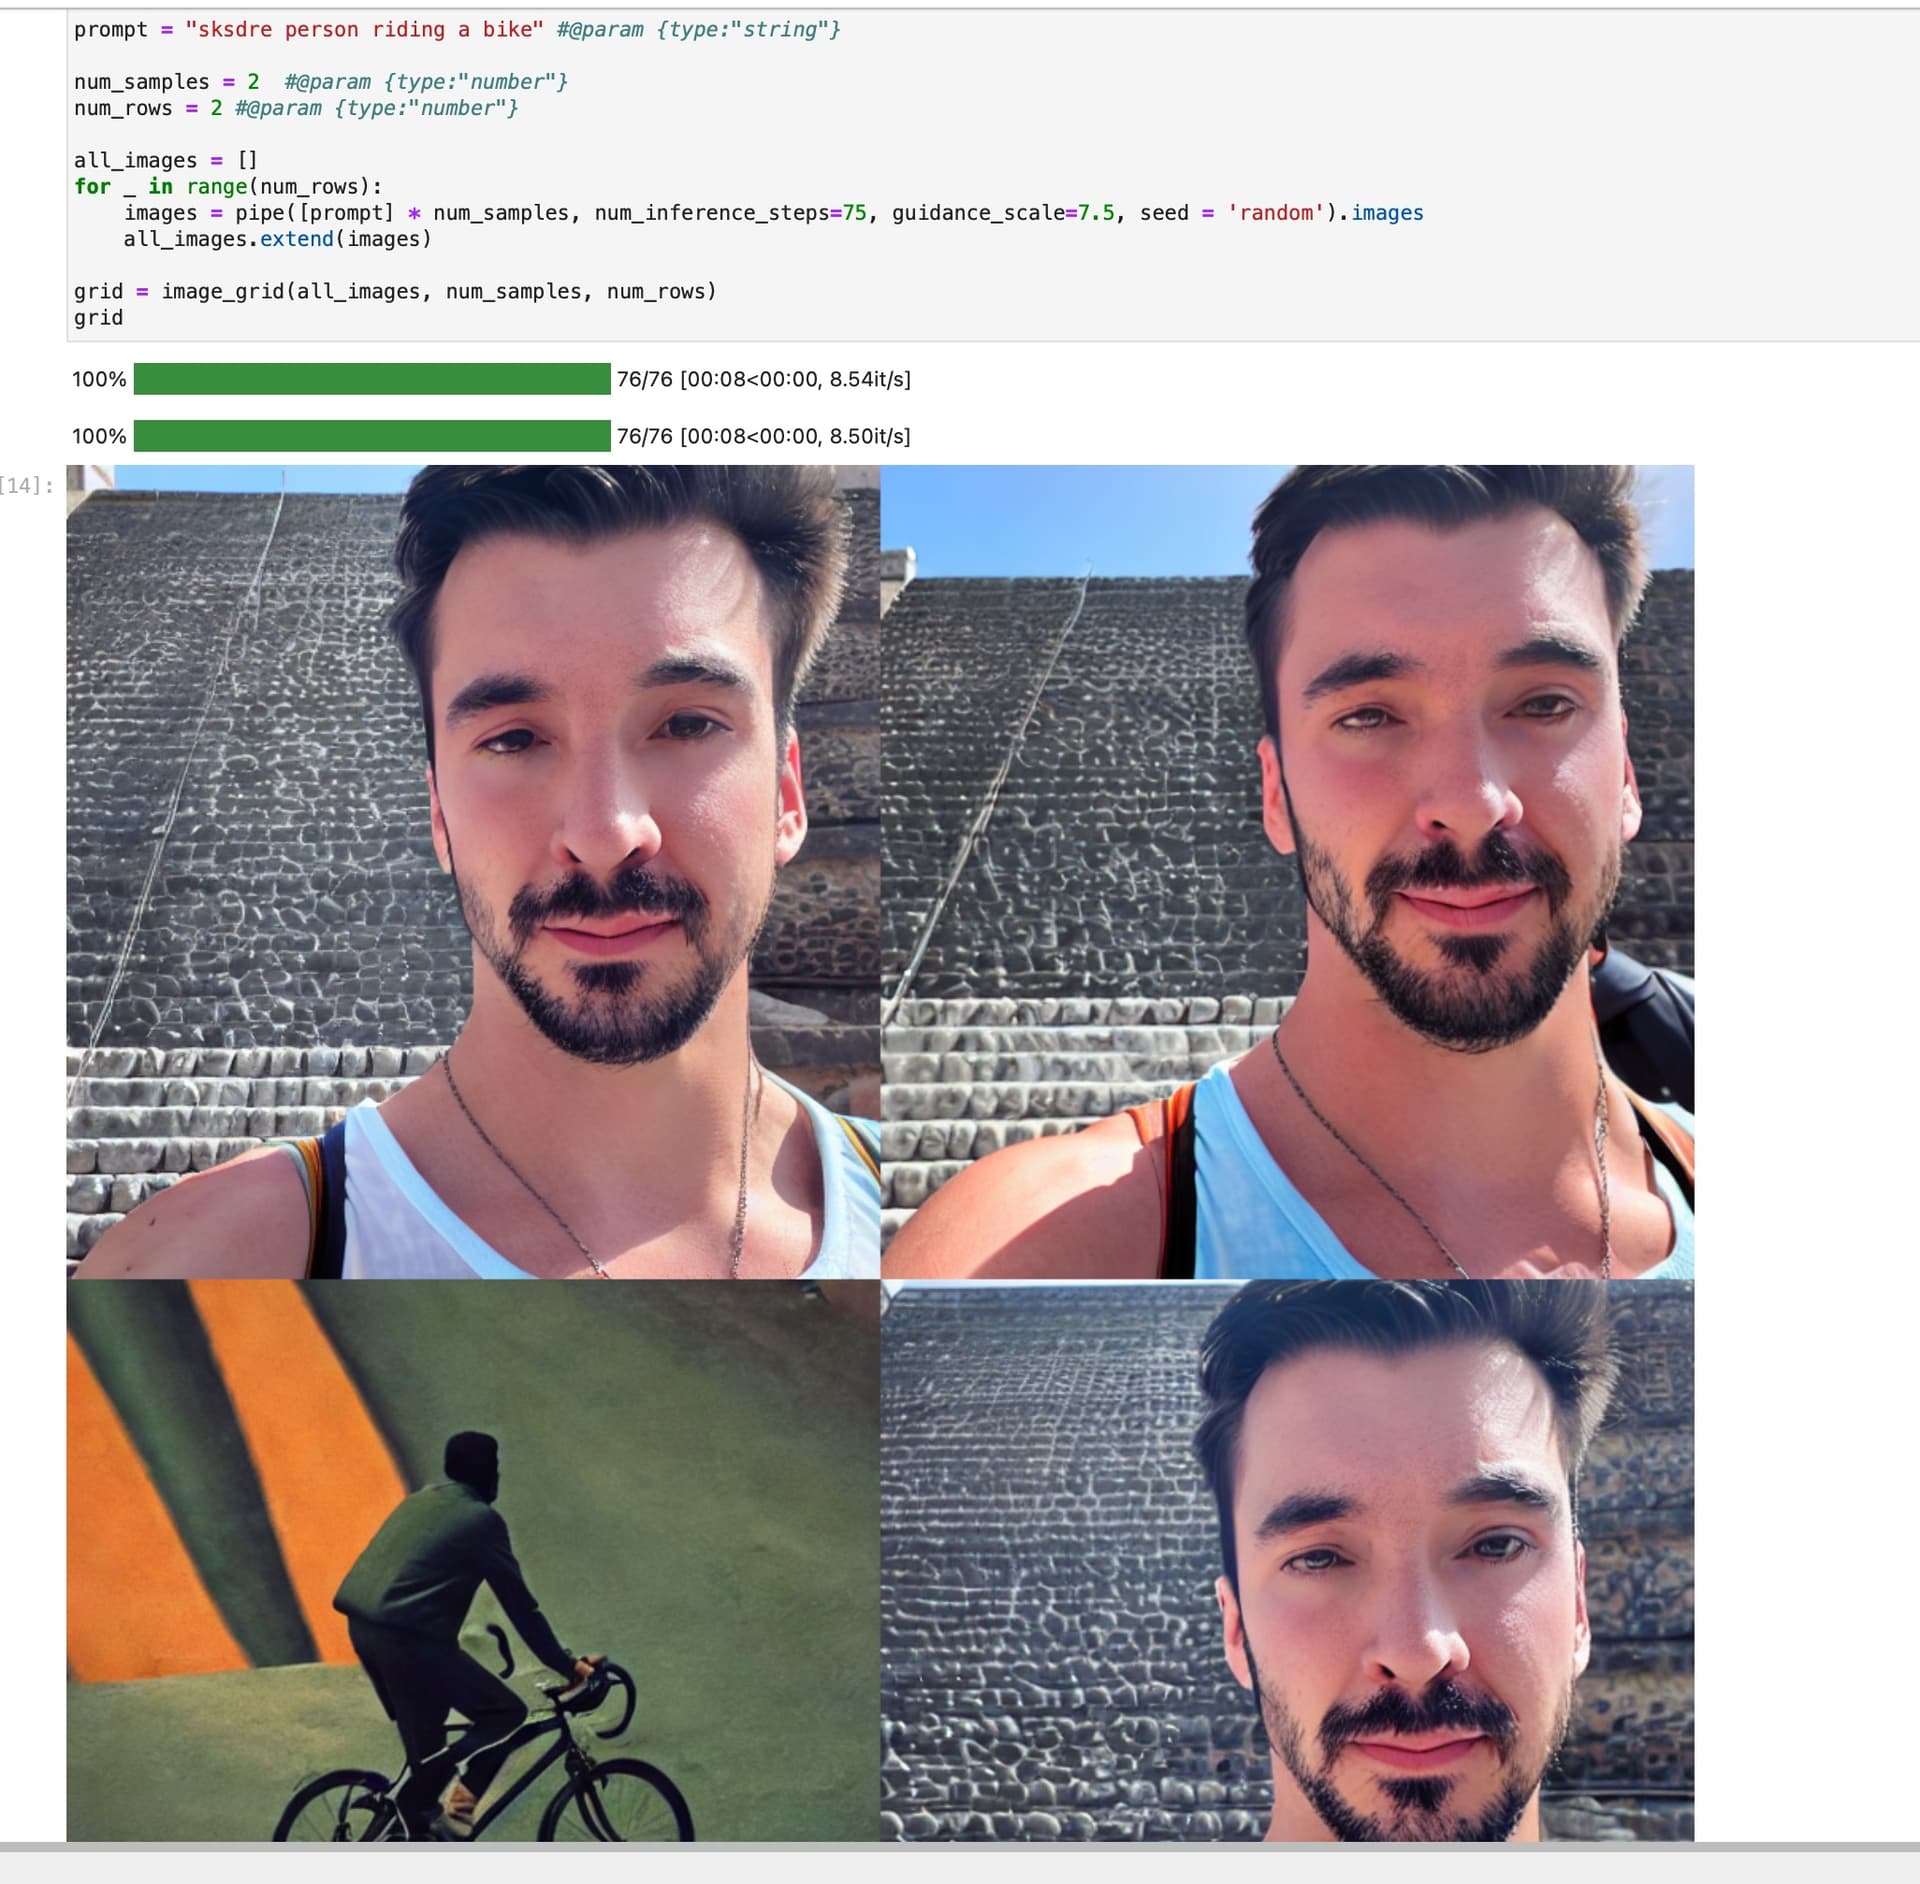
I simplified this script to build a Jupyter Notebook to train textual inversion. I will post the code once I have the notebook cleaned up. It does not use Accelerator etc. It is a single Jupyter Notebook in the style of Stable Diffusion Deep Dive.
I still need to clean up the code A LOT as I dig into more details and internalize the concepts. However, I committed the v1 of the notebook, which is somewhat readable. I also added the Conda environment file I am using for this.
In this, I use “sksdre person riding a bike” and it actually returns the original image I used during fine-tuning (and also a random person riding a bike).