Platform: GCP ✅

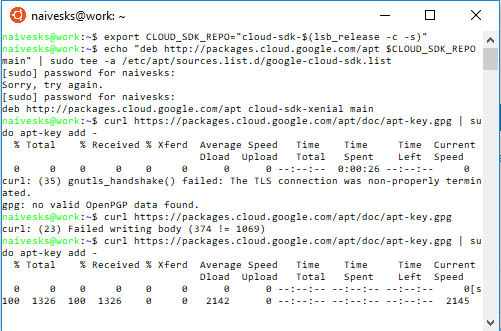
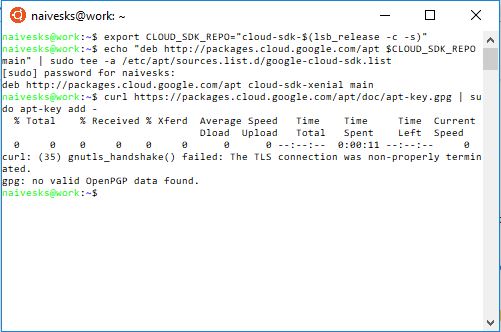
Here’s a tip for people like me who are using Linux Mint and need to set up the GCP tools. The instructions for ubuntu/debian did not work for me because, apparently, the Google distro doesn’t directly support Mint, and I got errors midway in the process with “apt update” failing.

But on Mint you can just type the following to easily set up the GCP tools:

sudo apt-get install google-cloud-sdk

That worked for me on Linux Mint 18.3, Sylvia. Then proceed with the gcloud init step as in the instructions on the forum.

1 Like

Hi,

Is it normal that after entering this
curl https://packages.cloud.google.com/apt/doc/apt-key.gpg | sudo apt-key add -
it’s takes time i mean it’s nearly half-n hour but nothing shows up .

image

Steps i followed -
i was following Step 2: Install Google CLI

as you can see above first time i entered
curl https://packages.cloud.google.com/apt/doc/apt-key.gpg | sudo apt-key add -
it throws error gpg: no valid OpenPGP data found.

after that i tried again by breaking the code i.e. curl https://packages.cloud.google.com/apt/doc/apt-key.gpg but this one also didn’t work.

Back to zero again, i tried the curl now it’s stuck. idk what to do :thinking:

Any suggestions. Thanks.

1 Like

do I have to rebuilt with the new image, or somehow “switch” to the new image?

When I type in ‘gcloud compute ssh --zone=$ZONE jupyter@$INSTANCE_NAME – -L 8080:localhost:8080’ in my local terminal, I got : ERROR: (gcloud.compute.ssh) could not parse resource [] I’m trying to access Jupyter notebook through local command terminal. Could someone help? Thanks!

2 Likes

forgot the – .
Its “gcloud compute ssh instance_name – -vvv”

I tried new image. Pre-installed fastai v1.0.12 with course-v3 repo inside tutorials. Thanks jeremy!

You need to create an ssh key and put that ssh key in your created instance.

Hi all,

I was anyone could point me in the direction of the easiest way to upload files from my computer to my VM instance hard-drive. Before I was using something like

-scp -r [path_to_my_folder] [paperspace@paperspace_IP://{path_to_VM_folder]

I’m wondering what the corresponding command would be here? Sorry I don’t have much experience with the command line… or if someone can point me in the direction of a good how-to guide it would be very appreciated!

Max

2 Likes

Thanks for the update. I was hoping to have a setup where I could use the gpu instance only for training models and the cpu instance for downloading data/interpretation etc. I guess this isn’t possible.

I guess this is where tmux comes in !!. It can run in background. :slight_smile:

This is definitely possible! For example -
Case 1. Downloading the data and doing some initial data visualisation and preprocessing - spin up a cpu only machine and attach the external disk where you would store the data. Additionally if you are also building the model pipeline and want to check whether everything is working or not, you can do that with this instance.
Case 2. Everything from data to model is ready. Just need to create a learner and start training.
In this case detach the disk from cpu instance, create a gpu instance and attach the disk. That’s it. Start training your model.
Hope this helps :slight_smile:

4 Likes

Hi,

Any suggestions what to do? I’m getting error below is the snapshot.

image

Thanks.

Give Winscp a try.

Hello Sumit,

If you are really stuck at this point you can directly download the Google Cloud SDK for windows and move forward. You just follow the normal flow given in the setup then.

Thanks @sahilk1610 for the reply.
Sure, I’ll download Google Cloud SDK and try to move along from there.

1 Like

After my GCP instance creation, I was able to connect to it from my macbook’s terminal window.

But, when I tried git pull, i got following message:

jupyter@my-fastai-instance : ~/tutorials/fastai $ git pull

remote: Enumerating objects: 25, done.

remote: Counting objects: 100% (25/25), done.

remote: Compressing objects: 100% (16/16), done.

remote: Total 25 (delta 12), reused 18 (delta 9), pack-reused 0

Unpacking objects: 100% (25/25), done.

From https://github.com/fastai/course-v3

1a07684…bbabdff master -> origin/master

Updating 1a07684…bbabdff

error: Your local changes to the following files would be overwritten by merge:

docs/start_gcp.md

docs/start_sagemaker.md

docs/update_gcp.md

nbs/dl1/00_notebook_tutorial.ipynb

Please commit your changes or stash them before you merge.

Aborting

To overcome, this, stashed local changes as:
git stash

After, that, retried:
git pull

And it worked like charm:
jupyter@my-fastai-instance : ~/tutorials/fastai $ git pull
Already up-to-date.

Just in case other are seeing the same!

3 Likes

Hi,

After the completion of Step - 1, I found my project id has been set as endless-ripple-449. I haven’t set this up by default it’s been set. Is this okay?

Thanks.

1 Like

I have completed steps 1 and 2 of the setup guide.

When I run the Step 3 code in my Google Cloud SDK shell I get:

ERROR: (gcloud.compute. instances.create) argument --accelerator:valid keys are [count, type]; received: \u201dtype

I am on W7. What can be my next step?

1 Like

Curious if people having been running notebooks on V100 or the P100. From what I see, V100 is slightly faster and has FP16 tensor cores as well, but I’m not sure if fastai wraps around that too.

Anybody with more info on this ?

1 Like

There’s lots! :slight_smile: Do a forum search. fastai supports it very well.

2 Likes