In summary, what I did differently from the tutorial is the following:
I replaced “step 2: Install Google CLI from the tutorial” with steps 1, 2 and 3 of the “Before you begin” section of Quickstart for Windows
Once the installation was done, in the Google Cloud SDK Shell I then picked my cloud project and then my default region (europe-west1-b in my case) as requested
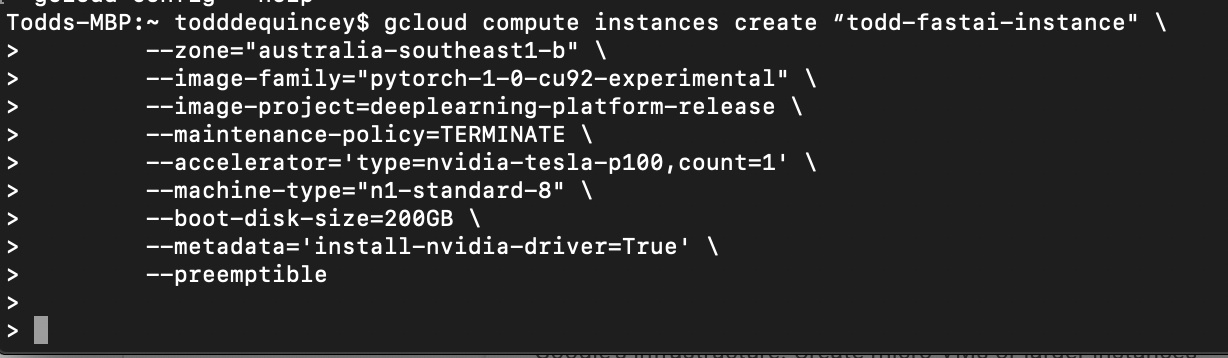
To create an instance (step 3 of the tutorial), I simply typed the following command in the Google Cloud SDK Shell:
Hi @angert, actually i just updated my reply, please read it. The previous one was not complete. The error is because you didnt detach the disk. Also are you sure your external disk’s name is “fastai-p100-gpu” ? I think its the name of boot disk of your gpu-instance.
For a VA/DC resident, would it be ok to change the region/zone to us-east1-c? I originally was going to do us-east4, but didn’t seem to have GPU features, so decided the South Carolina region would be better. Or do you recommend us-west1-b even for us East Coasters?
Also, it never gave me the option to choose zone/region via command line for some reason…
When you do gcloud init, then you need to choose option 1[modify the default configuration]. then choose your account, followed by project. after that it asks for default region and zone.
Makes sense, thanks! As for the region/zone, my understanding is that you want to pick a region/zone close to you for latency purposes. Is there something us-west1-b offers that us-east1-c doesn’t that I should opt for that data center, despite it being farther away?
Thanks Jeremy
I’m using Ubuntu 18.04 on Windows 10 for setting up the GCP environment, and I think that the copying and pasting does not properly work between by my Chrome browser and my Ubuntu on Windows10. I noticed that some extra characters appear when I paste lines of code which are too long to fill in one single line
I created a whole new instance and typed manually everything following the instructions, and I did not encounter any issue this time.
Start - gcloud compute instances start INSTANCE_NAME
Stop - gcloud compute instances stop INSTANCE_NAME
Optionally you can use --async to just start the operation and not get stuck until it finishes.
Some more cool stuff like GSTART instance_name and other functions i created.
link - Link
Feel free to use them.
Hoping for some guidance with setting up GCP with the Mac Terminal.
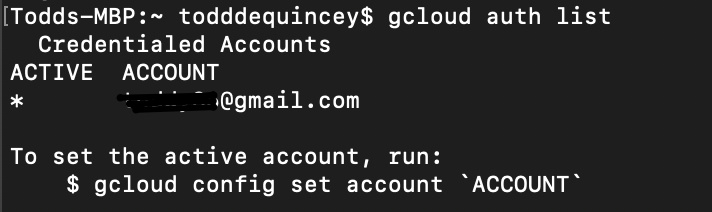
I have successfully completed steps 1 and 2 of the setup guide and I received the following terminal output after changing my zone to Australia
Your Google Cloud SDK is configured and ready to use!

* Commands that require authentication will use my_email@gmail.com by default
* Commands will reference project `fastai-v3-220XXX` by default
* Compute Engine commands will use region `australia-southeast1` by default
* Compute Engine commands will use zone `australia-southeast1-b` by default
However, when I run the Step 3 code in my terminal, nothing happens. I have waited over 10 mins, so I presume I am doing something wrong. Please see the below where I am attempting to complete step 3 with no joy.
There’s a new GCP image just available. If you use it to create a brand new instance, then you no longer have to ‘git clone’. The version of the course in your folder is ready to go automatically, and you can simply cd to it and ‘git pull’ to get the latest version of the course repo.