Here’s a suggested priority order of things to do this week - although feel free to prioritize of course however makes most sense to you. You probably won’t have time to do all of these, so don’t let them overwhelm you They’re just some ideas so that everyone has plenty to keep them entertained! (Some people are taking this class nearly full-time, so we try to make sure there’s enough material for them too.) Remember that we’re all here to help each other - if you get stuck on anything for 30 minutes, please ask for help!
If any of the revision of part 1 was unclear, review those lessons
Go through the artistic style part of the notebook, following the recommended approach from part 1
Read the paper and try to see how the paper relates to the notebook. Answer the questions:
What problem are they solving?
What is the general idea that they are using to solve it?
What kind of results are they getting?
What previous work are they building on?
Discuss with your team ideas for writing a post together with some of them, or see how else you can help each other. Perhaps you can get your first little project out this week?
Study figures 1 & 3 in the paper and make sure you understand them. Try to recreate them yourself, or do some similar experiments. Write up your findings in a forum post or a blog post (perhaps post a draft here on the forum, and let the community help you with ideas before publishing it on medium.com or some other blog)
Order your deep learning box!
See how much of the ‘Methods’ section of the paper you can follow, and think about how you would go about recreating the method if you only had the paper to work from
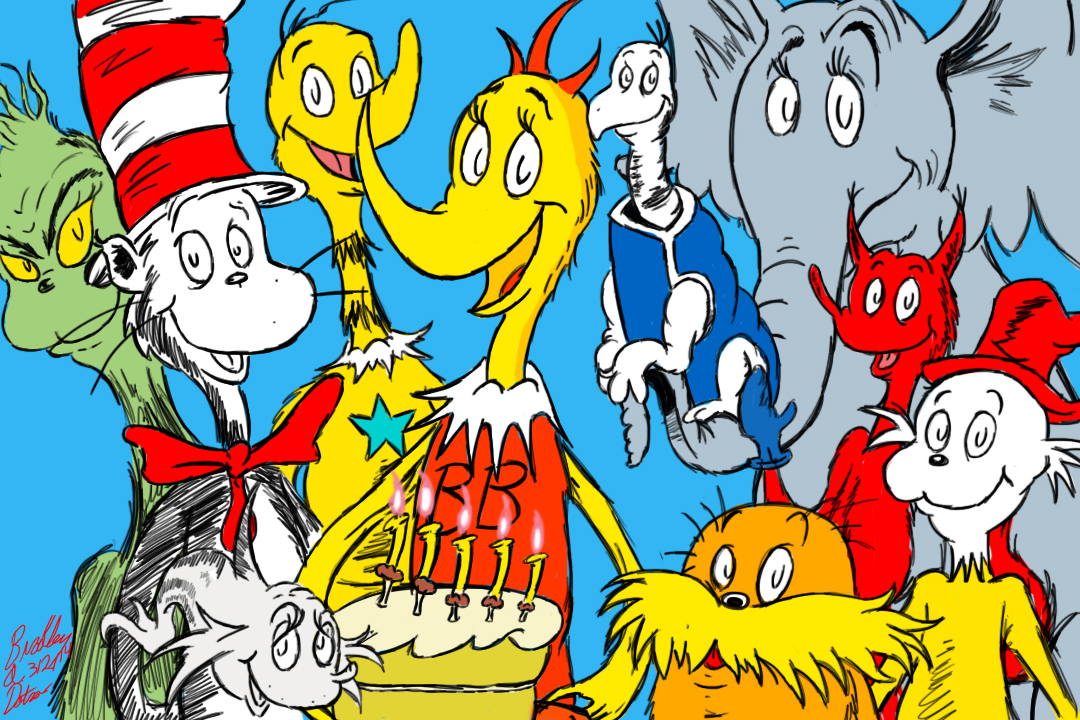
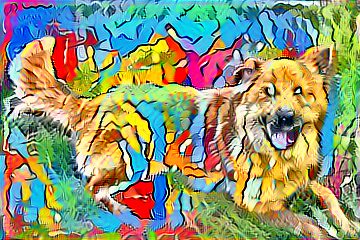
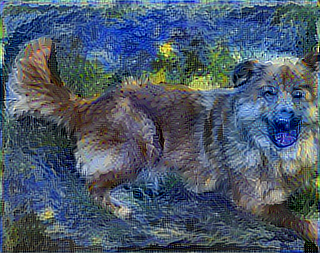
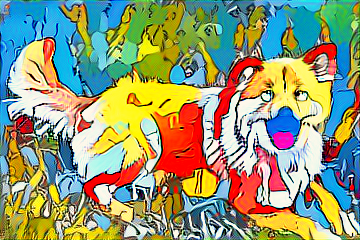
Hey all! Been playing with style transfer. Tried to use a Dr. Seuss image to apply it’s style to a dog. It’s pretty awesome. But there’s definitely a hyperparameter tuning aspect to this all. I need to bump up the strength of the content alot to get the dog to even show up in the image.
In general --it’s unclear to me what a good “style” image is… I don’t think this Dr. Seuss thing is a good style image because it’s actually defined by the EDGES – of where the characters are drawn – other than that the style is flat color. That’s why I think it doesn’t work as well. What do you all think? Just trying to understand this all.
One more thing I’m trying to understand. When we combine the style and content losses — we use the same MODEL for both of them. That requires both of the images to be the same size. Thus in the notebook we slice the content image down to the size of the style image. And the way the notebook is doing that requires the style image to be smaller than the content image in both dimensions.
w,h = style.size
src = img_arr[:,:h,:w]
Can we use two different networks for this with different input tensor sizes? Thinking about it for a sec, it seems not – cause we’re optimizing the same random input image for this combined loss.
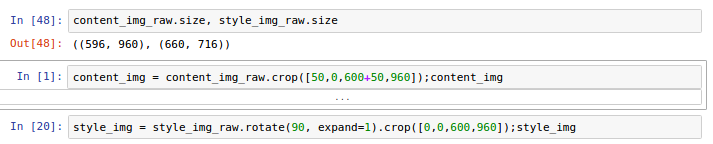
There’s a line in the notebook where the style image (PIL image object, not array) is immediately resized after loading. I changed that to resize the style image to whatever the original image size is. Because if you don’t then your content image is going to be a subsection of the original image you wanted to alter.
exactly! I’ve been having trouble matching the image size with the style size and had to do it manually. Can you share your image resize code? It’ll be really helpful for me. thanks!
also, if I have a style image in portrait, and a content image in landscape, then I’m really in trouble. I guess I can crop the content image to match the portrait, but I wonder if there are more elegant way of doing this. any thoughts?
I just posed this in another thread and realised this thread would be more appropriate. I was trying to replicate the code under the super resolution section of the notebook but couldnt understand what was inp_shape here. Is it the shape of some low-resolution image? What constitues this low-resolution image?
Specifically unable to understand what’s inp_shape here:
inp=Input(inp_shape)
x=conv_block(inp, 64, 9, (1,1))
for i in range(4): x=res_block(x)
x=deconv_block(x, 64, 3, (144, 144, 64))
x=deconv_block(x, 64, 3, (288, 288, 64))
x=Convolution2D(3, 9, 9, activation='tanh', border_mode='same')(x)
outp=Lambda(lambda x: (x+1)*127.5)(x)
Is it something to do with the shape of the input image? If so when i try to compute inp_shape from my input image I get an error
ValueError: Input 0 is incompatible with layer convolution2d_2: expected ndim=4, found ndim=5
I’m guessing there’s some input dimension mismatch. Any help would be appreciated.
Thanks!
The input should be 72x72 pixel downsampled versions of the original 288x288 images. The arrays are available to download from platform.ai - see the lesson 8 discussion thread first post.
But my specific error occurs when i run this particular line of code:
inp=Input(inp_shape)
It says that inp_shape isnt defined. And I searched the notebook for any prior usage of inp_shape and couldnt find any so I was wondering what exactly it stood for and how to fix the error.
I especially liked that you explained clearly how to access your box remotely - that’s really important and helpful info. You may also want to mention http://www.noip.com/remote-access as a good way to always know your home networks IP, perhaps? And something about auto-restarting the ssh pipe (e.g. http://www.harding.motd.ca/autossh/ ) ?
I don’t know if this counts as my homework assignment, but I definitely had fun making it. I plan to build my own box next week so I can put a simple front end for uploads and downloads. All images were generated with only 10 iterations. I would appreciate any suggestions/feedback.
What did you end up doing to specify the shape of the input?
I can’t seem to get it right. I’ve tried everything I can think of: inp_shape = arr_lr.shape inp_shape = arr_lr[0].shape inp_shape = (72, 72)
and many more.
Thanks for you help.
Also, your blog post is really cool. Very impressive!
 They’re just some ideas so that everyone has plenty to keep them entertained! (Some people are taking this class nearly full-time, so we try to make sure there’s enough material for them too.) Remember that we’re all here to help each other - if you get stuck on anything for 30 minutes, please ask for help!