That would depend on how big you want the network to be. For example, you could create an image classifier that has more parameters than a GAN.
When we implement a residual block using fast.ai’s res_block function, the input first goes through 2 ‘conv_layer’ and then the result is added with input. But, according to the picture in Kaiming He et.al paper input first goes through a ‘conv_layer’ then a Conv2d then the result is added to input, followed by relu and then Batchnorm. In short, the skip connection is done before applying activation. I wanted to ask if it matters? I tried both of them and there wasn’t much difference in results. 99.51% accuracy with ‘res_block’ and 99.52% with ‘resblock’ class that I wrote.
This is the resblock class I wrote:

3 Likes
Hi Everyone, I wanted to ask that suppose we train our decrapffier perfectly and it works good. If we feed it crappified image as input it outputs high-resolution image. What if we feed it back the high-resolution output from previous operation again. Will the output be even better than input or will it be the same?
Hi.
Does anyone know the difference between ImageList and ImageImageList?
In lesson7-superres-gan.ipynb, we use ImageImageList. When I change it to ImageList, it will turn to an error. There is no more info about ImageImageList in docs.
Thanks.
2 Likes
Hi experts. I am trying to use the WGAN notebook in Lesson 7 to generate images. However, my training set of images is a little different. They are not in the direct image formats like jpeg. Instead, they are in images as NumPy arrays of pixel data. So, how should I train the model using this set of NumPy arrays of pixel data?
Thanks!
I guess you can convert your numpy arrays into pytorch tensors an then converting them to fastai image objects:
Image( torch.from_numpy( a_numpy_array ) )
If you visit the Fastai library docs you’ll see ImageImageList is used for generating imges from images as input. Wich is what we do in Superres notebook.
https://docs.fast.ai/vision.data.html#ImageImageList
It’s just not the same usage as ImageList wich is more suited for computer vision such as classification.
1 Like
Hard to say. Since you gave him High-res images as targets during trainning, the model might not know what to do to enhance the image even better.
But feel free to try and share the result!
1 Like
I’m trying to figure this out too - how to generate a single prediction from an RNN, e.g. to use in an app. So far I found out learn.pred_batch() works on a single text string. But still trying to max sense of the results.
If your dataset has images as the independent variable and a prediction whether it is binary or multi-class as the output variable, ImageList is the thing to use. Since it creates a list of images with their corresponding labels. ImageImage list,as the name suggests is for the cases where label is an image itself. for eg. if your input is black and white images and output is colorised version of the same images, in that case you should create your dataset using Image-Image list. It stores each image with its corresponding target (which itself is an image)
1 Like
Hi,
In this notebook,
What is wd parameter here, whose value ranges from 1e-02 to 1e-03? Is this related to resnet architecture ?
def create_gen_learner():
return unet_learner(data_gen, arch, wd=wd, blur=True, norm_type=NormType.Weight,
self_attention=True, y_range=y_range, loss_func=loss_gen)
Lecture 07 - 08:38
Can someone please explain in detail about why * is used before ran_pad in this line
tfms = ([*rand_pad(padding=3, size=28, mode=‘zeros’)], [])
Has anyone gotten super-res (super resolution) to work on your own images?
What types of images did you use to train the model? How did you crappify the images and how well did it work? I tried using images from one single movie. I turned every scene that was a close up and turned them into images. I blurred them to make them look like scenes that were NOT close up (of the actors in a wider shot). I had thousands of images. Trained it. But when I put a non-close up image (a frame from the original movie) through the model it didn’t do anything like super res. It kind of looked like it had a mild ‘style transfer’ effect with weird artifacts.
So, if you could just share how you got yours to work. I can’t think of what I did wrong because I did a few different crappifications and trainings and followed the exact pipeline as shown in the video.
In the notebook and the video the super-res cat is a crappified image the model trained on, right?
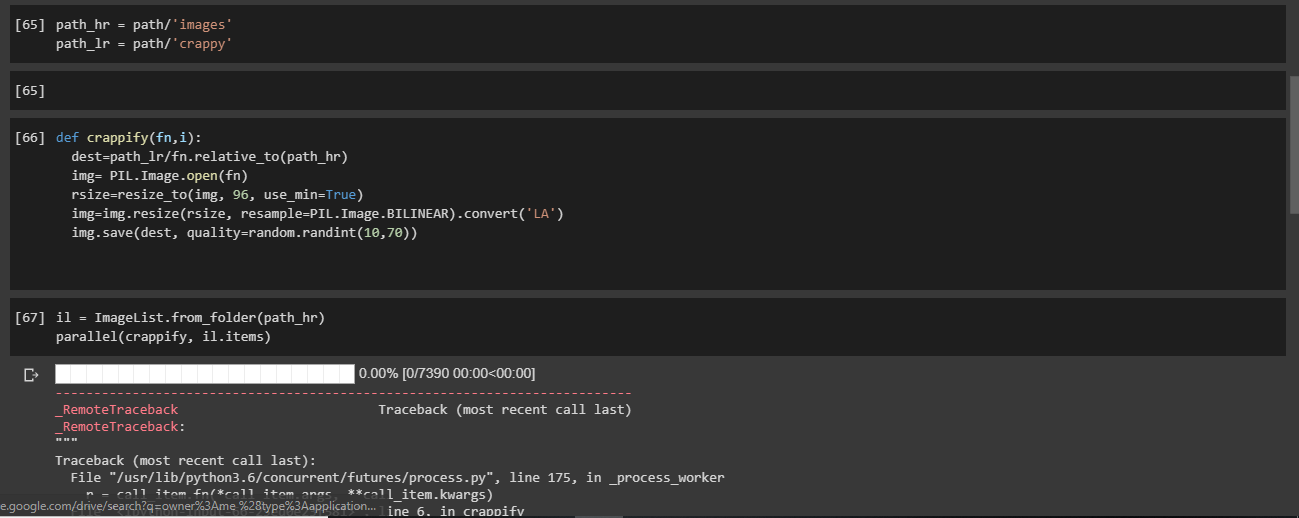
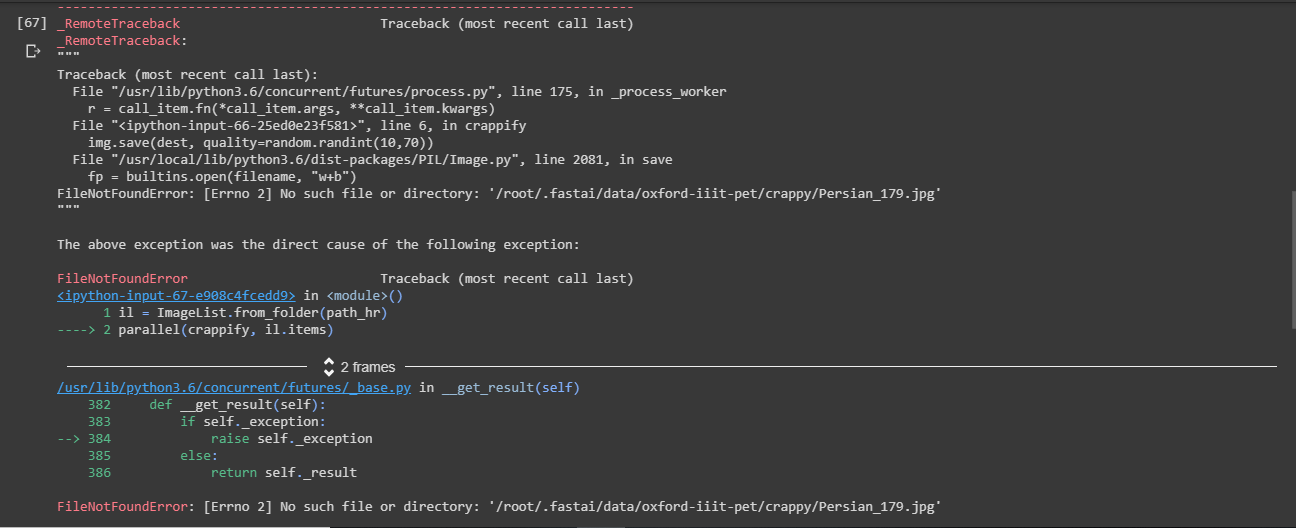
Hi, I slightly edited the crappification and it is not working. What’s wrong here? Pls help me out.
Thanks,
I was using the Nvidia real faces and had a similar experience. It’s probably related to the size of the input image. They have a 1080x1080 as compared to the imagenet ones used in the tutorial which have 224x224 size
What dataset are you using?
You have missed out the following line:
dest.parent.mkdir(parents=True, exist_ok=True)
1 Like
Oooops! I didn’t see that. It’s working good.
Thanks @skylord
But why are we using y_range here like in movies dataset?
1 Like
Sorry for the late reply…
What dataset are you using?
Long story. My images I trained on were 960 x 540 because they were quartered screenshots of 1080p video.
The content of the screenshot photos were faces that took up the whole screen, in other words, closeups of faces. My idea was to Super-Rez the same faces from frames the camera was NOT close up.
So, my training images size should match the size Jeremy built the model for? Makes sense.
I wonder if I should re-jigger the model or make a more elaborate Python function to split up images. Writing it out makes it apparent changing the model is what a real engineer would do.
cool. Good luck with that!