I need help applying the mask in DiffEdit

I need some help on how to properly apply the generated mask during the denoising phase of DiffEdit.

If I’m understanding the steps of DiffEdit correctly, the mask is applied during each denoising step — meaning the background pixels of the original image are added to the latent at each denoising step.

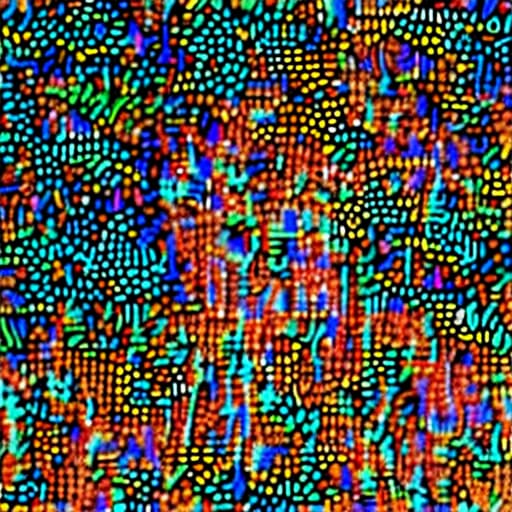
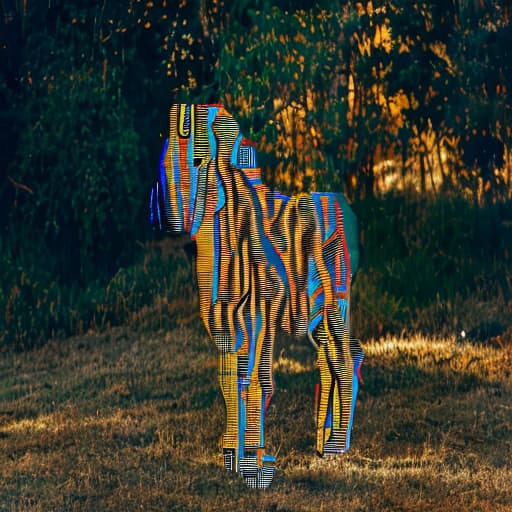
However, when I try to implement this, I get the following result (I’m replacing a horse with a zebra).

This is how my denoising loop looks like.

prompt = ['zebra']
img = Image.open('/content/img.png').resize((512, 512))
embs = get_embs(prompt, neg_prompt)
lat = get_lat(img)
inv_mask = 1 - mask
back = torch.mul(F.to_tensor(img).permute(1, 2, 0), torch.from_numpy(inv_mask))


for i, ts in enumerate(tqdm(sched.timesteps)):
  if i >= start_step: 
    lat = denoise(lat, ts)
    back = get_lat(Image.fromarray((back*255).numpy().round().astype(np.uint8)), start_step=i)
    back = decompress(back)
    fore = torch.mul(torch.from_numpy(decompress(lat)), torch.from_numpy(mask))/255
    lat = compress_img(Image.fromarray(((fore+(backn/255))*255).numpy().round().astype(np.uint8)))

back is the background pixels, which I obtain by inverting my mask and applying it to the original image.

fore is the pixels comprising the zebra, which I obtain by decompressing the latent and applying the mask to it.

I then obtain the final latent by adding fore + back together, and then compressing it for the next loop.

I’d really appreciate some help. If you need any more information to do so, please do let me know.

1 Like

Maybe this can help - Aayush Agrawal - Stable diffusion using 🤗 Hugging Face - DiffEdit paper implementation

3 Likes

Thank you for your input!

I’m looking at how you’re implementing it, and it appears I’m doing it similarly? I can see 2 differences though:

  • You’re generating both a horse and a zebra latent and adding the background pixels of the horse latent to the zebra latent. I’m instead adding the noised background pixels of the original image to the zebra latent.
  • You’re applying the mask to the compressed latents, whereas I’m uncompressing the latents, applying the mask, and then compressing again.

However, I think difference two may be a problem. The below is the outcome of a latent by decompressing it and immediately recompressing it after denoising it in a single step.

But now I’m not sure how I should apply my mask without uncompressing the latent. The latent is of shape 1x4x64x64 while my mask is of shape 512x512x3.

I could try compressing the mask, but the 0s and 1s will become different values and so it wouldn’t remain a mask.

What shape is your mask? Is it 1x4x64x64? Since I don’t see you compressing/decompressing your latents or mask.

The mask should be calculated latent space, matching the latent width and height. When you are seeing it visualized they are doing basic upsampling which is why you notice the mask looks blocky/pixelated. Your mask should be a single channel.

2 Likes

Ah okay, I see.