Fully featured fastai setup on Google Cloud (starting from $0.2/hour)

Update: use fastai-shell. It’s the continuation of this project.


First, let me show you some of the benefits of this setup:

  • create a node with the Tesla p100 GPU for just $0.53/hour
  • create a node with the Tesla K80 GPU for just $0.2/hour
  • create a node with No GPU for just $0.01/hour
  • switch between these nodes whenever needed
  • install new tools and save data (won’t get deleted when switching)
  • run notebooks by just starting the server (no SSH needed)
  • create a password protected jupyter notebooks environment

This is based on GCE preemptive instances.
Google cloud already has a very powerful UI and a cloud shell access.
This product is build on top that.

See the guide: Ideal Way to Create a Fastai Node

Hope this will be useful.

22 Likes

This is just amazing dude! Tried it yesterday, and it works like a charm. By far the easiest, cheapest and most convenient option (especially for switching between CPU & GPU). Thanks a lot for doing this. :pray:

1 Like

Nice. I just removed v100 and replaced it with p100.
There’s no considerable difference between both except for the price :smiley:

1 Like

Can we use the same commands from the terminal on our local machine (laptop/desktop) to start/stop a GCP instance without visiting the Google Cloud Console website? Assuming I already have the gcloud tool installed, of course.

Of course sure.

See a sample command below:

gcloud compute --project=$DEVSHELL_PROJECT_ID networks create fastai --subnet-mode=auto

Replace $DEVSHELL_PROJECT_ID with your real project id or set that env var in your terminal.

Great, thanks! Now I can add these as aliases in my ~/.bashrc. That would save the trouble of visiting the GCP console for every step. :sunglasses:

1 Like

Sure.

This is a cool project, but I think the official tutorial and image may be slightly easier:

http://course-v3.fast.ai/start_gcp.html

Also it’ll be easier to get help if you use the official one since that’s what everyone else is using.

2 Likes

@jeremy may be, may be not :slight_smile:

This is something I built for myself. I wanted to get started quickly with minimum effort
That’s why I use the google cloud shell.

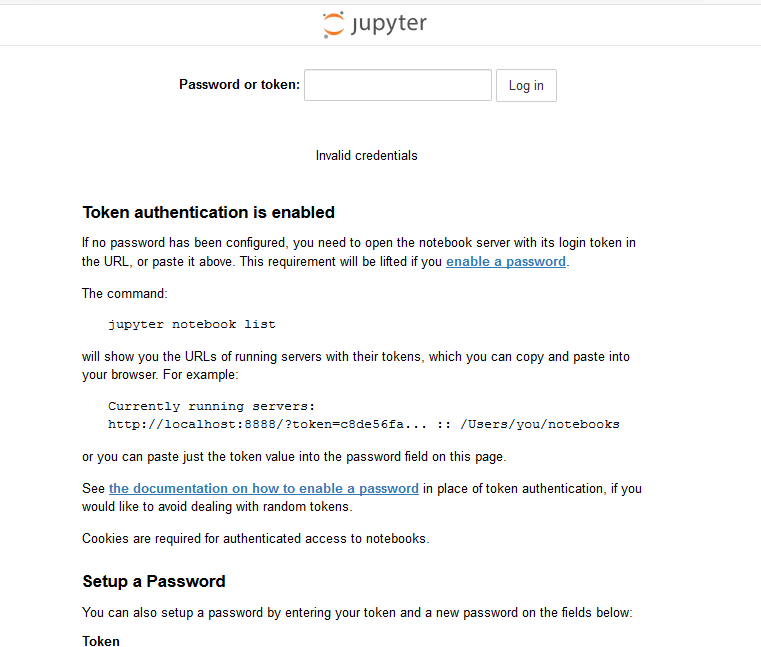
Here I’ve opened all the ports and I just need to visit ip:8888 to access notebooks. No need to tunnel.
(I know it’s not that secure, but that’s not an issue here)

I used a script to install all the deps and goodies. Basically I was not sure how often the official image is going to updated. (Didn’t know fastai behind that)

Also this flow encourage to keep the disk after even after terminating the box and use a different types of instances as needed.
(It’s just a set of commands, but here we’ve a defined flow)

Also it’ll be easier to get help if you use the official one since that’s what everyone else is using.

TRUE. If we build something really well and reduce chances user could get errors, there’s no need for much support.

Anyway, I’m just sharing what I use.
It’s up to others to use it or leave it :smiley:

2 Likes

arunoda, your blog post mentions being charged $8/month for the SSD boot disk. Is this required? And if I do want to cancel it at some point, how would I do that? Thanks!

Simply go to the disk section on the Google Cloud UI and delete the disk called “fastai-boot”.

Hi

I used your instructions and can start training. But how do I update fast.ai and the course repo?
Do I need to switch users?

Sorry if this is a silly question…

Thanks

There’s a script in the home directory called update-fastai.sh.

You can create a terminal from
Jupyter and run it via “~/update-fastai.sh”

For the course-v3 repo, you need to manually git pull.

 cd ~/course-v3
git checkout .
git pull origin master
1 Like

thanks

I am getting "
ERROR: (gcloud.beta.compute.instances.create) Could not fetch resource:

  • The zone ‘projects/central-alcove-192811/zones/us-west1-b’ does not have enough resources available to fulfill the request. Try a different zo
    ne, or try again later."

It’s exactly the what the message says. At this time the availability zone we are using doesn’t have enough computing resources.

There’s are two options we can do:

  • Try again later (Not a good answer always)
  • Change the available zone to the next best version (Not all zone’s has GPUs)

To change the zone, replace all the places with: us-west1-b into us-central1-c.

For that, you need to re-start with section called “The Boot Disk”.

I’m working on something called fastai-shell which automates most of these tasks. For now, you can do that as I mentioned above.

Amazing , great job.
I’ve a question is there any way to configure this one so that instead of using jupyter notebook we can use jupyterlab.

I also see that this step
curl https://raw.githubusercontent.com/arunoda/create-fastai-node/master/setup-gce.sh | bash
takes some time . So is it possible to skip this step and still get our jupyterlab and storage space so that we can install our packages over there in notebook and proceed with our kaggle work .

The script is updated with jupyterlab now.
This script installs the jupyter at the end. So, need to wait for that.
This is a one time setup.

With jeremy’s guidance, I’m now working with update to this workflow using the official image for GCP.
So, with that the initializing time will be way shorter.

Trying to do a release early next week.

1 Like

I tried installing today and was getting this error

.
This error came up after this command got executed curl https://raw.githubusercontent.com/arunoda/create-fastai-node/master/setup-gce.sh | bash

Post that somehow I reached to this point where we have to start our jupyter notebook and it was asking for some token


If I used the command jupyter notebook list to get the token , nothing was being displayed .
Any help is really appreciated.

You need to follow the steps in the blog post as is.
There’s an step after that.
(SSH into this box and run some code to set the password)