Hi Jeremy thanks for sharing a wonderful book
I just posted my first pull request, its only one word long 
Ah well every little bit helps!
Have a fab day mrfabulos1
Hi Jeremy thanks for sharing a wonderful book
I just posted my first pull request, its only one word long
Ah well every little bit helps!
Have a fab day mrfabulos1
Please don’t use these pre-release draft notebooks and expect them to “just work”. The draft release, and this early-access forum, are for folks who are interested in making a positive contribution after doing their own careful research. If that’s not you (which is totally fine) please wait for the official release in July.
Just a simple tip I found to help me when reading the book in Jupyter Notebooks.
It was hard to scroll Up and Down in Jupyter without using the mouse, but, a workaround is install Vimium from here and use ctrl+e to scroll down and ctrl+y to scroll up.
do you recommend doing course + draft of book simultaneously / in parallel?
@sayko here, Jeremy mentioned that the course will be based on the book, so it might be really helpful to do both. Personally I have started to read and follow along the book already 
The draft version of the book has helped me already! In lesson-2 I found:
What we normally do in practice is to randomly select part of the image, and crop to just that part. On each epoch (which is one complete pass through all of our images in the dataset) we randomly select a different part of each image. This means that our model can learn to focus on, and recognize, different features in our images.
I was stuck at the BengaliAI kaggle challenge, but this simple trick made my validation recall_score go up by 1.2% ! I was using CenterCrop before, but seems like RandomCrop is the way to go
Amazing results, @arora_aman!
Sorry to be the annoying thread police-but if the competition is still active, please ensure that you also share the information on the comp threads also.
Since fastai forums are currently invite-access/hidden to public, this might be considered private sharing.
Good point, thanks Sanyam
How do I avoid jupyter notebook metadata conflicts while submitting PRs for fastbook. Can someone point me to steps?
standard jupyter commands I think without extension :
follow the fastai2 repo readme instructions - i.e. install nbdev and run the command for git hooks. thats about it
I have a comment on chapter 1 with regards to how which book you open, the full or the clean. Perhaps for a set up in a server environment this is automated. For my self and any individual running a local version, how you get to display these in jupiter depend on where you make the call to jupyter notebook.
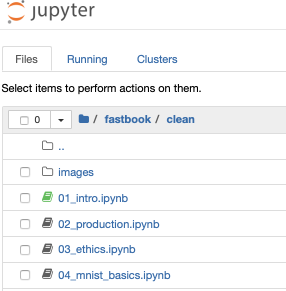
I cloned the fastbook repostitory and changed directory to fastbook, I am now make the call to jupiter notebook in my terminal window and the result is :-
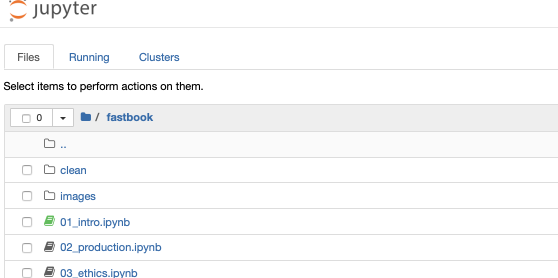
As you see we have directories and files listed, not all are shown here, only the first few, the file with the green icon indicates a running notebook, which is open in my case as another Safari tab, the image shows the earlier tab which is the result of running the jupyter notebook command.
To get to the cleaned version of the note books we must click on the clean item with the folder image which gives this image :-
This is an image of what’s shown after switching to the clean folder and clicking the clean version 0f 01_Intro. Note there are only now three tabs open as the result of clicking items and the jupyter notebook command, the original tab which now displays this image and the tab displaying the full version of 01_intro and another tab displaying the clean version.
Forgive me; here I have come to this as I thought it maybe an issue with people unfamiliar with jupyter. Perhaps in your top/down approach this gets resolved later, if not then I think something on these lines should be added. I feel that trying to gauge your audience’s needs is a difficult challenge.
Feel free to use any of this if required.
Edit:-
This item refers to the book help page and not to the book directly.
Thanks but I find scrolling through Vimium a lot more similar to the mouse. I find using Jupyter commands is a lot more abrupt and not ideal for reading.
Thanks @jeremy for sharing the draft. I am reading book draft from O’Reilly.
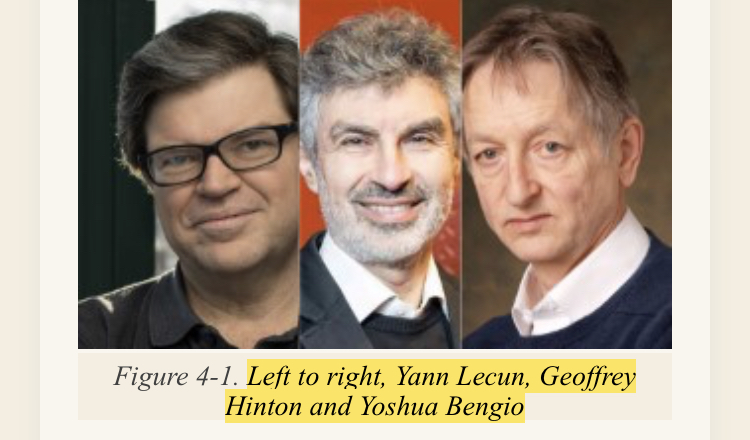
I just found in chapter 4, Fig 4-1 erroneously there is name mismatch in caption.
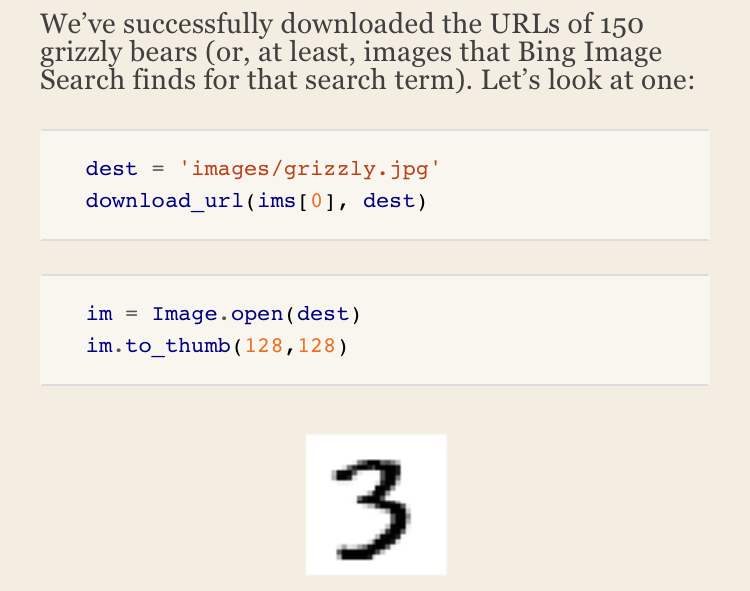
One small typo, in chapter 2.
In chapter 2, Instead of Grizzly bear, Number 3 image is displayed.
I’d love to see a concrete example of using a ‘black-box’ computation in the loss function. I have a case where it’s difficult to use pytorch tensors to do the math I need in the loss function. This is because I need the use of complex numbers, and scipy, but PyTorch doesn’t support complex math, and it’s non-trivial to rewrite the bits of scipy I need using only real numbers.
A sidebar in chapter 3 or maybe in a later more advanced chapter would be good. Basically it would describe that there are cases where it’s difficult to use PyTorch tensors in your loss function, show how to convert something from a torch.tensor to a numpy array, do some math, convert back (for the forward pass), and how to create gradients on what is essentially a black-box on the backward pass. Of course, there would be the caveat that it will be way slower than a proper GPU based backwards pass, but it’ll at least function.
Yea should be Left Right Centre