If I’m creating a manual list of transforms via a Pipeline. how to I add cuda to that? I tried doing lambda x: x.cuda() as one of the transforms, but this this gets applied to PILImage and an error is throw, I think this has to do with the order of the transforms
EDIT: I also tried to put TensorImage into the Pipeline by doing TensorImage.new with no success
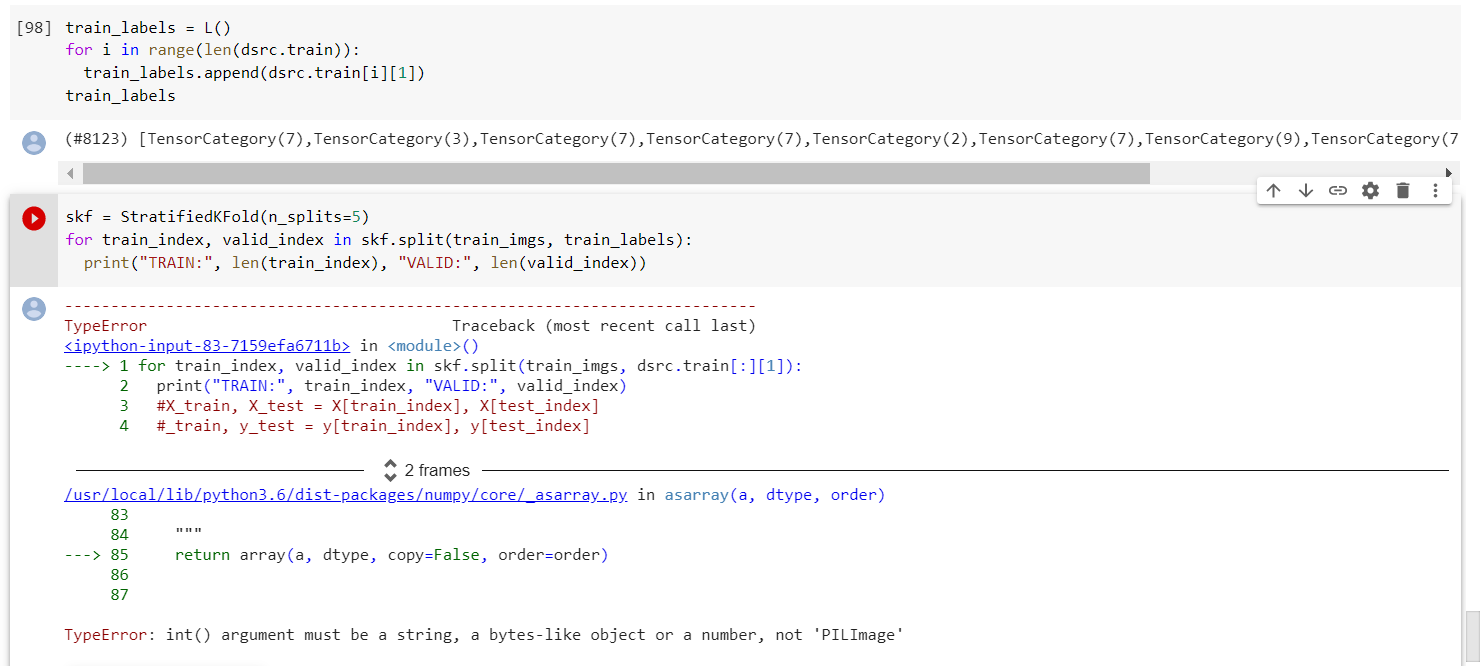
Does anybody know a good reason why we using in the tutorial notebook the non-stratified K-split version?
from sklearn.model_selection import KFold
Would it not be better to use stratified splits to make sure that all classes are represented in the training and validation set? e.g. in case of imbalanced datasets we may have the problem that one of the minority classes does not appear in the training examples and this would then raise an error.
Basically I was only able to get the regular KFold working @mgloria. If anyone can figure out how to get Stratified working instead that would be great
I want to catch up with your walk with fastai2 but I also get the “cannot import name 'PILLOW_VERSION' from 'PIL'” error with torch 1.3.1. and pillow 7.0.0.
Is there another workaround for that problem (I didn’t find via the forum search)?
Yes some things do get buried under this thread sadly I can’t think of a good way to go about doing that for the big things. I know you can do a summary of the thread that goes by likes but that’s about it.
We could add the note to the top? However, maybe that changes soon and is not needed anymore. People are super helpful here if this gets asked again, so we will solve it anyway.
It is my understanding that the list of indexes is precisely what it is generated (i.e. which images belong to training / validation set), see docu. I believe it is solved, check this out @muellerzr
split_list = [L(range(len(train_imgs))), L(range(len(train_imgs), len(train_imgs)+len(tst_imgs)))]

dsrc = Datasets(train_imgs+tst_imgs, tfms=[[PILImage.create], [parent_label, Categorize]],
            splits = split_list)

train_labels = L()
for i in range(len(dsrc.train)):
train_labels.append(dsrc.train[i][1])

skf = StratifiedKFold(n_splits=5)
print(skf.get_n_splits(np.array(train_imgs), train_labels))
for train_index, valid_index in skf.split(np.array(train_imgs), train_labels):
  print("TRAIN:", len(train_index), "VALID:", len(valid_index))
  print("TRAIN:", train_index, "VALID:", valid_index)
Hi @muellerzr I’m trying to use fastai2 on https://www.kaggle.com/c/understanding_cloud_organization, it has 4 segmentaion masks, I’m guessing I would need a 4 output datablock, but I don’t know how to achieve that. How to create datablocks with multiple number of inputs and outputs in general?
 do you call ToTensor()
 I can’t think of a good way to go about doing that for the big things. I know you can do a summary of the thread that goes by likes but that’s about it.