Hi everyone - please take a look at this interesting behaviour of repeatedly applying diffusion:
Stationary and Stable points in the diffusion process
Idea:
If we take an image, apply diffusion to it, then we can use this new image as a starting point for another diffusion application.
If we repeat this many times, we end up with a series of related images.
What do these look like?
Method:
- Take any image as a starting point, encode it into the VAE latent space to get lat_0
- Add noise to lat_0, apply diffusion with a prompt to get latent lat_1
- Repeat step 2) with lat_1 to get lat_2
- Continue applying diffusion in a loop to get a sequence of latents [lat_0, …, lat_n]
- Convert these latents back to images
Case 1:
Apply the same noise every time in step 2) - i.e. use a fixed random seed in all diffusion processes.
In this case, the images converge very quickly to a single image!
[starting image: “mount fuji in spring”, diffusion prompt: “an astronaut on a horse, photo”, diffusion start step: 0, 60 diffusion loops]
This means that we have found a “fixed point” in the diffusion process: adding noise to this image and diffusing it outputs the same image again.
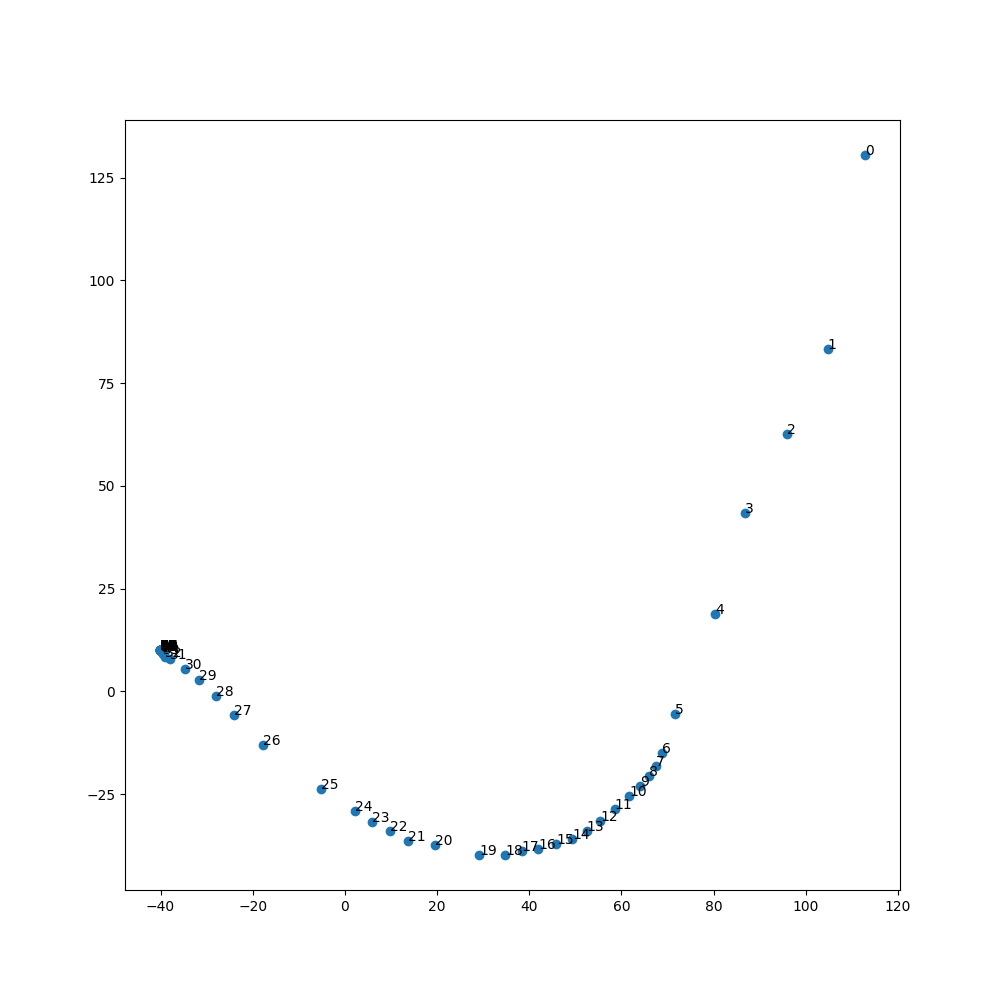
Here is what the latents look like after PCA reduction. The points seem to converge in latent space as well:
Question: does anyone have an intuition about why the images converge? I am yet to find a starting point/prompt that doesn’t converge.
Case 2:
Apply different noise in step 2) - i.e. change the random seed for every loop of the diffusion step.
Because the noise is fixed in case 1), perhaps it is not so surprising that a fixed point can be found.
Actually, if you apply a different noise to the fixed point image found in case 1), then diffuse, the output will be a completely different image. So the fixed point is unique to the noise used.
But are there fixed points if a different noise is applied on every diffusion run? It looks like there might be (try playing these videos at the same time):
[starting image: “london bus”, diffusion prompt: “cat”, diffusion start step: 10, 200 diffusion loops]
[starting image: “mount fuji in spring”, diffusion prompt: “cat”, diffusion start step: 10, 200 diffusion loops]
These two diffusion loops both start at different points (london bus vs mount fuji), and use different seeds throughout the diffusion processes.
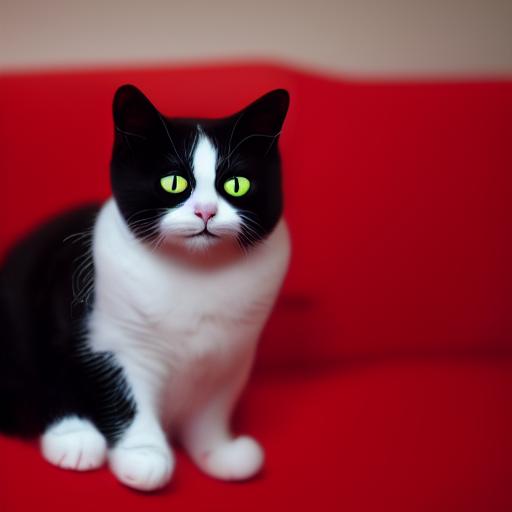
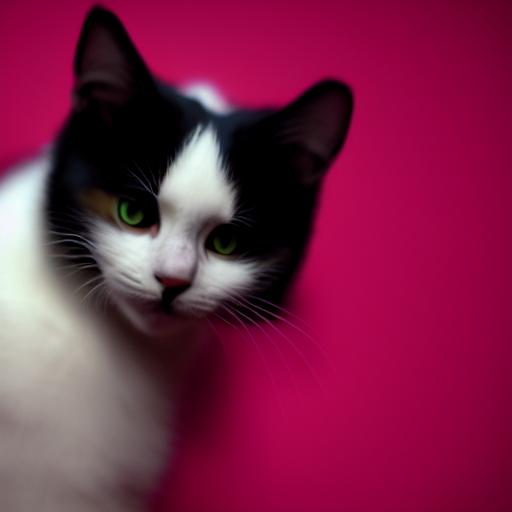
However, they both end up stabilising at very similar images!:


[Step 200 images for two different diffusion loops]
They also both reach this stable point via a long period of black and white photos of a cat:
[Step 50 images for two different diffusion loops]
This pattern seems to be repeated for many different starting points/seeds for the diffusion process: initial image → black and white cat → flat block colour cat
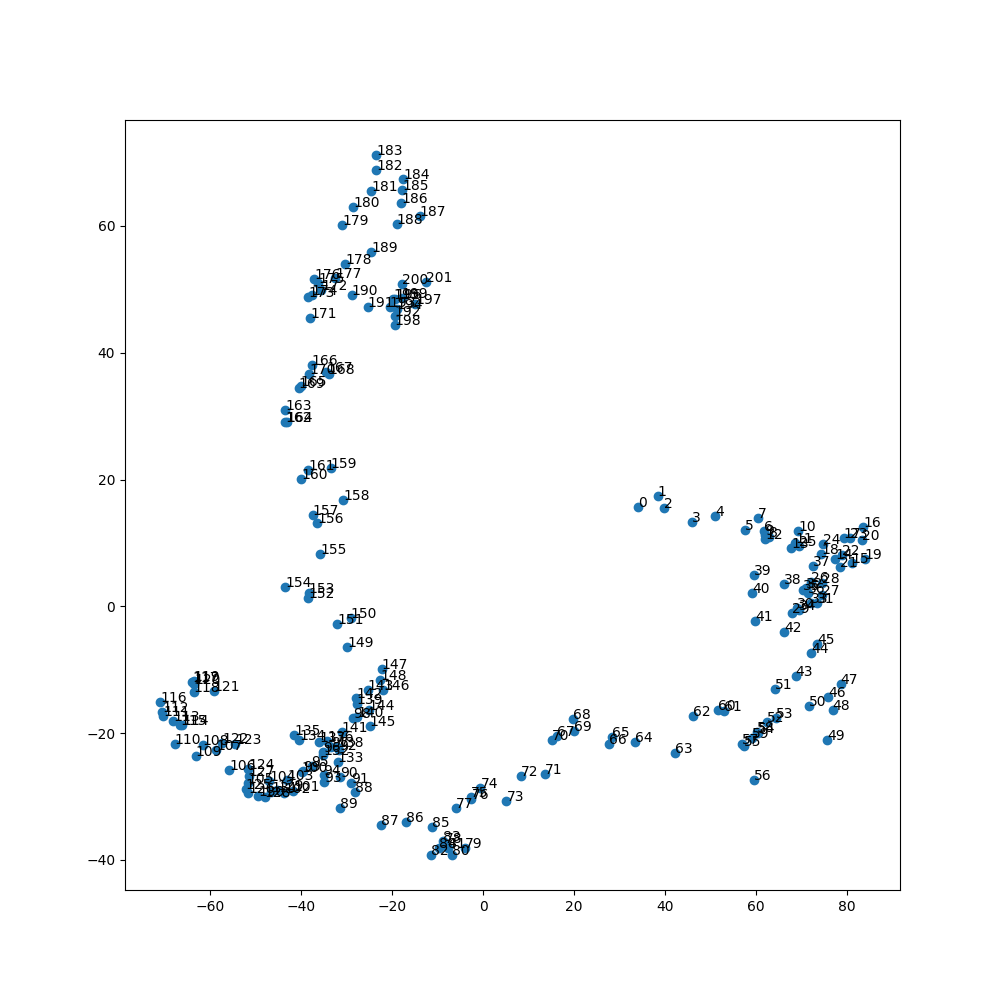
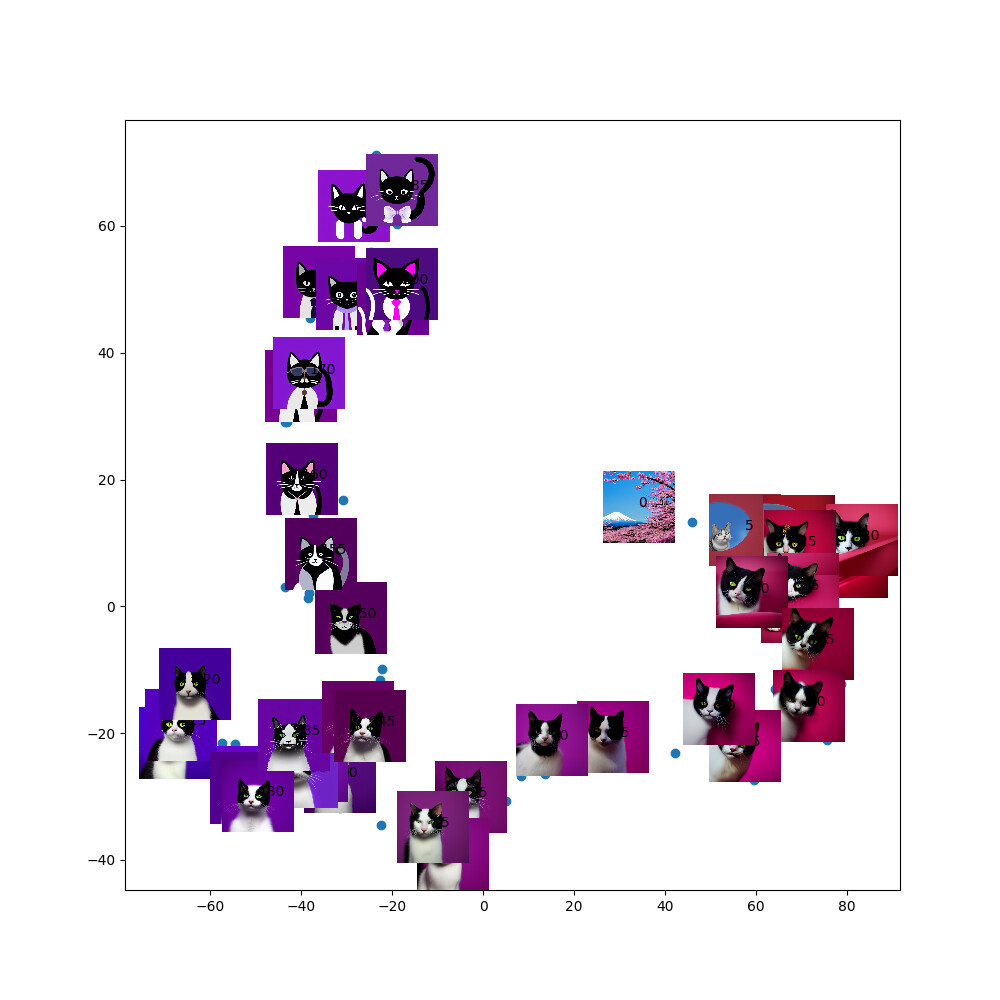
[ Middle right cluster: initial images, Bottom left cluster: photo of black and white cat, Top left cluster: flat block colour cat. Transitions between them in latent space]
Here are some stable points for other prompts:
Dog:


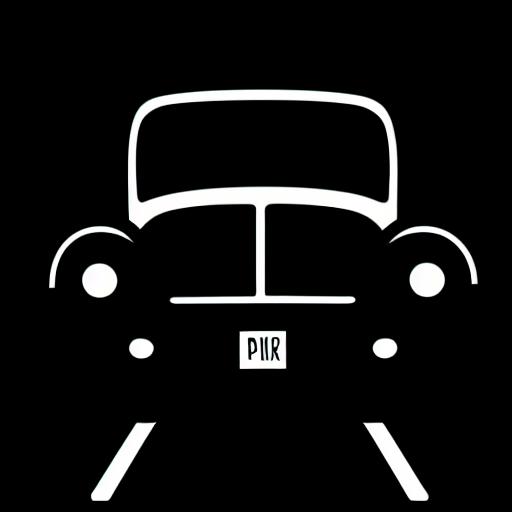
Car:

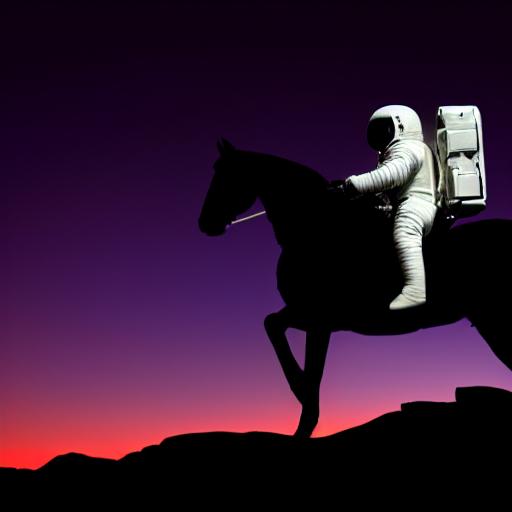
Astronaut on a horse:

Future ideas:
There are lots of different variables to experiment with here. In particular, the start step of the diffusion process would be interesting to vary, and more diverse prompts.
I wonder if these fixed points could also give some insight into the structure of the diffusion process somehow.
See the notebook for more details.
Thanks @johnrobinsn for your tree diffusion notebook which was a help in this.