Yup, that’s fixed in the latest notebook version. It’s not in conda’s main channel yet, so ‘pip install notebook’ should grab it. You’ll need to restart jupyter notebook.
Is there anyway to use f-strings with 3.5, i.e. from future? There are a few useful modules that aren’t available for 3.6 yet (e.g. Mayavi), so I’ve been sticking with 3.5.
The syntax is definitely a lot less verbose than .format(), but for now I’ve just been removing f-strings from every notebook (and replacing with .format(**locals())).
That’s a clever trick!
No, I’m not aware of a backwards-compatible way to use f-strings. You can install Mayavi with a little bother: Ubuntu 14.04 LTS : installation of CUDA 6.5 to 8.0
Hi Jeremy,
For the super resolution network dataset I got a memory error below (with CPU, locally) and to pass it I have to increase my VM memory and this influences the speed of the host.
So I tried to reduce the dataset size (as I already did it for some projects), but after deleting some files to reduce the size, bcolz already see the data indexes.
So, is it possible do it with this dataset, and how to perform it ?
We’ll learn how to do that in today’s lesson!
Ok, thank you Jeremy !
Apologies if this question has been addressed somewhere else, but why do Tensors lose their knowledge of their shape when they’re passed through a deconv block? If all of the aspects of the deconvolution transformation are defined, and the input shape is known (as I’ve been able to confirm it is, by only applying the conv and resnet layers and then examining the resultant tensor), why do the height and width dimensions get set to “None” after the deconv layers?
I’m struggling a bit with implementing fast style transfer, so I I want to try to describe my solution in psuedo code and see where I went wrong. Here goes… any suggestions would be helpful:
- Take a batch of images, pass them through a network to produce a batch of output images.
- The network is similar to the super resolution network with some modifications to the beginning and the details of the resblock() function
- call this network the “style transfer network”
- Instantiate a pretrained image classification network (VGG or otherwise) and make all layers untrainable. This network will be used to produce activations we can compare between the synthesized image (output of step 1) and the “correct” images containing style/content.
- Take the original content images and pass them through our pre-trained image network from 2, grab the outputs at some step (block2_conv1).
- Take the outputs of the style transfer network (step1) and pass those images through the same process as step 2.
- Pass the style image through VGG and get the activations of some subset of the layers. These are our correct style activations.
- Pass the outputs of step 1 through VGG and get the activations from the layers used in step 5.
- Calculate gradients and loss
- Compare the outputs of step 3 and step 4 to produce content loss (using mse).
- Compare the outputs of steps 5 and 6 to produce style loss (using gram matrix technique from Gatys et al)
- Update the weights of the style transfer network and repeat with next batch working to minimize the overall loss.
How does this sound as a process? What did I miss? If this is it, then the devil is in the (implementation) details…
That sounds about right, and hopefully you’ll find that it’s exactly the same as the super-resolution code, except that the loss function has to be updated to included the style loss.
Note that there’s a ‘tips’ thread with some code snippets that may be of assistance.
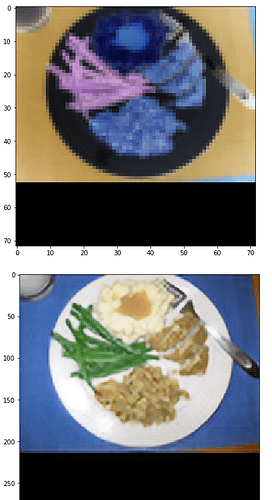
Super resolution seems to be working fine on training data but does not work well on test data, not sure why? Seems like something else is going on apart from overfitting.
Some results on training data:
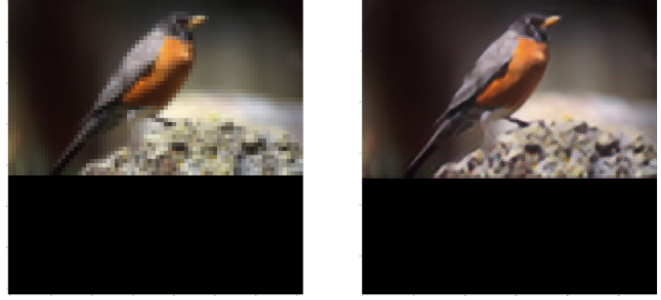
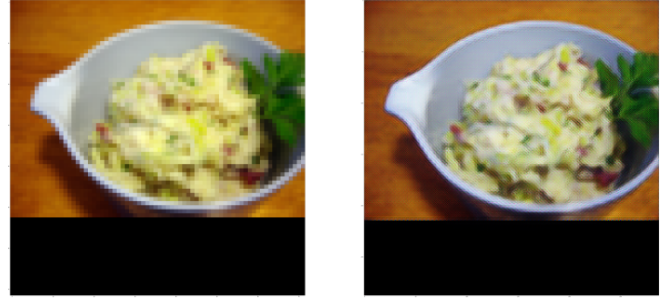
Some results on test data:
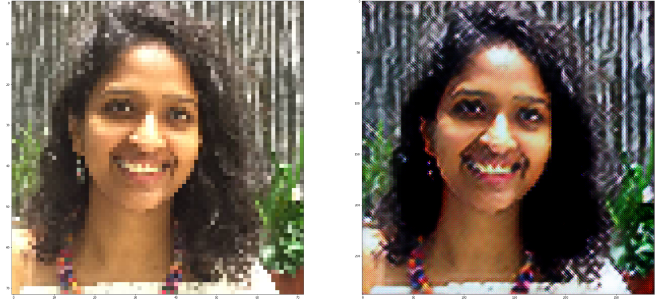
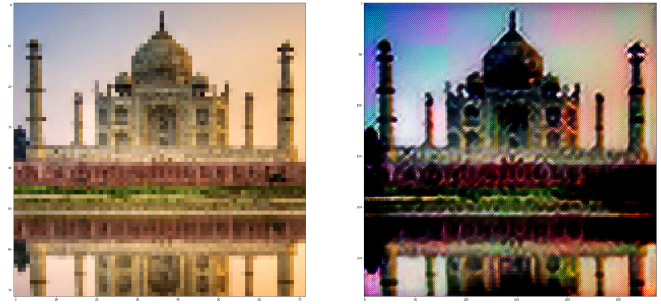
Will upload the code gist shortly. But curious, if anyone else seeing this pattern?
It might be because you don’t have the black cropping bar at the bottom of your test images?
Has anyone else run into this issue when trying to use the precomputed style targets from Jeremy’s tips post?
TypeError: Output tensors to a Model must be Keras tensors. Found: Tensor("Mean_7:0", shape=(), dtype=float32)
This error surfaces when I try to define a Model() with my inputs and the style function using said precomputed targets.
Yes, I hit this when I tried using loss = content_loss + style_loss, where both losses are Keras tensors. I had to do a merge instead of sum to get rid of it.
Hi @aifish, I’m wondering if we can crop input feature maps, because they are no longer raw images but features
BTW, can a crop layer be something like this Lambda(lambda x: x[: ,crop_size:-crop_size,crop_size:-crop_size,:])(input)
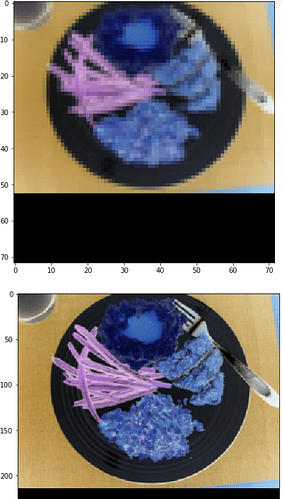
I download “trn_resized_72.bc” and “trn_resized_288.bc” from here, the color of these images are very weird.
plt.figure(figsize=(7,7))
plt.imshow(low_res_imgs[img_idx])
plt.figure(figsize=(7,7))
plt.imshow(high_res_imgs[img_idx])
Results
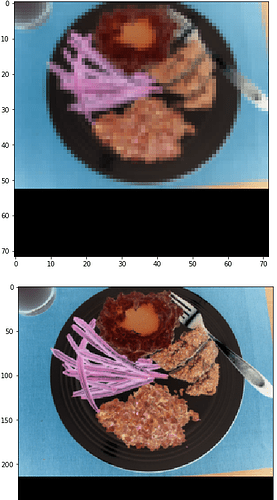
I guess maybe it is because the order of channels
plt.figure(figsize=(7,7))
plt.imshow(low_res_imgs[img_idx][:,:,::-1])
plt.figure(figsize=(7,7))
plt.imshow(high_res_imgs[img_idx][:,:,::-1])
Results
Looks better, but still weird. I try to deprocess it with some try, but all fail
deproc = lambda x: np.clip(x[:,:,:,::-1] + rmean, 0,255)
deproc = lambda x: np.clip(x[:,:,:,::-1] - rmean, 0,255)
However, this is not the weirdest part, the most incredible part is, the neural net know how to upscale the image and do some “fix” on the color of the input image.
top_model = Model(low_res_inp, output)
plt.figure(figsize=(7,7))
plt.imshow(low_res_imgs[img_idx])

p = top_model.predict(np.expand_dims(low_res_imgs[img_idx], 0))
plt.figure(figsize=(7,7))
plt.imshow(p[0].astype('uint8'))
Result
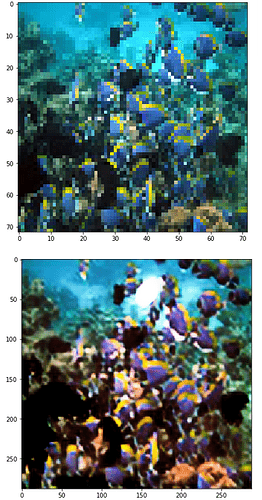
Try it with random image download from google search(I bet it is not in the training set)
img = Image.open('img/fish.jpg')
img = img.resize((72,72))
plt.figure(figsize=(7,7))
plt.imshow(img)
img_array = np.expand_dims(np.array(img),0)
p = top_model.predict(img_array)
plt.figure(figsize=(7,7))
plt.imshow(p[0].astype('uint8'))
Output image become sharper and color of the fishes changed. I am amazed the network can learn how to “fix” the color even the color of the training set are weird. These results looks interesting to me, I guess it is because vgg16 already learned the info colors, edges, shapes and other features I do not know.
Try to use
plt.imshow(img.astype(np.uint8))
to visualise the correct image.
You predicted output is displayed properly as you have changed the type to np.uint8.
Thanks, this solve my problem, my guess was wrong, the true reason is I did something stupid, haven’t discovered the bcolz images are not save as uint8.
By the way, do anyone try to do things like colorization, segmentation by perceptual loss?Should I use WGAN instead of perceptual loss for colorization, segmentation?
You will learn more about segmentation in the 14 th lesson . Regarding Colorisation , I guess perceptual loss should work. In case you try it , please write about it. Others would be definitely interested.
I try it, but the results are bad, you can see the details in this post.
I fiddle with different learning rate(start from 0.001, 0.0005, 0.00025), run more epoch(6 epoch) with three solutions I mentioned above, use different layers of vgg16 to extract features, all of them cannot train the network successful.
Loss of each batch are around 3~5, aggregate loss is 3~4, they are measure by mae summation of three vgg layers output(almost same as lesson 9). Loss value seem small(If my memory is correct, loss of super resolution more than 20 after 2 epoch), that means predicted output should be quite close to the original image, but when I try to colorize the image of training set, it give me bad results like this one


