Lesson 2 official topic

Having a low training loss but high validation loss does not necessarily mean that your model is already overfitting. This is a point of confusion for most of us when starting out and trying to understand these ideas.

As mentioned in the book; when the validation set accuracy stops getting better, and instead goes in the opposite direction and gets worse, that is when you can start thinking that the model is starting to memorize the training set rather than generalize, and has started to overfit.
Taken straight from the book, Chapter 1 :

In other words, as you progress further on the training, once the validation loss starts getting consistently worse than what it was before, (and hence meaning that it’s not able to generalize as well to unseen data, while getting better on training data) then the model has started to overfit.

Not to be taken as an exact example, but I’ve tried to quickly sketch out what this could mean in practice.

10 Likes

The documentation for those two methods on the learner object is available here.

The save() method is intended to be used during the traning process, for eg. after you’ve run some training and would like to save your work, so that you can resume later. Say your model is 98% accurate, and you’ve worked enough on it today. You can save('awesome-model') this, and then load('awesome-model') it back at a later time/tomorrow to the same notebook without re-training everything. Very handy for saving a good model so you can come back to it later !

On the other hand, the export() method is intended to be used for inference/deployment purposes, for eg. when you’re all done with training and want to export the necessary bits to be able to use it in another project/script/production etc. purposes. You’ve already seen this used for inference in the Gradio projects we’ve been working on.

6 Likes

I’m not sure if fastai has a built-in function to list all the models available. If somebody’s aware of such a function, please do share it.
One way to figure this out is to browse the source and see what’s supported in the codebase.

For eg. when I start browsing the repo at https://github.com/fastai/fastai/tree/master/fastai, then follow the vision folder, followed by models folder, I arrive at the all.py which lists all the fastai vision models. ( https://github.com/fastai/fastai/blob/master/fastai/vision/models/all.py )

Now, you can import this in your notebook, play around and see what’s actually provided by the all.py module. This gives you a good starting point to see what’s provided right away.

import fastai.vision.models.all as fastai_vision_models
dir(fastai_vision_models)

If you prefer slightly more cleaned up list, this is another quick one.

import inspect
import fastai.vision.models.all as fastai_vision_models

models = inspect.getmembers(fastai_vision_models,
                           lambda x: inspect.isclass(x) or inspect.isfunction(x))

print([m[0] for m in models])

Now, this will only list the models provided by fastai directly.
In the coming chapters, Jeremy will also most likely share more info on integrating another library called timm which has a lot more pre-trained models available.

3 Likes

The flagging functionality is enabled or turned off with the allow_flagged optional argument as described here in the Gradio docs.

1 Like

Thanks @strickvl. That gave me thread to pull on to find out what flagging was in general, for which this video was useful: 6. Gradio Debugging & Flagging | Gradio ML UI Beginners Course - YouTube

1 Like

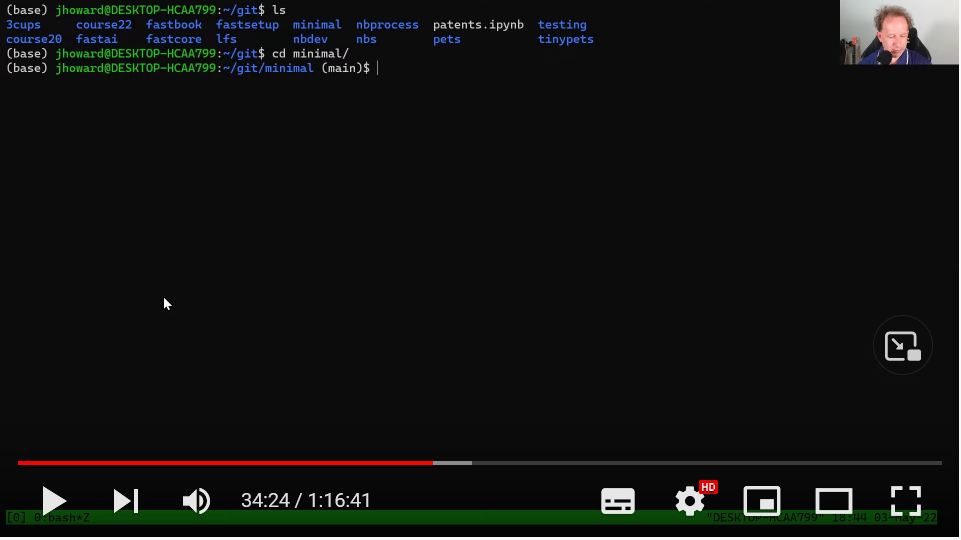
Any idea how windows terminal is being set in this way as Jeremy has done with green bar at the bottom along with date and terminal name?

settings.ini for Cats v Dogs application generation with nbdev on Kaggle

I’ve been replicating Lesson 2 Cats v Dogs in kaggle and down to this point in the Lesson 2 video where the application is generated with nbdev.

Executing this code…

from nbdev.export import notebook2script
notebook2script('app.ipynb')

gives me this error…

FileNotFoundError: Could not find settings.ini

I found a few references discussing nbdev and settings.ini:

that I started to work through, but they are distracting me from finishing my current task to do the app-export from kaggle. Its not clear how the github focus of these tutorials interacts with kaggle, i.e. mainly getting settings.ini into the correct file location, and then if any fields need kaggle specific values.

Can anyone provide a cheat-sheet to get a suitable settings.ini onto kaggle suitable to execute the cell of Cats v Dogs - inference gradio | Kaggle?

I think Jeremy might be using a screen multiplexing program like tmux or screen here. It’s a linux utility program that lets your run multiple sessions from the same terminal window and you can detach from it (if you’re logged in remotely) and your session will keep running on the machine you logged into (and started the tmux session on)

1 Like

Thanks for the info! I was wondering if you had any advice on methods I could use for reducing my error rate for my problem. It was still quite high at ~.26 even after I unfroze and did 15 more epochs. While it was still training, it did so very slowly. I tried more images and will try a deeper architecture today (resnet18 vs resnet50).

1 Like

That’s tmux. Not sure if they’re still available online, but some of the very earliest versions of the course had lots of tips and tricks on using things like tmux.

1 Like

This may sound like a roundabout way of doing this, but if you have a local install of fastai/nbdev you could probably export it out of kaggle, load into your local jupyter and do the nbdev export there. I checked my local install and it seems to have a barebones settings.ini file. I think it gets auto-generated when nbdev is installed.

1 Like

On a quick look, seems like a default tmux session status bar to me.

1 Like

Thanks for the quick reply @strickvl , @mike.moloch and @suvash . I haven’t tried out tmux, that’s something more to explore in coming weeks.

I am noticing questions asked in Lesson official topics generally gets very quick response. So going to stick around this place.

3 Likes

That looks like you’ve got an older version of nbdev. The most recent version shouldn’t have that problem. Try this

import nbdev
nbdev.__version__

You can see what the latest version is here: nbdev · PyPI

1 Like

Apologies. I failed to mention that was already running !pip install -Uqq nbdev ,
thus nbdev.__version__ is 1.2.8,
which is latest.

That’s odd - I just tested that exact thing on a brand new instance and confirmed it worked for me with that version. So I’m not sure what’s happening there!..

I tried again in a new notebook to confirm its not something strange in previous one.
Its still there. @jeremy Could you try again with a copy of this notebook…

Ah you’re doing it on kaggle - that makes things a bit tricky!

I’ve just gone through and made a complete working version on Kaggle for you to borrow from:

You can see the generated script here:

5 Likes

I can confirm your template works. thx.

It seems Colab has the same issue. I created a new notebook here to test it. I adjusted cells to make it easier to test both ways.

btw, I made an interesting discovery, that I’d like to confirm… I had assumed when notebook2script() ran, it parsed the whole text of the notebook top to bottom. However I see that executing an “#|export” cell several times, “a=2” gets doubled up in the generated file like this…

# AUTOGENERATED! DO NOT EDIT! File to edit: . (unless otherwise specified).

__all__ = ['a', 'a', 'a']

# Cell
a=2

# Cell
a=2

So “#|export” must be appending to a cache which “%notebook -e testnbdev.ipynb” pulls from. More to dig into there, but I’ll park it for now.

One naive first impression… given that all the other generation-meta-cmds start with “#|” , calling a normal function “notebook2script()” to read a file from disk to write “app.py” to disk breaks the paradigm. I feel its missing a “#!generate” cell, that would read from the “#|export” cache, to directly write “app.py”.

No, it’s because of the weird way we have to hack this to make in work in colab and kaggle, which is to use the %notebook magic. That saves a copy of every cell that has been run, in the order it’s run. That’s why you should just run once from top to bottom when doing this. Here’s the docs for %notebook.

Having said that, I recommend using your local machine for stuff like this - i.e when you’re not actually training a model - as I showed in the lesson. Then you don’t have to deal with any of this messiness. Or at least use a “real” notebook, like Paperspace or Sagemaker Studio Lab, rather than Colab or Kaggle.

tl;dr: Use Colab or Kaggle for free model training, but not for developing scripts/apps.

3 Likes