Wow, this works. Thanks a lot Diego.
I had this problem too and did some investigation.
If @dmenin 's port forwarding solution works, that can mean that even though your security group is set to listen on the right ports, jupyter isn’t. (That’s what it meant for me.)
I verified this by running sudo netstat -nltp, which returned this:
$ sudo netstat -nltp
Proto Recv-Q Send-Q Local Address           Foreign Address         State       PID/Program name
tcp        0      0 0.0.0.0:22              0.0.0.0:*               LISTEN      1177/sshd
tcp        0      0 127.0.0.1:8888          0.0.0.0:*               LISTEN      1859/python
The first line is for ssh (port 22). The 0.0.0.0 means it listens for ssh on any IP. The second line is for port 8888, but there it only listens on its localhost IP, 127.0.0.1.
If you want to dig further you can run ifconfig and you will probably see two another IP. For me it’s 10.0.0.10, which must be somehow magically mapped back to my “elastic IP” from AWS.
OK so to solve it you make jupyter notebook listen on both its IPs. I used this stackoverflow solution, which says to: check for jupyter notebook configuration file, in ~/.jupyter/ . If it’s not there, run jupyter notebook --generate-config. Then open the file in an editor and find the line to edit about IPs.
Then I realized that a better solution was to find the fast ai config file, which I found here (no guarantees that it’s up to date though):
https://raw.githubusercontent.com/anurag/fastai-course-1/master/jupyter_notebook_config.py
1 Like
Have the same problem, can’t connect to the jupyer notebook…
This worked for me as well! I had to figure out <your_key> and <user@instance> were. For posterity, <your_key> is the private key you created as part of a keypair to connect to AWS. You can follow this tutorial. In my case, <your_key> was id_rsa. user@instance is the user and public IP address of your amazon AWS instance. In my case, this meant ubuntu@52.87.***.***. Stars are for redaction.
In sum, my command was ssh -i id_rsa ubuntu@52.87.***.***-L8888:localhost:8888. Hope this helps!
Solution for the same problem in Google Cloud
I had the exact same problem with Jupyter Notebooks in Google cloud. Everything was installed properly and things like firewall rules and the jupyter config file were all set properly, but it just wasn’t working.
The solution provided by @dmenin for AWS worked for me on Google Cloud too. Here’s the equivalent command (on your own pc/mac) -
gcloud compute ssh --ssh-flag="-L 8888:localhost:8888" --zone "<name-of-zone>" "example_instance_name"
For example, my command was-
gcloud compute ssh --ssh-flag="-L 8888:localhost:8888" --zone "asia-east1-b" "fastai-instance-1"
You can replace 8888 with whatever port number you’ve set.
Also posting my jupyter config file’s important lines here -
c.NotebookApp.password = '<my-key>'
c.NotebookApp.ip = '0.0.0.0'
c.NotebookApp.open_browser = False
c.NotebookApp.allow_remote_access = True
c.NotebookApp.port = 8888
c.NotebookApp.allow_origin = '*'
Worked for me, eventually. Thanks!
I have the same issue and non of the suggested ways worked for me, I am using ubuntu@ec2-34-213-48-135.us-west-2.compute.amazonaws.com and have policy group and this is my jupyter and it runs
c = get_config()
Kernel config
c.IPKernelApp.pylab = ‘inline’ # if you want plotting support always in your notebook
Notebook config
c.NotebookApp.certfile = u’/home/ubuntu/certs/mycert.pem’ #location of your certificate file
c.NotebookApp.allow_origin = ‘’ #allow all origins
c.NotebookApp.ip = '’
c.NotebookApp.open_browser = False #so that the ipython notebook does not opens up a browser by default
#c.NotebookApp.password = u’sha1:45f2cb407ba1:d98f8004f2b30bfa6719791d1425f334965970df’ #the encrypted password we generated above
Set the port to 8888, the port we set up in the AWS EC2 set-up
c.NotebookApp.port = 8888
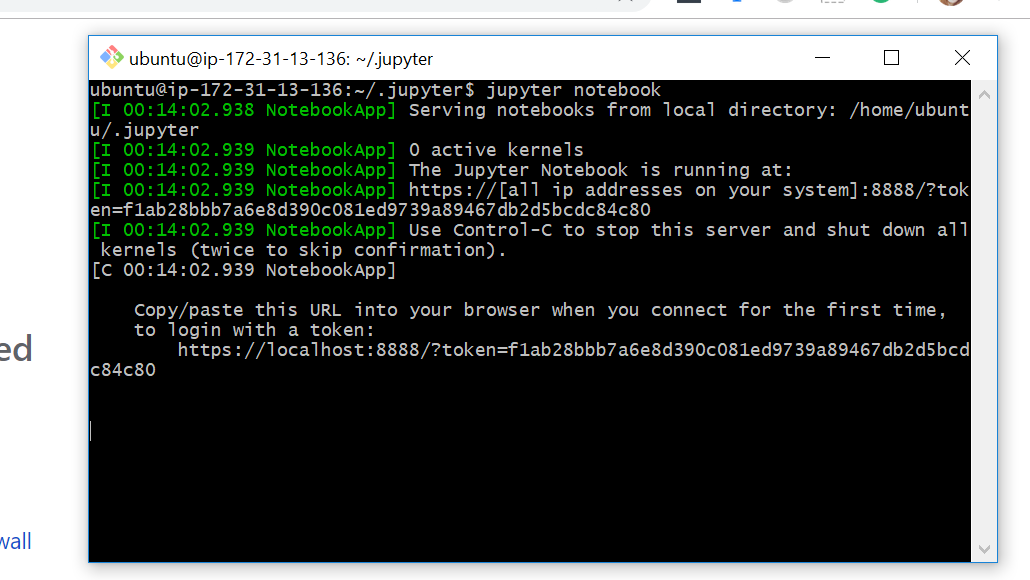
but when i open it from browser it dose not work
http://ec2-34-213-48-135.us-west-2.compute.amazonaws.com:8888/?token=f1ab28bbb7a6e8d390c081ed9739a89467db2d5bcdc84c80
thank you leyla
I have the same issue, tried all the above suggestions and have my config file set up as follows:
c = get_config()
Kernel config
c.IPKernelApp.pylab = ‘inline’ # if you want plotting support always in your notebook
Notebook config
c.NotebookApp.certfile = u’/home/ubuntu/certs/mycert.pem’ #location of your certificate file
c.NotebookApp.ip = ‘0.0.0.0’
c.NotebookApp.allow_origin = ‘0.0.0.0’
c.NotebookApp.open_browser = False #so that the ipython notebook does not opens up a browser by default
c.NotebookApp.password = u’*****’ #the encrypted password we generated above
Set the port to 8888, the port we set up in the AWS EC2 set-up
c.NotebookApp.port = 8888
I also logged in to my instance using
ssh -i IvanAWS.pem ubuntu@ec2-3-84-83-70.compute-1.amazonaws.com -L 8888:localhost:8888
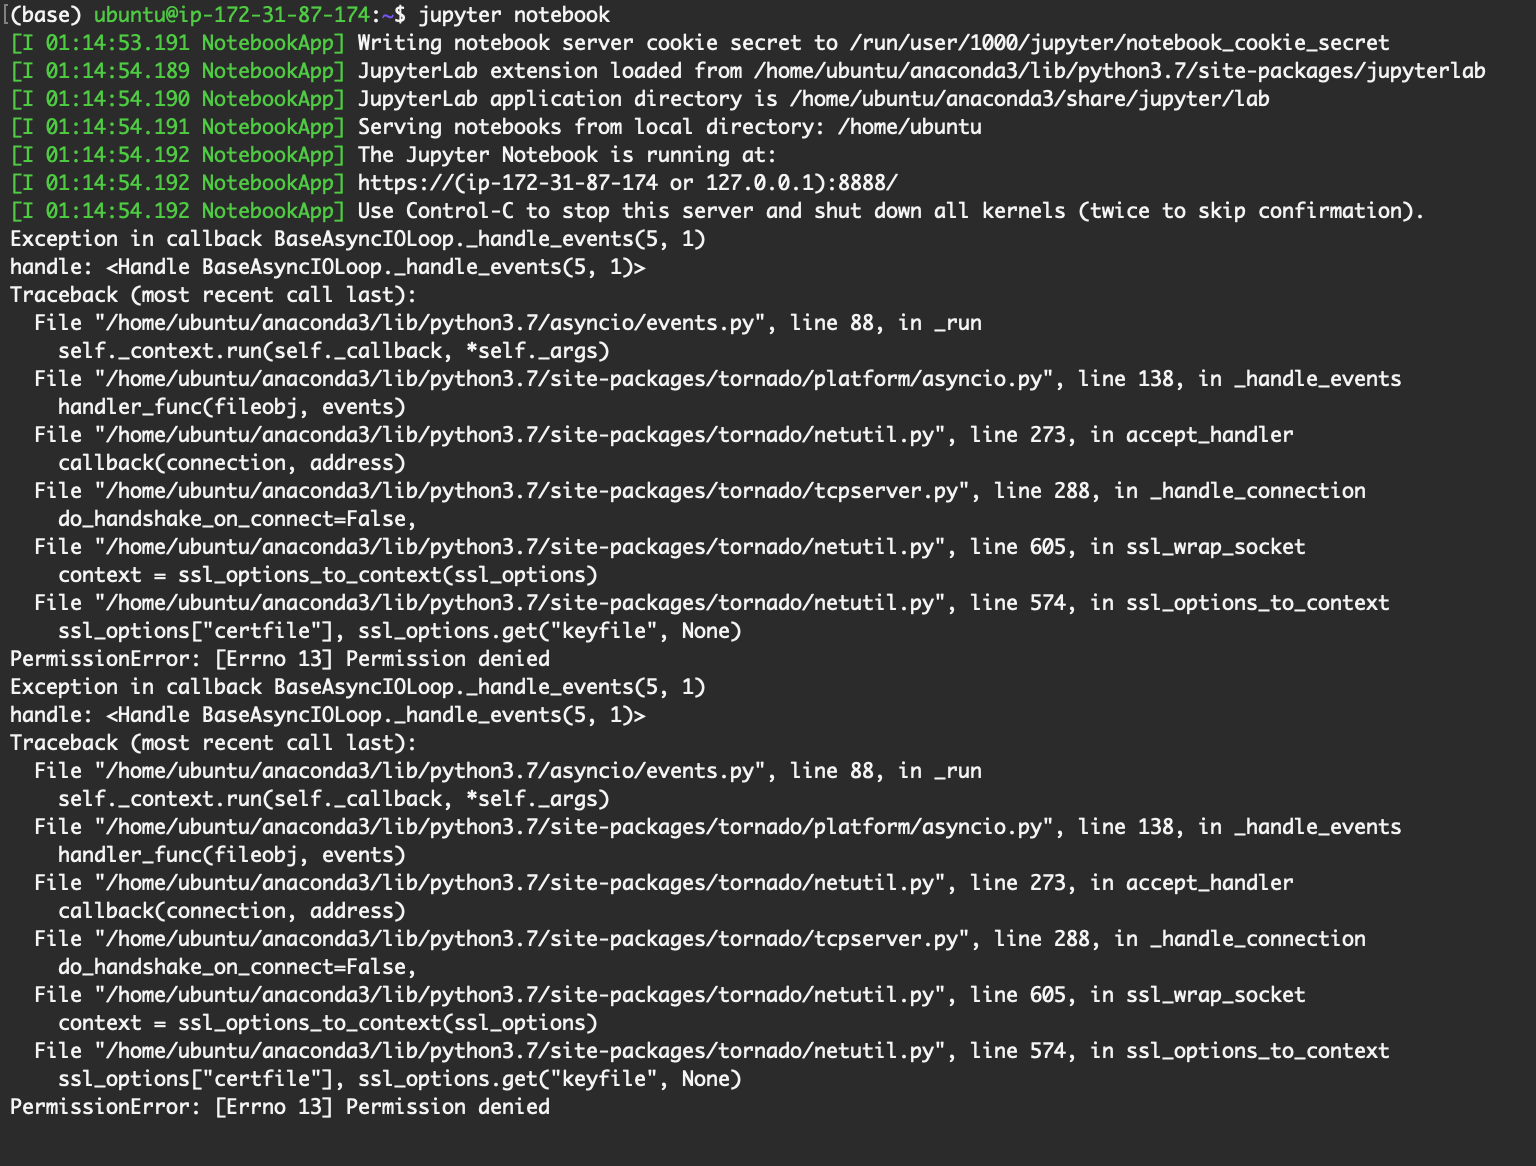
I am able to launch jupyter notebook on the instance but when I try to log in I was getting timed out
The specific error I am getting is
I have checked my security group
| Ports | Protocol | Source | launch-wizard-6 |
|---|---|---|---|
| 0-10000 | tcp | 0.0.0.0/0, ::/0 |  |
| 8888 | tcp | 0.0.0.0/0, ::/0 | |
| 22 | tcp | 0.0.0.0/0, ::/0 | |
| 443 | tcp | 0.0.0.0/0, ::/0 | |
Could anyone help please?
Thanks
I recently moved from GCP to AWS, after the consistent zone problems I was having with GCP. I crossed the same problem stated above and spent a good amount of time working around it, so figured to share what worked last. Hope this helps anybody setting up EC2 vm instance.
-
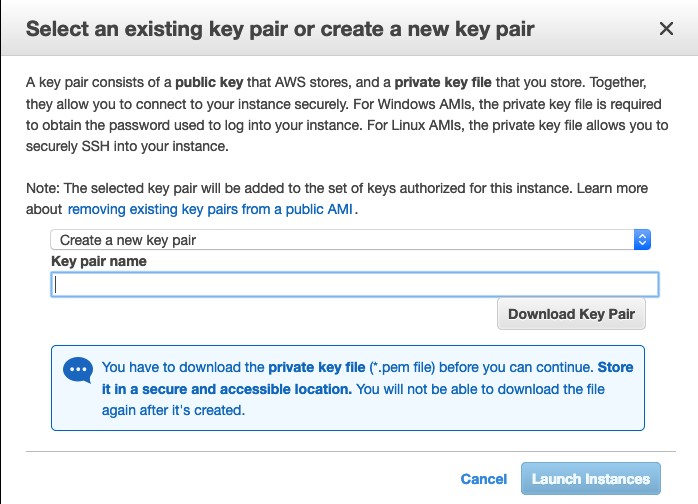
Create a new pair key in aws and download it.
-
MOST IMPORTANT STEP: Make sure to add the created key file xxx.pem to your computer’s ssh folder. Find where is your /.ssh/ folder and copy it there.
-
You can then run:
ssh -i ~/.ssh/xxxx.pem ubuntu@ec2-9-99-99-99.us-east-2.compute.amazonaws.com -L8888:127.0.0.1:8888
Replace the 9s with you public IP. -
Now, you should be logged in to your vm instance. To access Jupyter,
$jupyter notebook
A URL will then be shown, just copy and paste it.
You do not need to modify any of the other options in the security, as some mentioned!
Cheers,
I had the same problem and it turned out to be a permission error with the cert.pem file. using the command :
sudo chown $USER:USER/home/ubuntu/certs/mycert.pem
it finally worked.
this link might help.