For those who are interested, it’s trivially easy to connect your local vscode instance to a Jupyter notebook backend on Paperspace.
Create a Runtime on Paperspace
From your default project, open the dialog to create a notebook. You will see the following:

- Select the “Papespace + Fast.AI” runtime.
- Select your machine type according to the options of your account type. Make it private access.
- Choose any other “Advanced Options” as necessary. But you can leave these alone for the purposes of this example.
- Click “Start Notebook”. You will be taken to the notebook editor
Open a Notebook on Paperspace
By default, you will see the Jupyter notebooks from the Course / Book in the left sidebar. Open one.
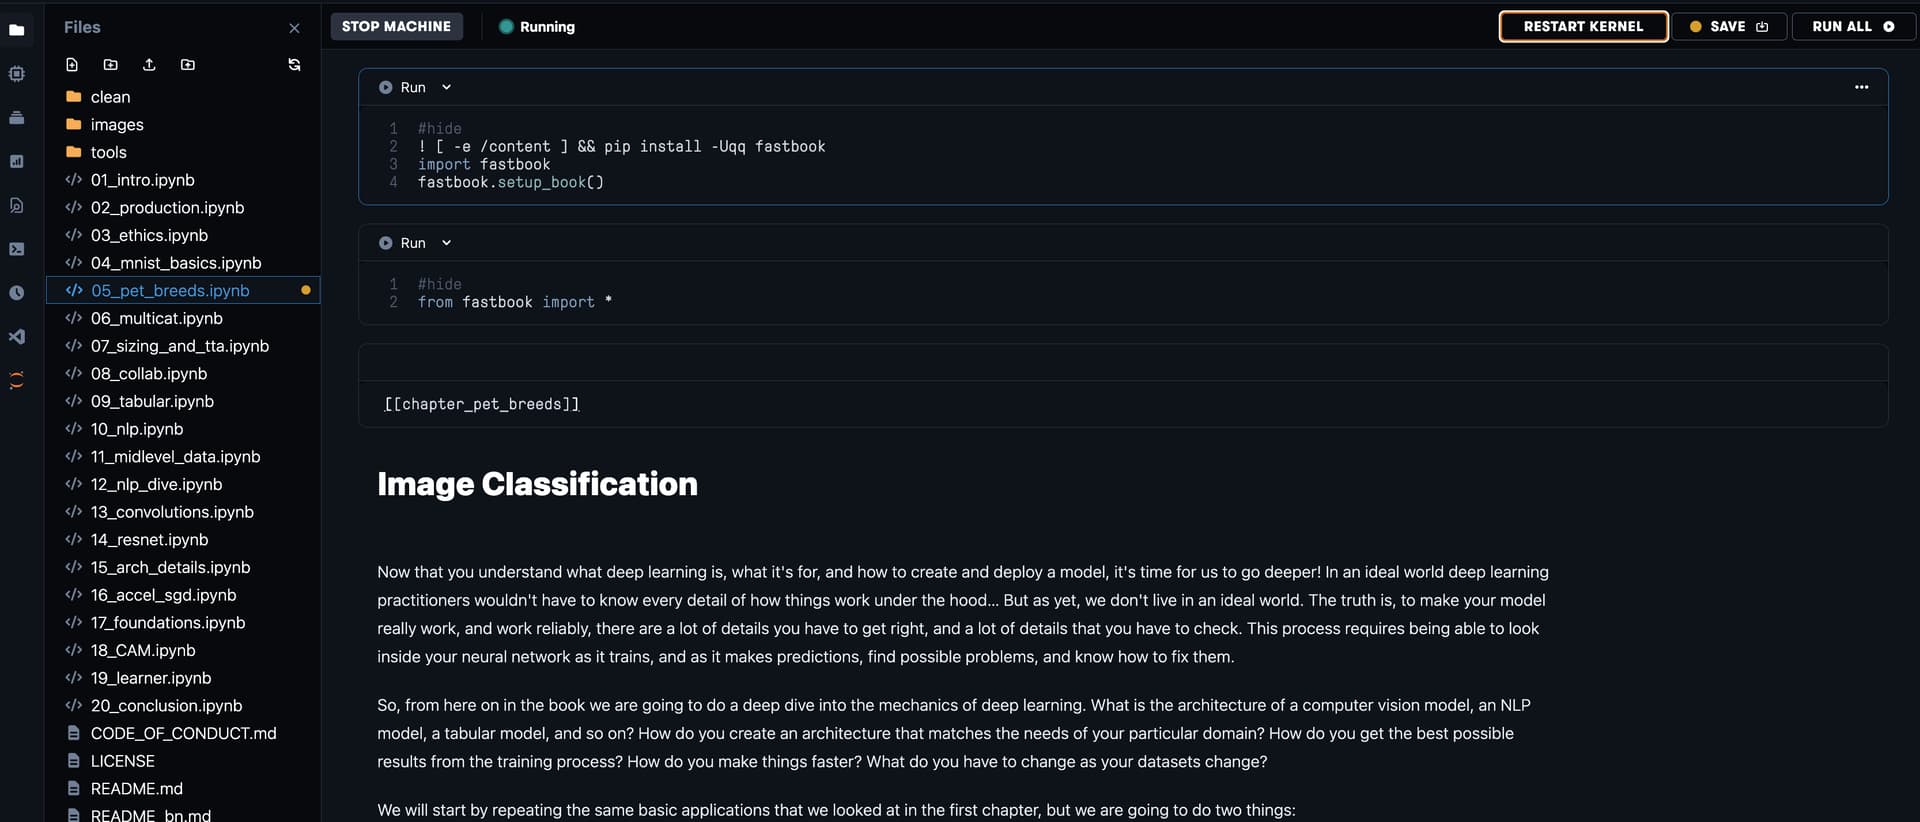
Note the VS Code icon in the left sidebar. Click it. A popup will appear:
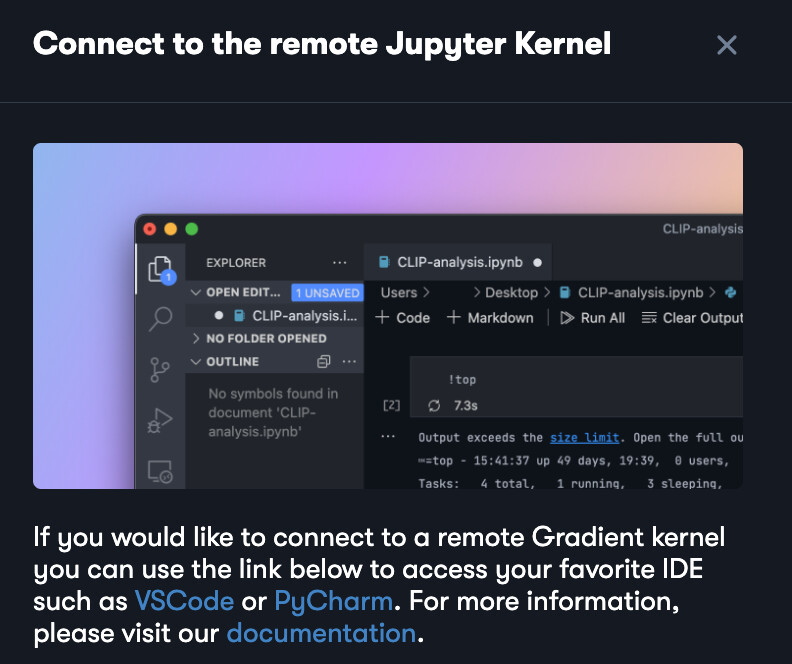
At the bottom of the popup you will see a link to connect to your Gradient backend. You will copy this and enter it into VS Code
Connect your Local VS Code Instance to the Gradient Backend
-
In VS Code, open a new Jupyter notebook from the command palette:
CMD + SHIFT + P→Create: new Jupyter Notebook -
At the bottom of your notebook editor in Code, click the server option:
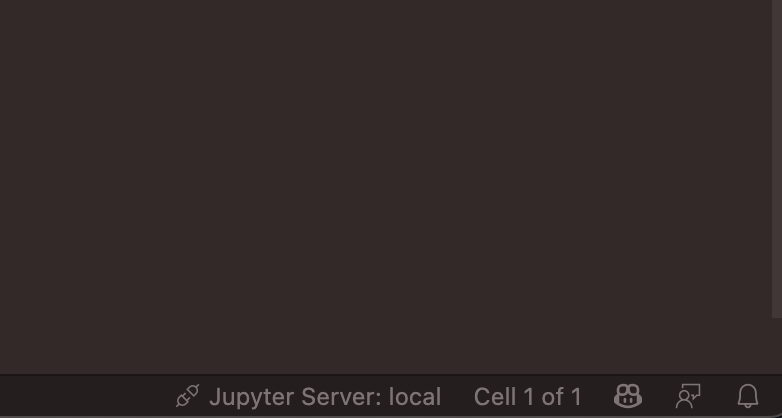
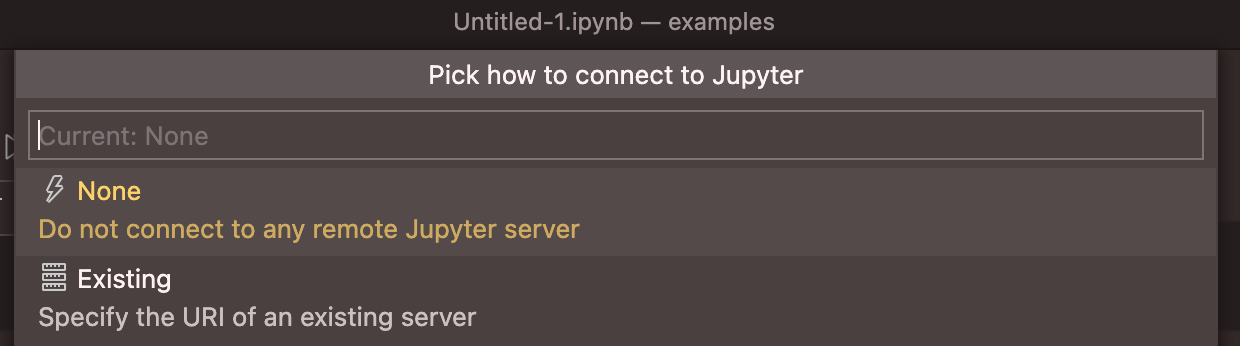
- A dialog will popup at the top of the Code editor:
-
Click “Existing” and then paste in the Gradient server address you copied earlier
-
You are now ready to run. Enter some code. Run it.

- You will be presented with a kernel selection box; choose the
remoteGradient kernel you’ve just created (in this instance (05_pet_breeds.ipynb)

- Congratulations! You’ve successfully connected your local VS Code instance to whatever powered Gradient remote backend. Run what you wish, as you wish. Don’t forget to shut down your Gradient instance when you’ve completed your local work
This is also just as easily extensible to GCP’s Vertex AI / AI Platform etc