While trying to answer Even’s question I realized I lacked understanding.
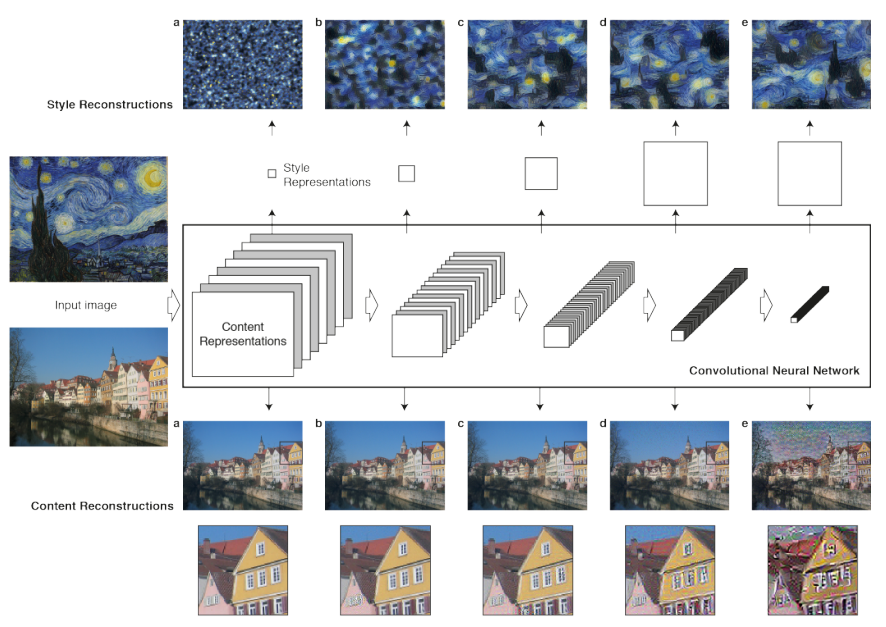
I don’t know how to produce the first style reconstruction of this figure:
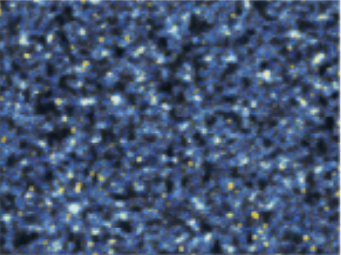
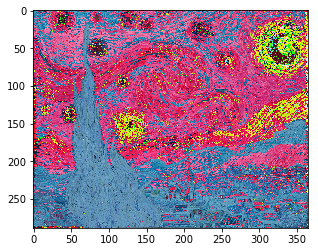
The first style reconstruction of the figure
Some code
# preprocess the style image
style_image = Image.open('data/starry_night.jpg')
style_image = style_image.resize(np.divide(style_image.size, 3.5).astype('int32'))
style_arr = preproc(np.expand_dims(style_image, 0)[:,:,:,:3])
shp = style_arr.shape

# create the style model
model = VGG16_Avg(include_top=False, input_shape=shp[1:])
outputs = {l.name: l.output for l in model.layers}
layers = [outputs['block{}_conv1'.format(o)] for o in [1, 2]]
layers_model = Model(model.input, layers)
targs = [K.variable(o) for o in layers_model.predict(style_arr)]

# define the style loss
loss = sum(style_loss(l1[0], l2[0]) for l1,l2 in zip(layers, targs))
grads = K.gradients(loss, model.input)
style_fn = K.function([model.input], [loss]+grads)
evaluator = Evaluator(style_fn, shp)

# extract the style
x = rand_img(shp)
iterations = 10
x = solve_image(evaluator, iterations, x)
The code produces this style
How can we change the code to produce the following style?
Attempt 1
Change this line:
layers = [outputs['block{}_conv1'.format(o)] for o in [1, 2]]
to
layers = [outputs['block{}_conv1'.format(o)] for o in [1, 1]]
This should look at block1_conv1 twice, which should be equivalent to looking at it once in terms of optimization.
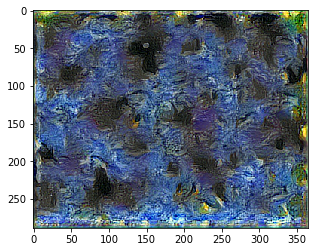
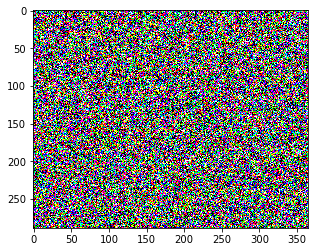
However, this is the result:

And here are the losses:
Current loss value:  1350.84924316
Current loss value:  1350.84936523
[...]
Current loss value:  1350.84936523
Current loss value:  1350.84936523
Attempt 2
Change these lines:
layers = [outputs['block{}_conv1'.format(o)] for o in [1, 1]]
layers_model = Model(model.input, layers)
targs = [K.variable(o) for o in layers_model.predict(style_arr)]

# define the style loss
loss = sum(style_loss(l1[0], l2[0]) for l1,l2 in zip(layers, targs))
to
layer = model.get_layer('block1_conv1').output
layer_model = Model(model.input, layer)
targ = K.variable(layer_model.predict(style_arr))

# define the style loss
loss = style_loss(layer[0], targ[0])
Results:
Current loss value:  675.424560547
Current loss value:  675.424682617
[...]
Current loss value:  675.424682617
Current loss value:  675.424682617
Exploration 1
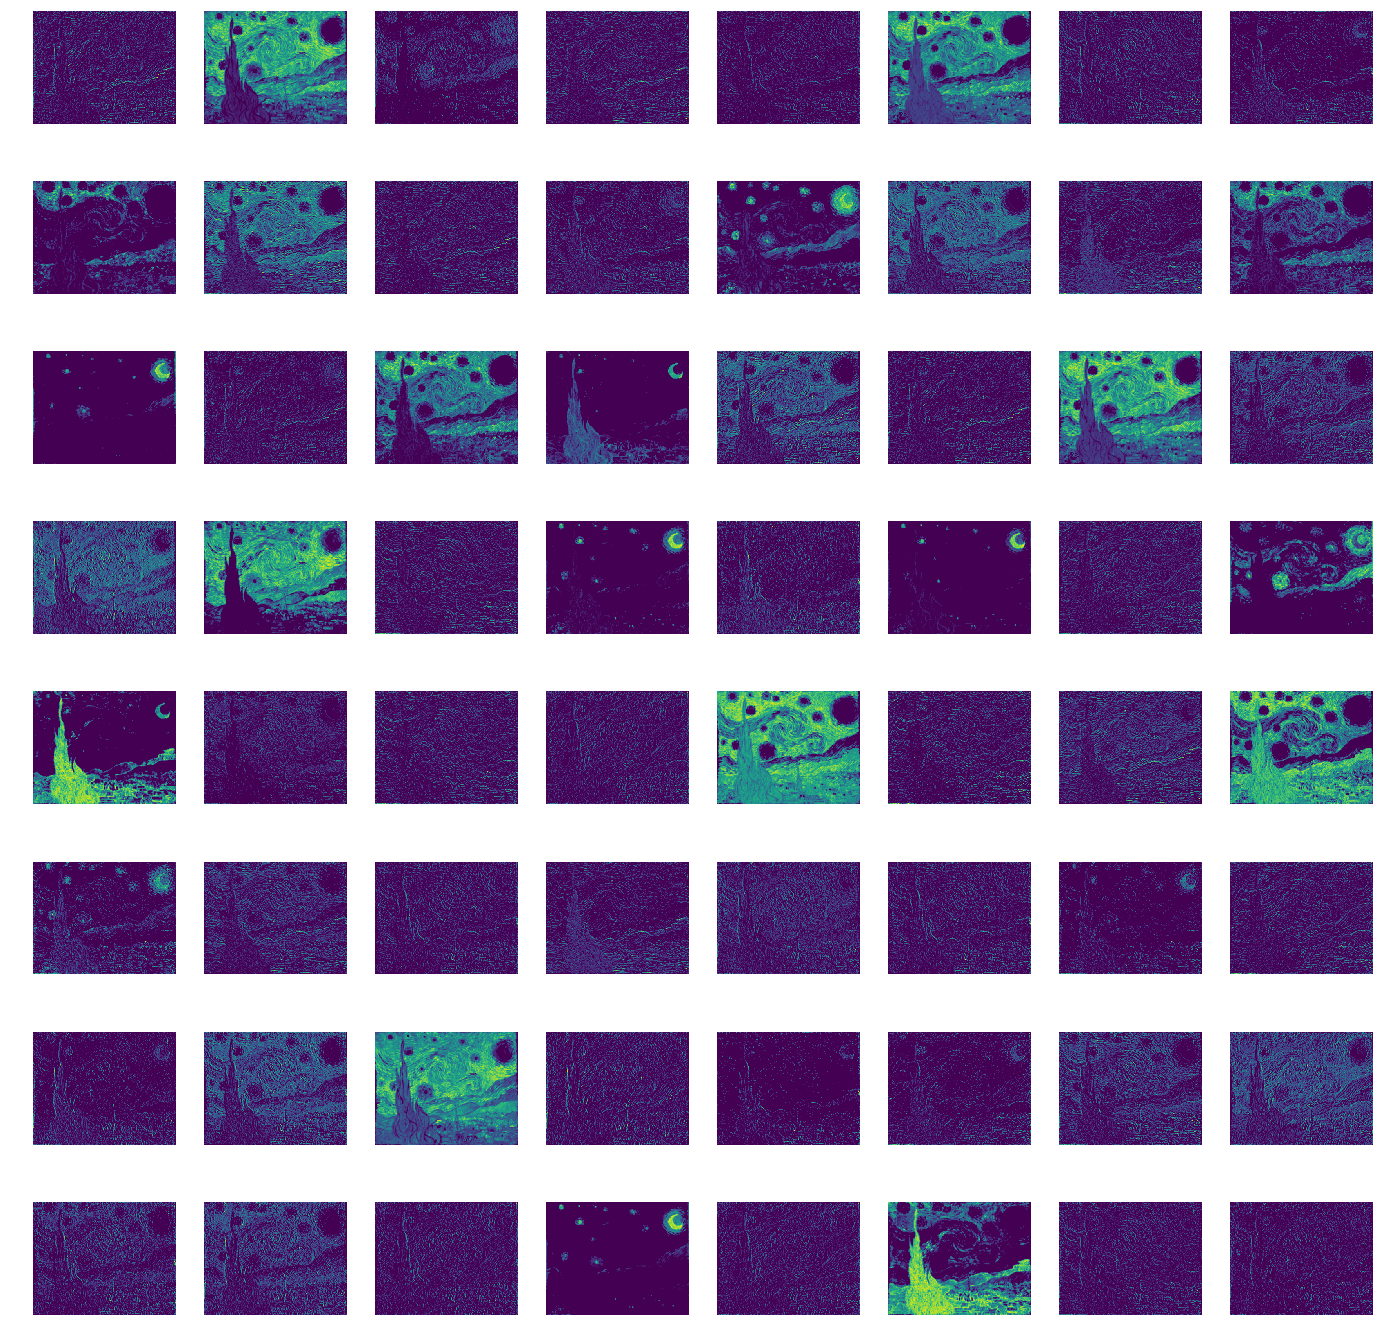
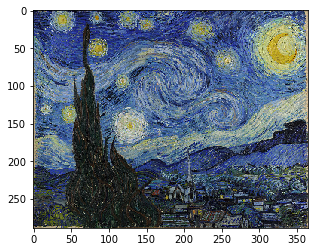
Starry night
Starry night preprocessed
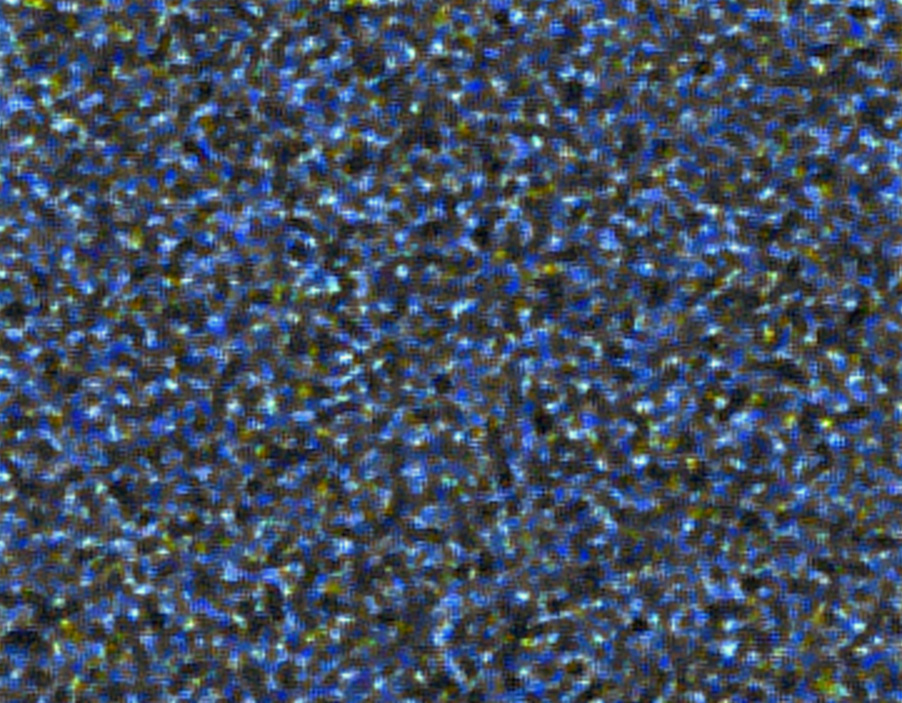
block1_conv1 activations of Starry night
You can open the image in a new tab to see a bigger version of it.
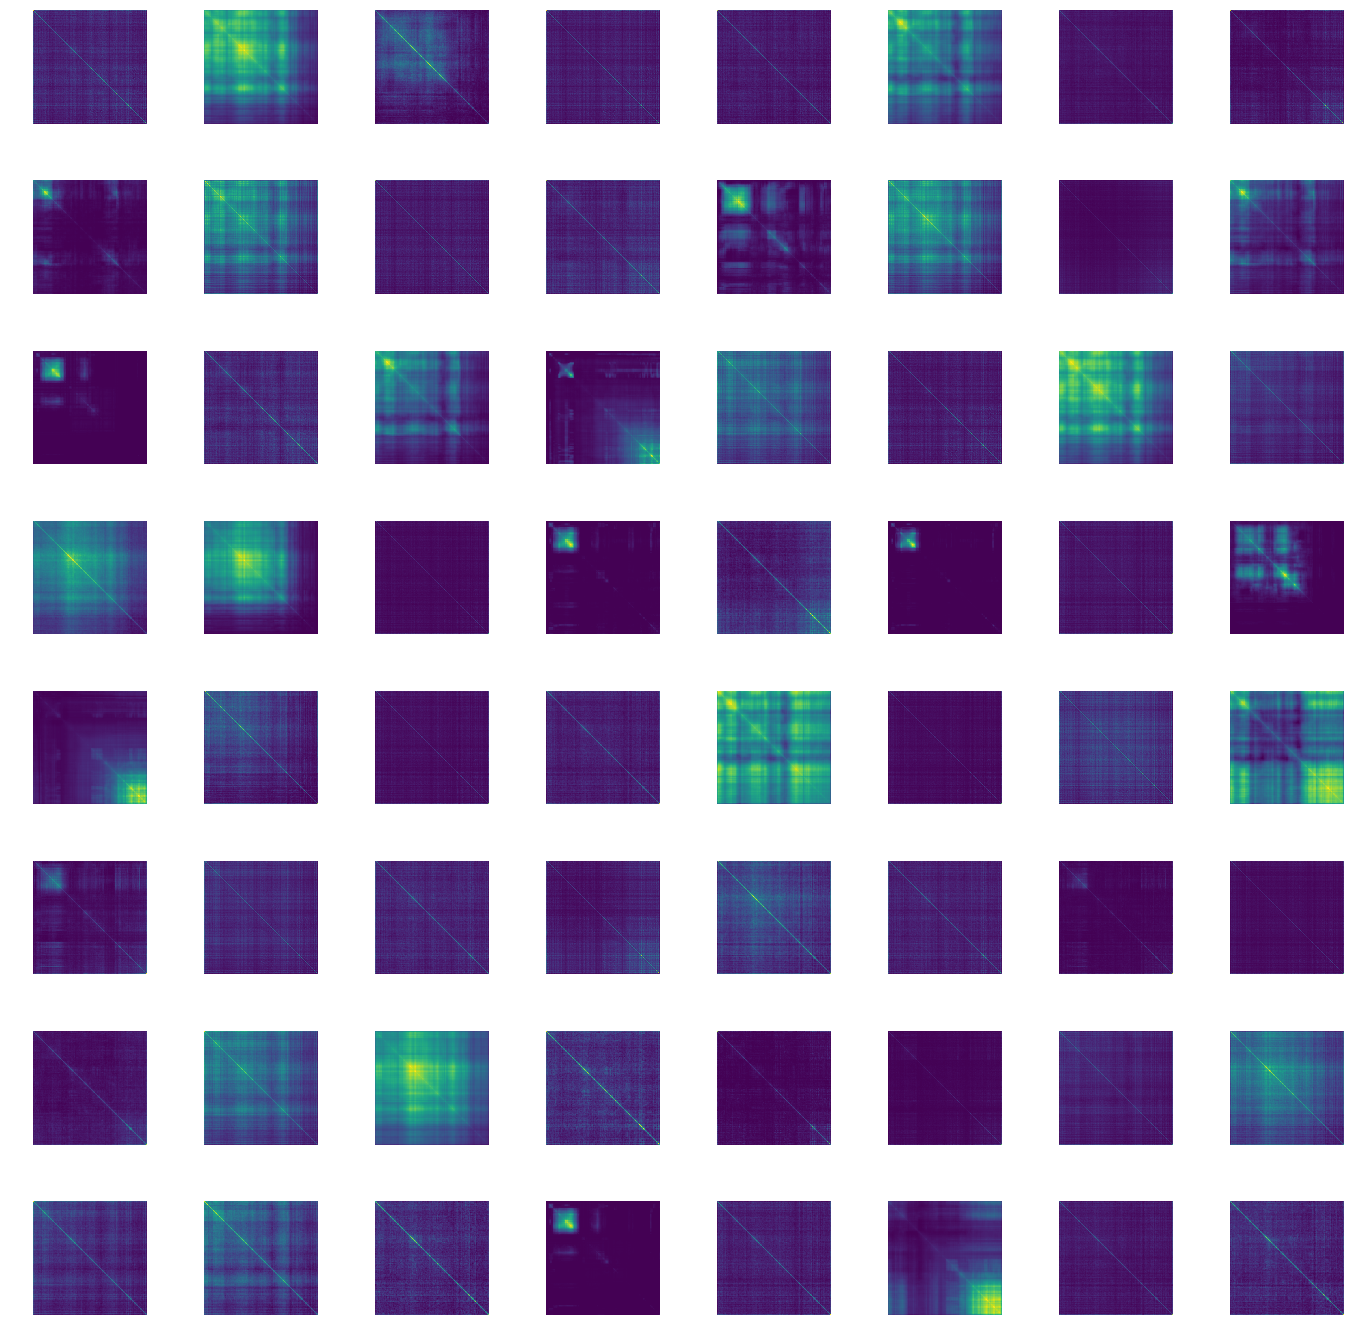
Gram matrices of block1_conv1 activations of Starry night
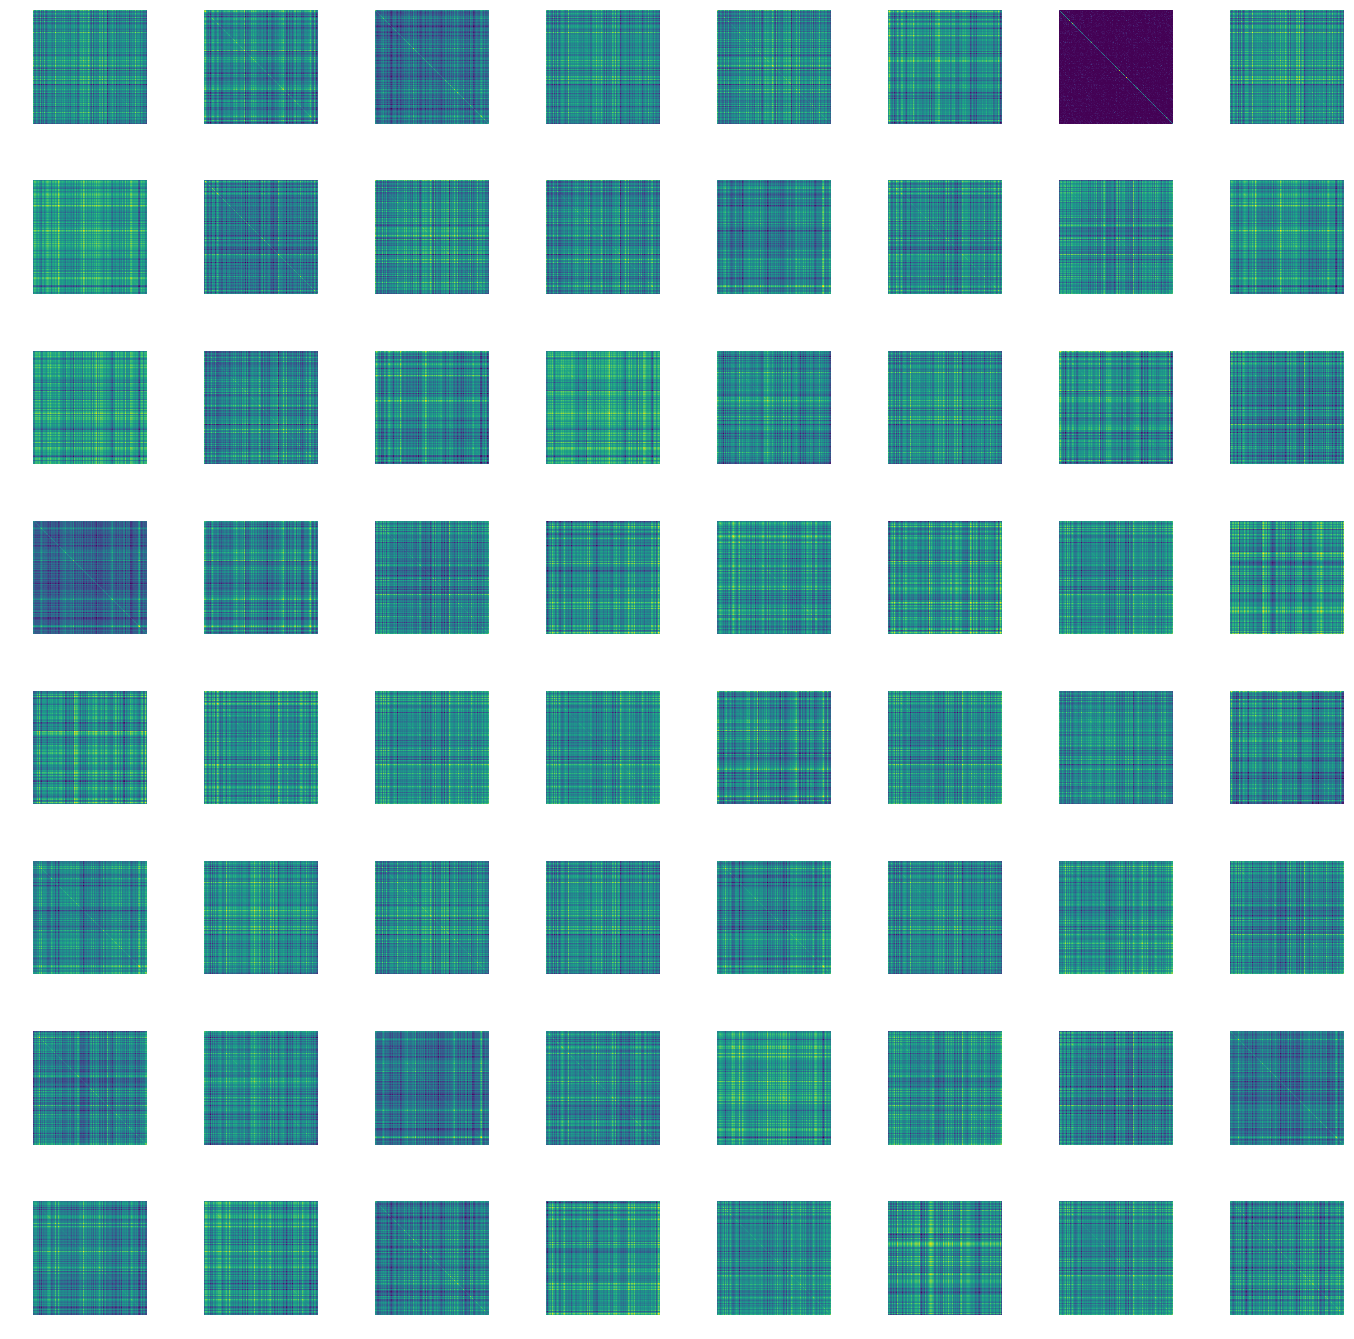
Random image
block1_conv1 activations of random image
Gram matrices of block1_conv1 activations of random image