The WGAN paper shows some fairly compelling theory and empirical evidence that their approach is strictly superior.
1 Like
Why do some images end up with floats as pixel values instead of uint8? I’m trying to find a way to type .astype("uint8") less.
Division automatically converts to float (at least in Python 3).
Apologies if this has been posted before, but one resource I’ve found particularly useful in trying to understand how and why the Wasserstein GAN fixes the problems of normal GANs is this r/Machinelearning thread , wherein you can see the original author of the paper discussing it and answering questions about it. One particularly valuable framing for me, posted by the author, was:
There are two elements that make the transition to the Wasserstein distance.
Taking out the sigmoid in the discriminator, and the difference between the means (equation 2). While it’s super simple in the end, and looks quite similar to a normal GAN, there are some fundamental differences. The outputs are no longer probabilities, and the loss now has nothing to do with classification. The critic now is just a function that tries to have (in expectation) low values in the fake data, and high values in the real data. If it can’t, it’s because the two distributions are indeed similar.
The weight clipping. This constraints how fast the critic can grow. If two samples are close, therefore the critic will have no option than to have values that are close for them. In a normal GAN, if you train the discriminator well, it will learn to put a 0 on fake and a 1 on real, regardless of how close they are, as long as their not the same point.
In the end, the flavor in here is much more ‘geometric’ than ‘probabilistic’, as before. It’s not of differentiating real from fake. It’s about having high values on real, and low values on fake. Since how much you can grow is constrained by the clipping, as samples get closer this difference will shrink. This is much more related to the concept of ‘distance’ between samples, than to the probability of being from one distribution or the other.
2 Likes
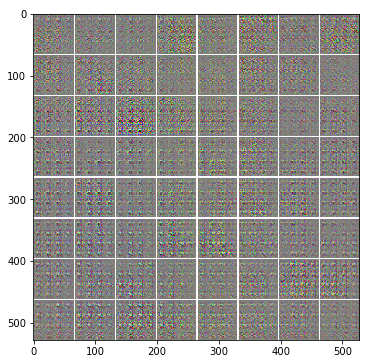
I tried out WGAN on ~11K dog images from cats/dogs redux. Perhaps it’s because i don’t have enough time to train, i.e. 5 weeks, but the results weren’t so hot… Anyone looking for a “quick turnaround” with WGAN may be disappointed. The generator loss bounced around a TON during training, but did seem to continually go down, little by little. I held the learning rate constant at .0001.
After 10 epochs (~3 mins)
Loss_D: -1.547441 Loss_G: 0.754658 Loss_D_real: -0.807306 Loss_D_fake 0.740135
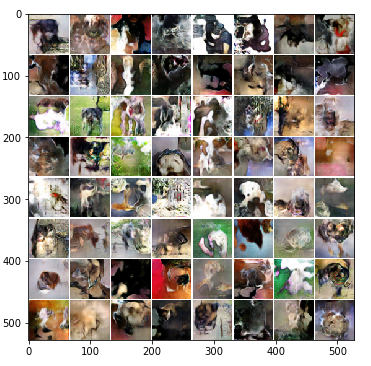
After 250 epochs (~1 hour)
Loss_D: -0.2407 Loss_G: 0.10603 Loss_D_real: -.004035 Loss_D_fake 0.2367
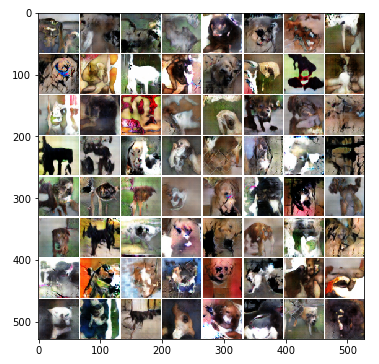
After 2300 epochs (~8 hours):
Loss_D: -0.080403 Loss_G: -0.134346 Loss_D_real: -0.385072 Loss_D_fake -0.304669
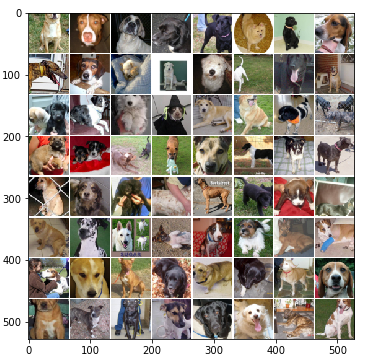
Actual doggy images:
Some questions I’m pondering:
- How do we know WGANs aren’t regenerating the same images from the training set? Is there an easy way to confirm this is “new” content?
- What is the max size of images we can realistically generate? The images above are very small.
- How long would this take to train on the 3M LSUN images running on 1 fast GPU?
- Can we do transfer learning with WGAN to speed things up?
- What do the negative loss values above represent?
1 Like
Most generative model papers show a way to do this - take a look and GAN, DCGAN, and WGAN, and tell us what you find!
Overall, I think your expectations may be too high… There’s too many different kinds of dogs I think, and also our eyes are good at recognizing things that look like real animals. I think of WGAN as being something we should add on top of other generative models (like style transfer, colorization, etc).
1 Like
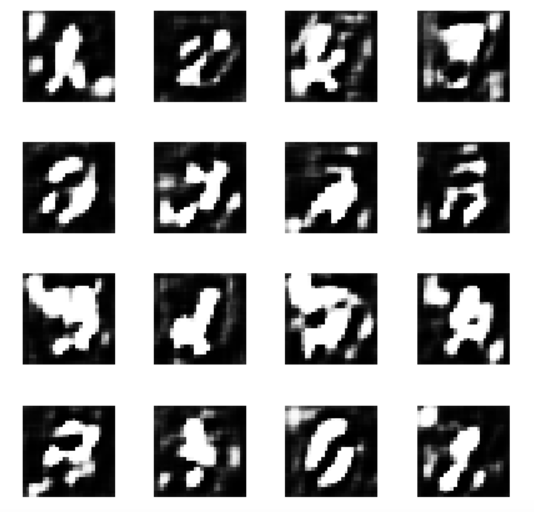
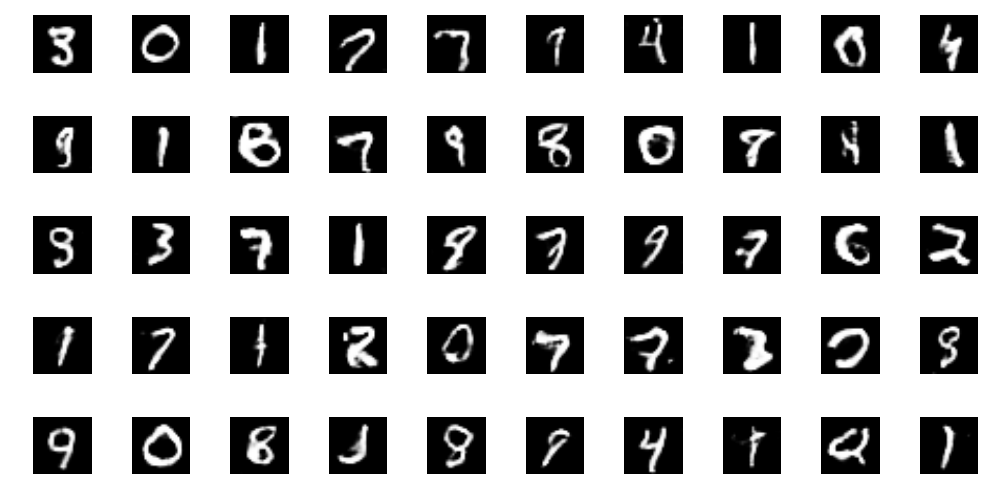
Anyone had luck with training the DCGAN with MNIST data set?
I saw some examples on the web where folks used DCGAN and got pretty compelling results using DCGAN.
I tried DCGAN but below are the images I have to date. wondering how far we can push DCGAN to get better results?
@rodgzilla and I were wondering the same thing. I created a way to check MNIST images using MSE and the results seem reasonably accurate.
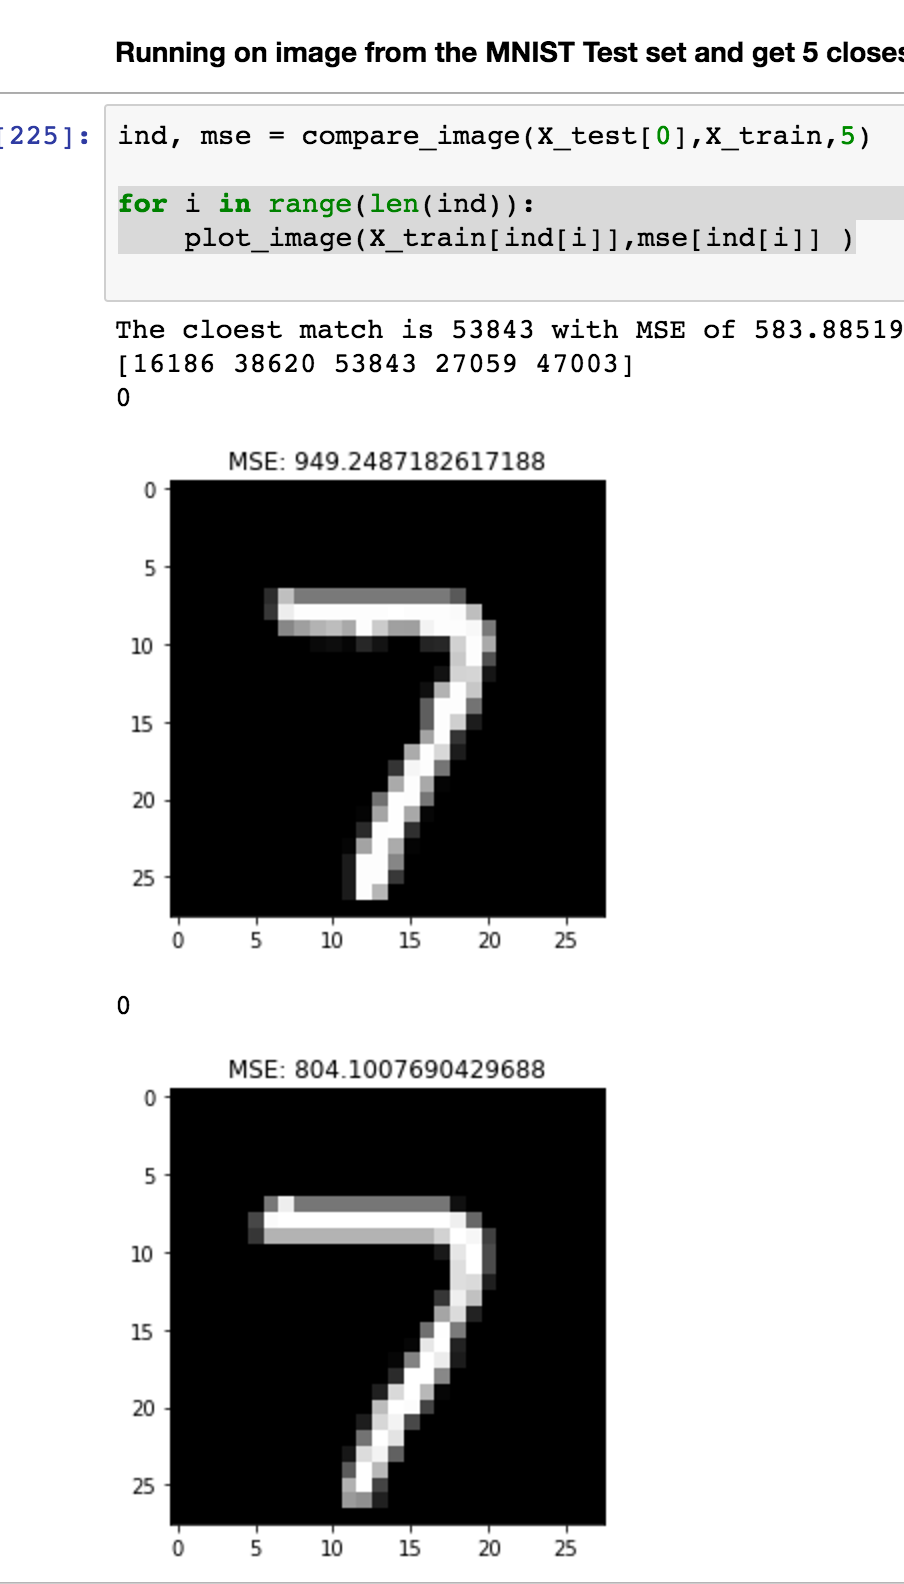
You may need to customize it for multiple channels etc, I just flattened the images.
here is the code https://github.com/samwit/Comparing-MNIST-Images
3 Likes
Hi @kelvin @jeremy
I am not sure I follow how the classids.txt file is being generated.
In the original notebook the code is
classid_lines = open(path+'/../classids.txt', 'r').readlines()
Which means it was expecting the file to be there. Was the file available in platform.ai/files ?
I didn’t look for it. I just generated my own.
Ok…
I am running into another issue in this notebook.
What was the mid_out.output_shape and rn_top_avg.output_shape you got?
I am getting (None, 14, 14, 1024) and (None, 2, 2, 1024)
Then I am getting this error for gen_features_mid(1)
ValueError: Error when checking : expected input_4 to have shape (None, 224, 224, 3) but got array with shape (128, 72, 72, 3)
Any ideas what I am missing?
Is this notebook compiled against theano by any chance?
Just looking at summary of my model - The dimensions dont look right. 1,1, 512?
res5a_branch2a (Convolution2D) (None, 1, 1, 512) 524800 activation_321[0][0]
bn5a_branch2a (BatchNormalizatio (None, 1, 1, 512) 2048 res5a_branch2a[0][0]
activation_322 (Activation) (None, 1, 1, 512) 0 bn5a_branch2a[0][0]
res5a_branch2b (Convolution2D) (None, 1, 1, 512) 2359808 activation_322[0][0]
I think I found the issue - new_s should be 224 not 72 as in the notebook.
1 Like
This worked for me
    from gensim.models import word2vec, KeyedVectors  <-- not sure I need the last import!!
model = word2vec.KeyedVectors.load_word2vec_format(w2v_path+'.bin', binary=True)In imagenet_process.ipynb, I wrote some code below.
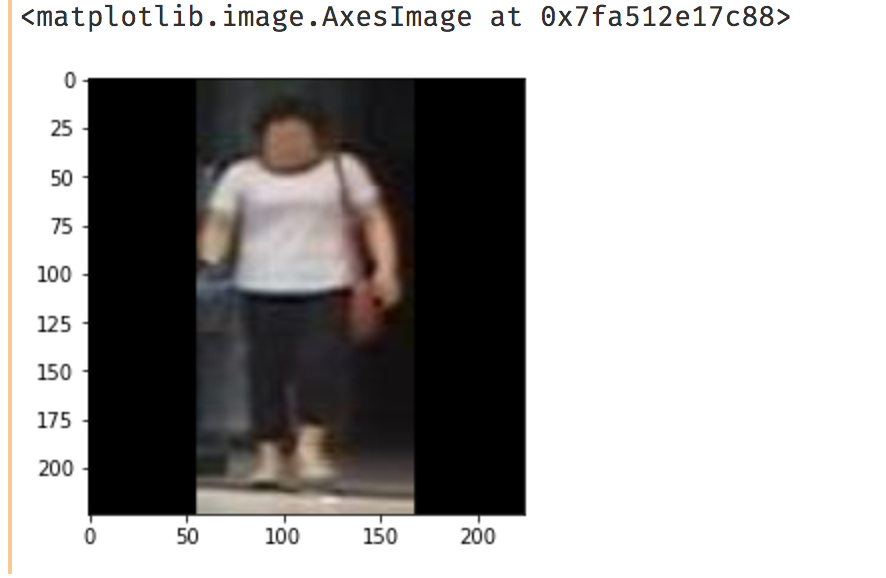
d = np.array(resize_img(0))
# c = np.zeros_like(d)
c = np.zeros(d.shape)
c[:] = d
plt.imshow(c)
When I use np.zeros_like, image display like this
When I use np.zeros, image display like this.
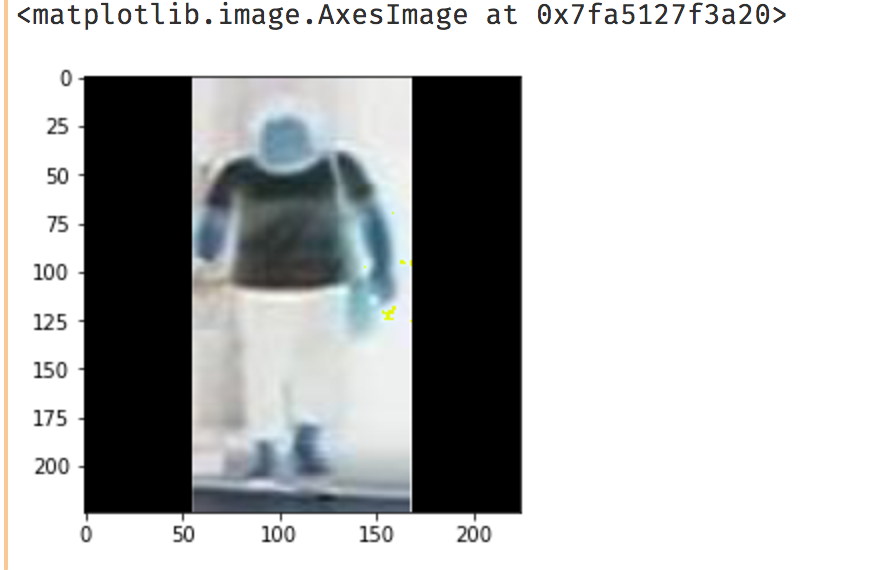
It’s confusing.
wow, the 2nd one seems to be an “X-rays” version of the 1st image! A quick search only brings up the differences in memory allocation between np.zeros and np.zeros_like, but clearly this results indicate more differences than that.
How long should it take the wgan pytorch to train on the cifar10 dataset with 200 epochs and Titan X GPU? I ran the code but it doesn’t seem to be using all of the GPU memory.
Also, where can I download the LSUN dataset?
Thanks all.
Hi all, I was going through the imagenet_process.ipynb and noticed that each time we append resized image to arr, the size of arr is increased.Only after collecting all resized images in arr, we are writing it to hard disk.This maynot be feasible for resizing entire imagenet because of limited RAM. Has anyone figured out how to write in batches ?
Thank You
Maybe the content layers’ choices problem? The original paper suggested using the conv3_3, but I saw many other implementations are using more than just one layer, just give these layers different weights, maybe it would help (I haven’t tried that yet, but I’m about to get there).
Hi @brendan, I’m having same issues. I was able to get speedups similar to that mentioned in docs.But when I try resizing sample imagenet I am getting similar runtimes for both pillow and pillow-simd.
Have you figured it out ?
Thank you
UPDATE: I found out that the variable arr isn’t actually stored in RAM. But it behaves like it is in RAM.When you do arr.shape it prints out the shape(i.e 1millionx224x224x3), and when you try to display a random image it will display.It only accesses the image when called upon i.e lazy evaluation. You can resize entire imagenet. threading.local seems almost magical.
1 Like
@jeremy @rachel The authors of the DCGAN paper tell that they scaled the images to a range of [-1, 1] and used tanh as the activation function in the last layer of the generator. Also use the alpha(slope) of LeakyRelu as 0.2.
So I did these things and got rid of the first Dense layer in the discriminator as the authors tell to eliminate the fully connected(Dense) layers.
Then I trained the model for 50 epochs. Each epoch takes around 35 secs on a Tesla K80. Look at the results that I got. Code for this.
By the way, Mendeley desktop is awesome. Thanks for suggesting it 
2 Likes